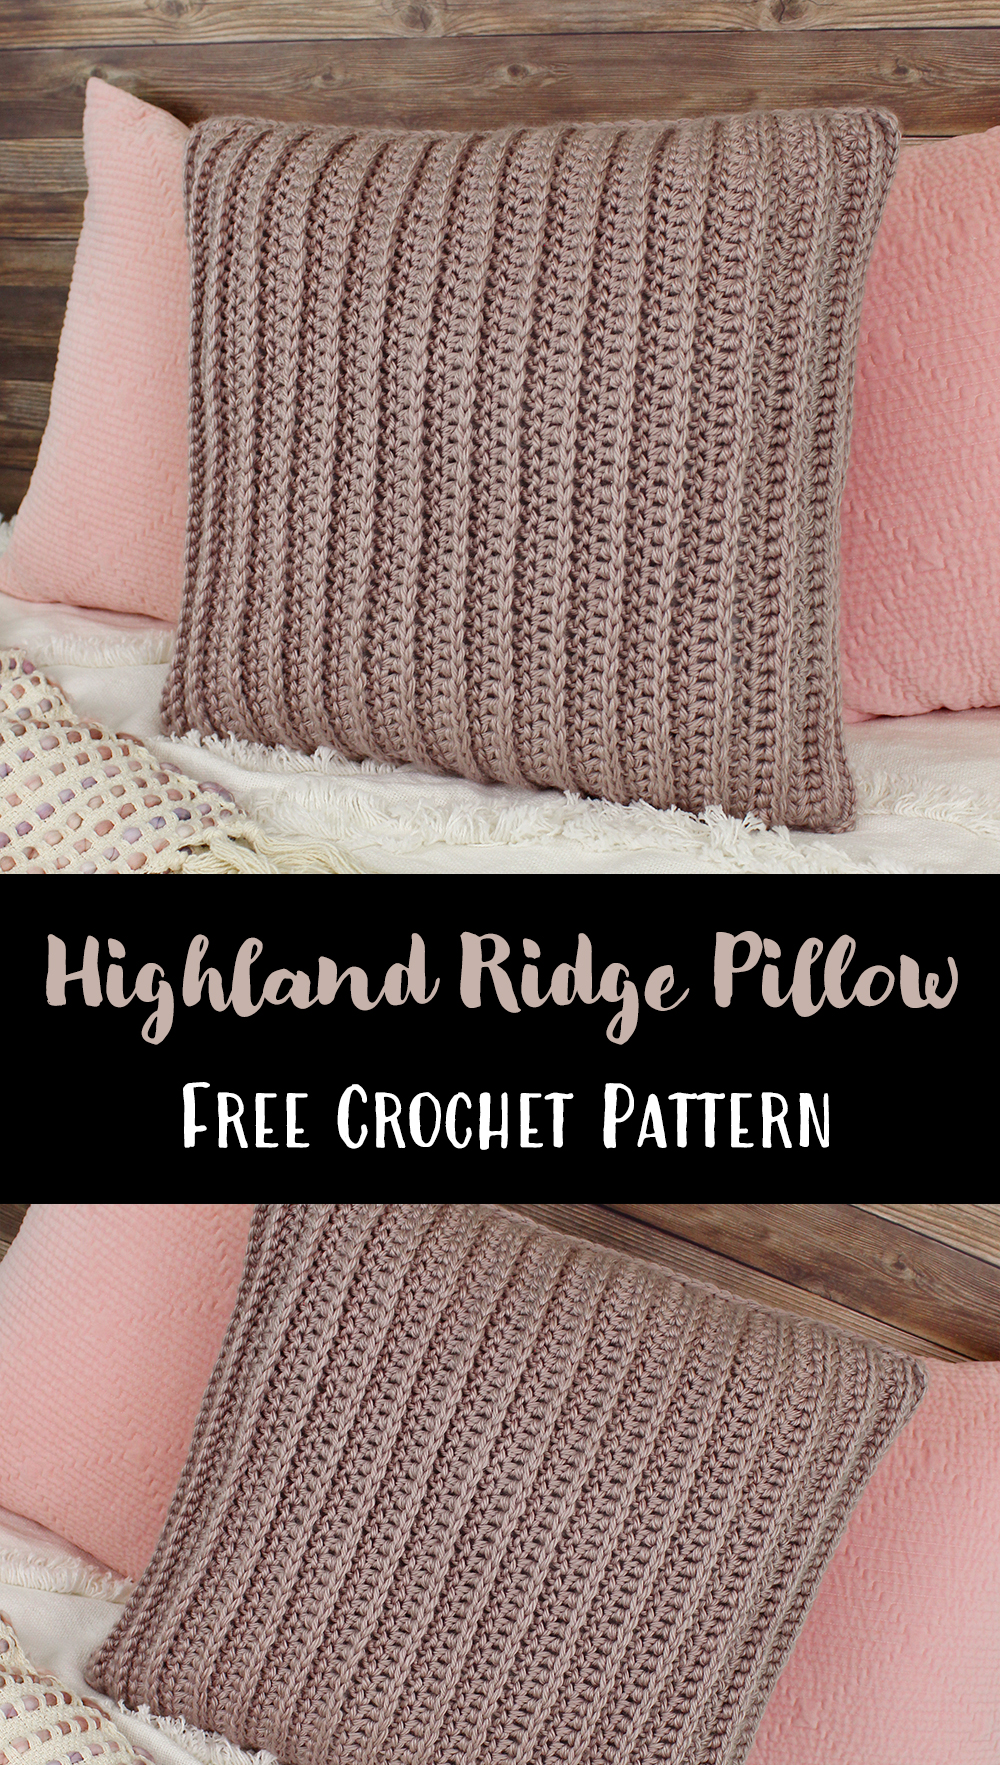
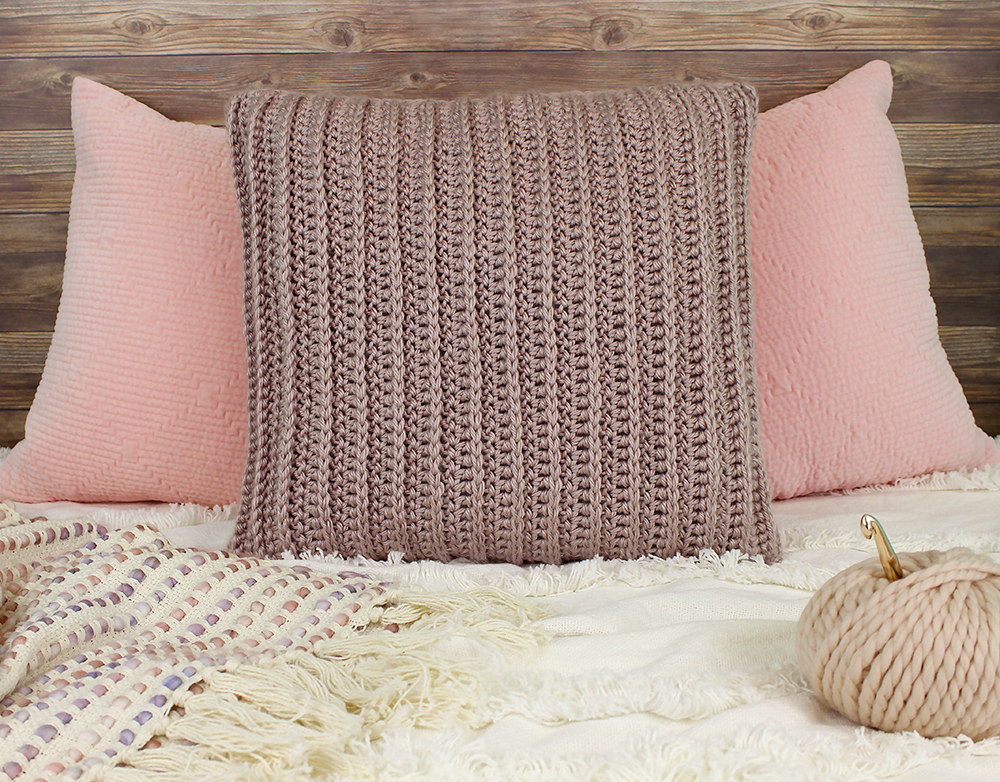
Highland Ridge Pillow Free Crochet Pattern
I’ve recently found a love for shopping at Homegoods (not sponsored) and in the home decor section at Target (also not sponsored), and one of the things I frequently see is knit and crochet pillows and blankets. Since I love all things yarn, I obviously needed some of these for my home! But of course, I couldn’t just buy them. Nope! I had to make my own. And that’s where I got the idea for my new Highland Ridge pillow.
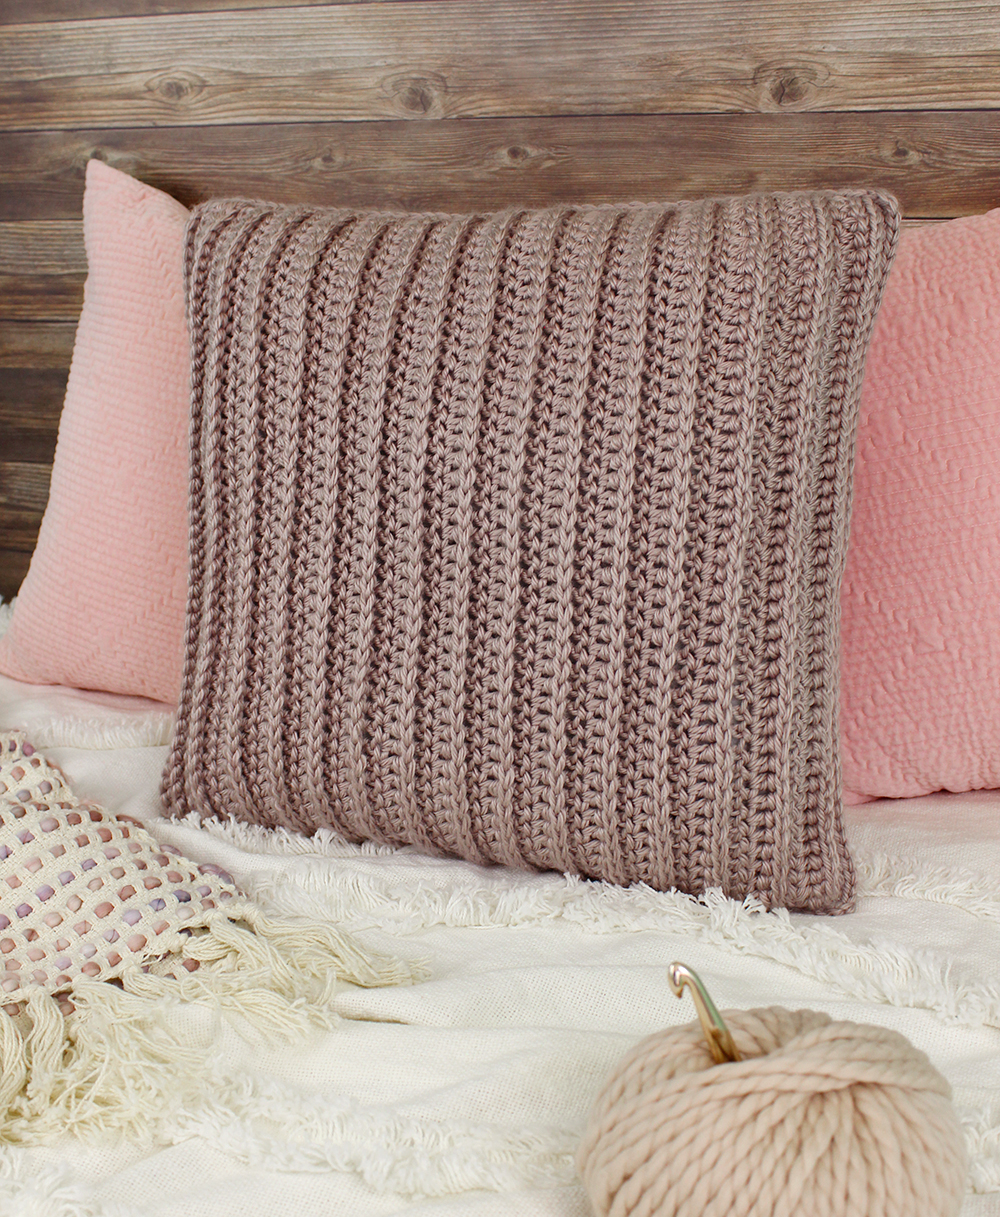
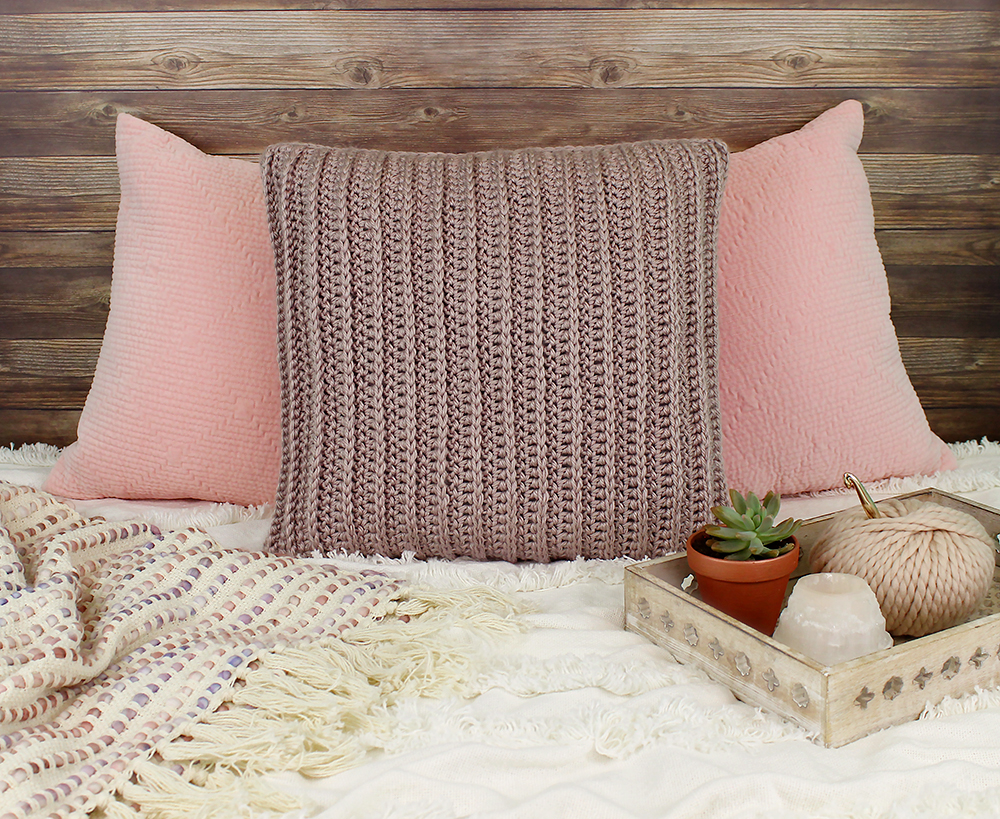
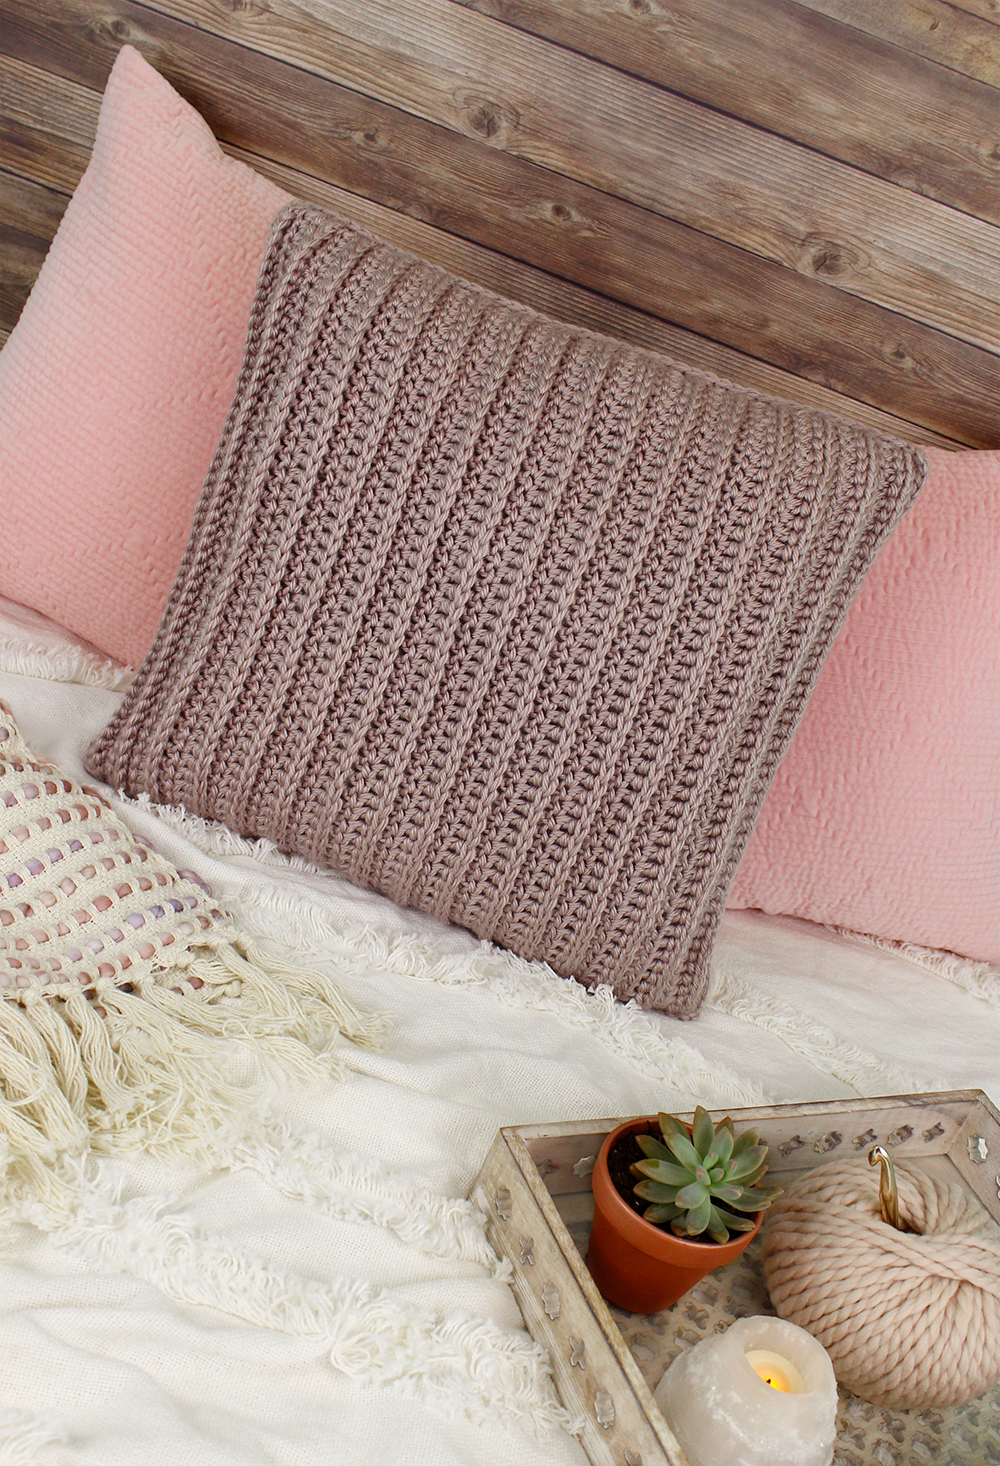
This is a really easy pillow that uses mainly double crochets and front post double crochets to create a nice ribbed texture. I love the simplicity of it and because it’s so simple, I feel it would fit in well with so many different styles of decor.
And did I mention that it’s also really easy?! Yep, I think this project is prefect for those Netflix & crochet kind of days. If you scroll to the bottom of this post, you’ll even find a full video tutorial where I’ll show you step by step how to make one!
DOWNLOAD THE PATTERN
You can find the FREE pattern by scrolling down. A convenient, print friendly, ad free PDF of this pattern is also available for a small fee, if you’d like.
>> CLICK HERE TO GET THE PDF ON ETSY <<
>> CLICK HERE TO GET THE PDF ON RAVELRY <<
Yarn
Red Heart Soft Essentials, #5 bulky weight yarn: 460 yards of #7305 Biscuit
Materials
US Size K/10.5 (6.5mm) crochet hook or size needed to obtain gauge, yarn needle, scissors, 18”pillow insert (which you can purchase, or use my tutorial to make your own!)
Disclosure: This post contains affiliate links. If you click & make a purchase, I will receive a small commission at no extra cost to you. This helps to ensure that I’m able to continue posting free patterns and tutorials! Thank you for your support! :)
Difficulty
Easy
Finished Measurements
18” square
Gauge
11 sts and 7 rows of pattern = 4”
Abbreviations
ch(s) – chain(s), sc – single crochet, dc – double crochet, FPdc – front post double crochet, st(s) – stitch(es), sl st – slip stitch, RS – right side
Notes
1. Pattern is worked in rows.
2. Ch 2 at beginning of even numbered rows will count as 1 FPdc. Ch 2 at beginning of odd numbered rows will count as 1 dc.
3. Work pattern two times to create two pieces.
Instructions:
Row 1 (RS): Ch 48, (1st 2 ch count as 1 dc) 1 dc in 3rd ch from hook and in each ch across – 47 dc.
Row 2: Ch 2 (counts as 1 FPdc) & turn, 1 FPdc in each st across – 47 FPdc.
Row 3: Ch 2 (counts as 1 dc) & turn, 1 dc in each st across – 47 dc.
Row 4-31: Repeat rows 2-3.
Row 32: Repeat row 2.
Fasten off first piece after row 32. After row 32 on second piece, do not fasten off and proceed to finishing instructions.
Finishing:
Hold the two pieces together with wrong sides touching. Continuing where you left off at the end of row 32 on the second piece:
Ch 1, sc evenly around three sides going through both pieces. Insert pillow insert and continue along fourth side. Invisible join to 1st sc and fasten off.
SHOW YOUR SUPPORT
If you use this free pattern, please consider supporting me by purchasing a pattern from my shop. Your support will help ensure that I’m able to continue making new patterns to share. Thanks for considering! :)
TERMS OF USE
You are welcome and encouraged to sell any items you make using this pattern! All I ask in return is that when selling online, please credit Julie King / Gleeful Things & provide a link to www.gleefulthings.com.
You may NOT sell the pattern, distribute it in any form, repost it online, or alter it to claim it as your own. Copyright © 2018 Julie King / Gleeful Things. All Rights Reserved.
Video Instructions
Watch the video tutorial below or on YouTube and let me show you how to make this pillow!
Pin it to save for later!