Plush Hug Hand Bag Free Crochet Pattern
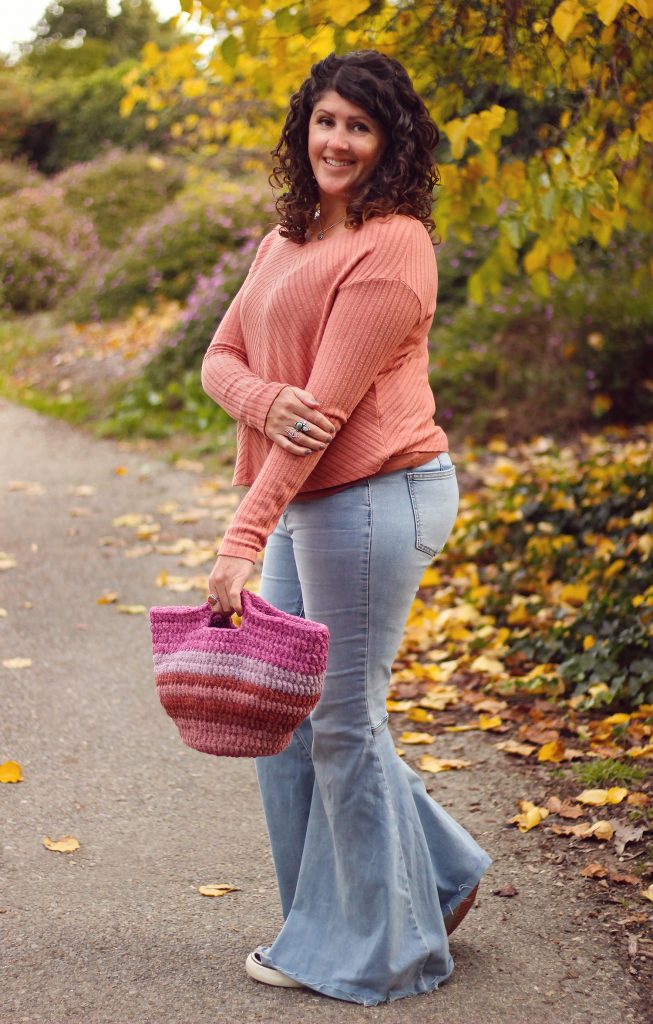
There is something about a chunky, crochet bag that just feels so appropriate for cold weather! Like, a bag is not an accessory that is meant to keep you warm, yet something about carrying it just feels so cozy anyway!
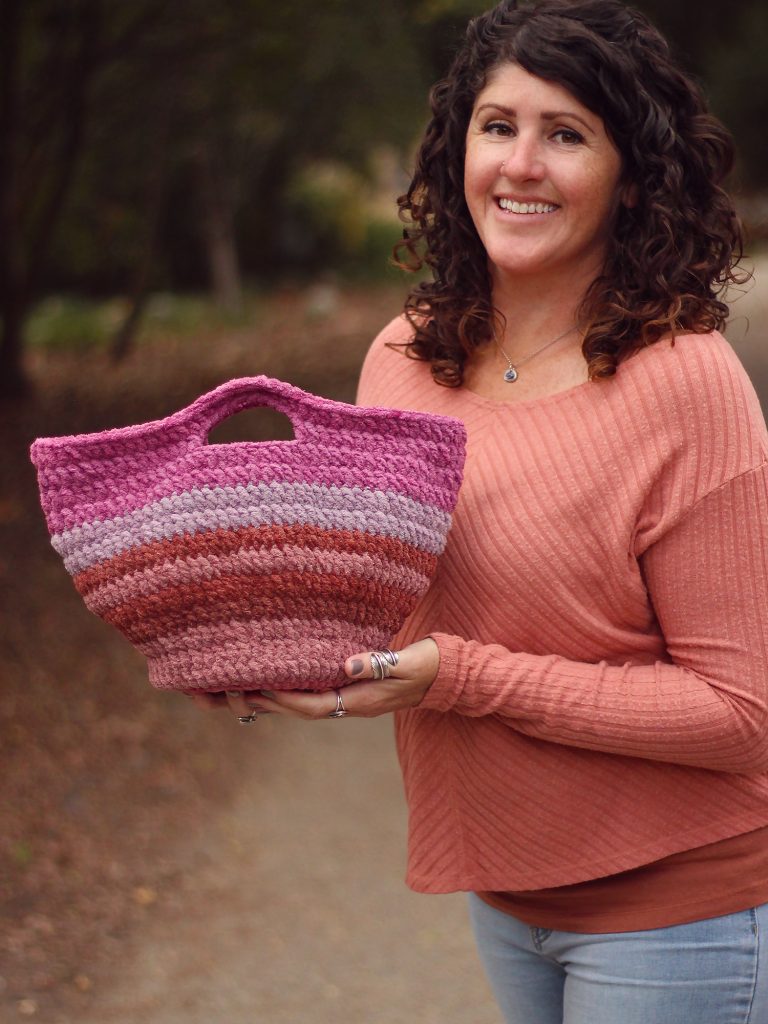
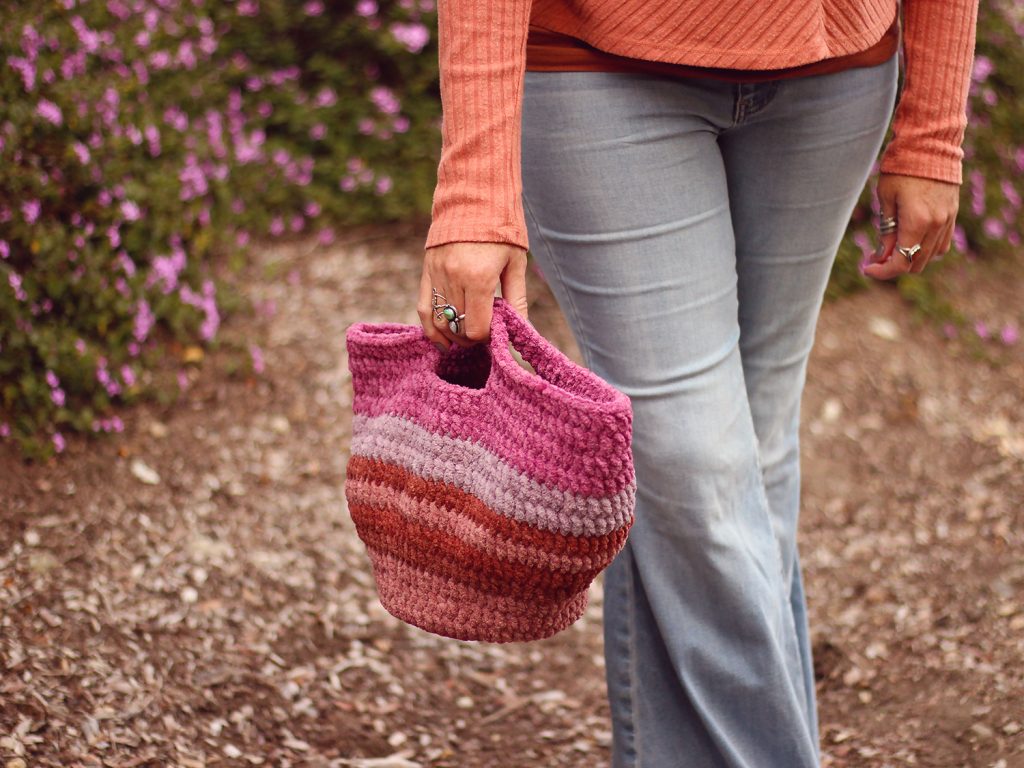
You’re going to love this squishy handbag! Not only is it quick and enjoyable to make, it’s so soft that you’re going to love toting it around too!
This is the first pattern I’m releasing that uses blanket yarn and I can’t believe it’s taken me this long to get around to using it! If you haven’t tried it yet, I hope you will! I mean, what’s not to love? A plush yarn that is also so plump that your projects work up really quickly? Yes, please!
I see a lot of blankets (obviously!) and amigurumi made using this yarn, so I wanted to create something a little different. This bag is a great option if you’re like me, itching to try blanket yarn for the first time but lacking the attention span to finish a blanket!
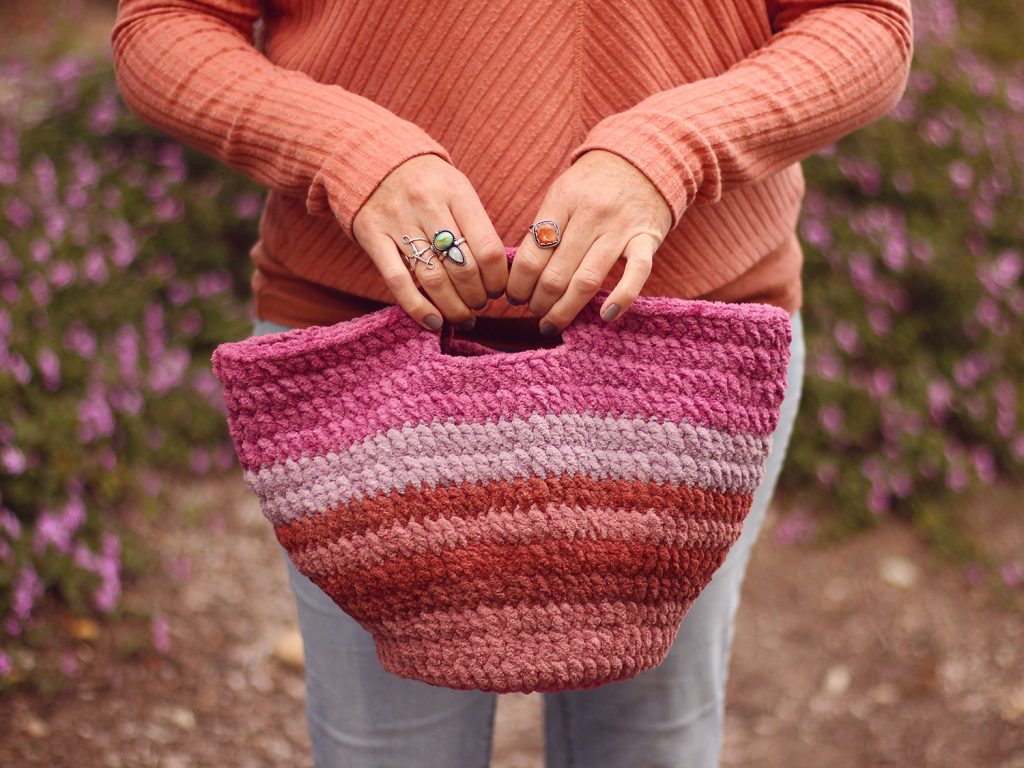
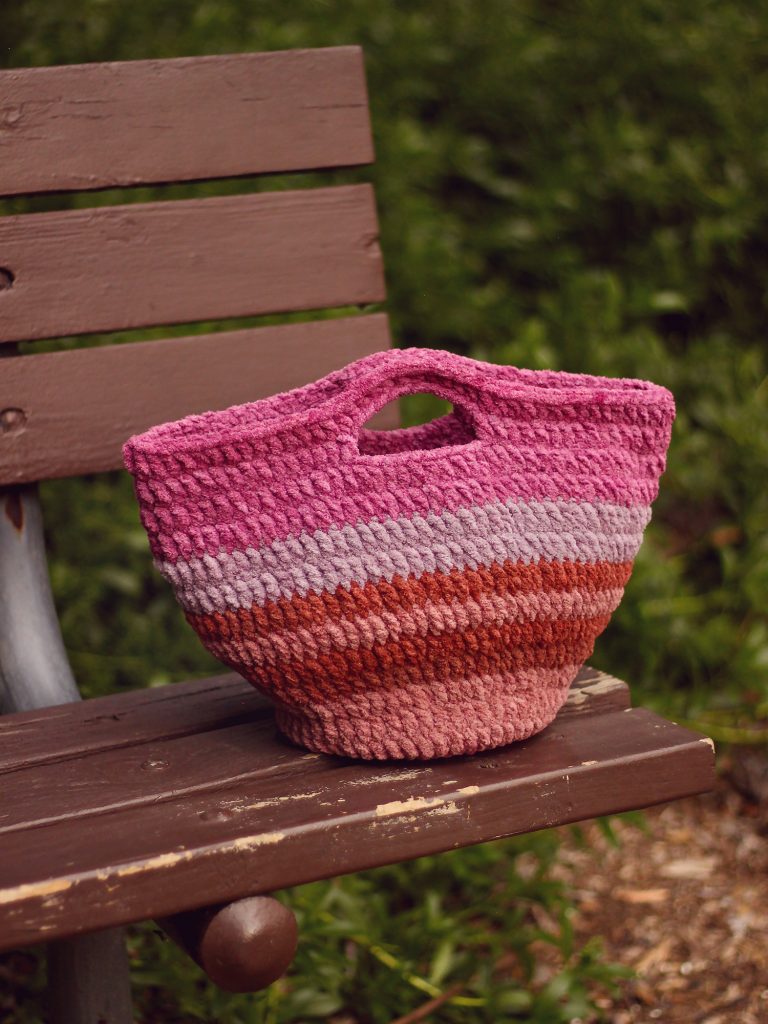
It requires less than 1 skein of Bernat Blanket yarn and looks just as nice in solid colors as it does with stripes! If you want to use multiple colors while remaining budget-friendly, definitely try Bernat Blanket Ombré (shown here), which has several colors in one skein.
This pattern is super beginner-friendly, using mainly double crochets, and is just begging to be accessorized in your own, personal style. Tie a scarf onto the handle, add enamel pins or patches, etc.
Disclosure: This post contains affiliate links. If you click and make a purchase, I will receive a small commission, at no extra cost to you. This, along with the ads shown on this blog, help to ensure that I’m able to continue posting free patterns and tutorials for you to enjoy. Thank you for your support!
Why You’ll Love This Little Handbag
- Easy peasy – Whether you’re just learning to crochet or simply looking for an easy project, you’ll enjoy this pattern, which is made using all double crochets!
- Scrap saver – You can change colors at any point during this pattern which makes it the perfect way to use up scraps of blanket yarn left over from your other projects.
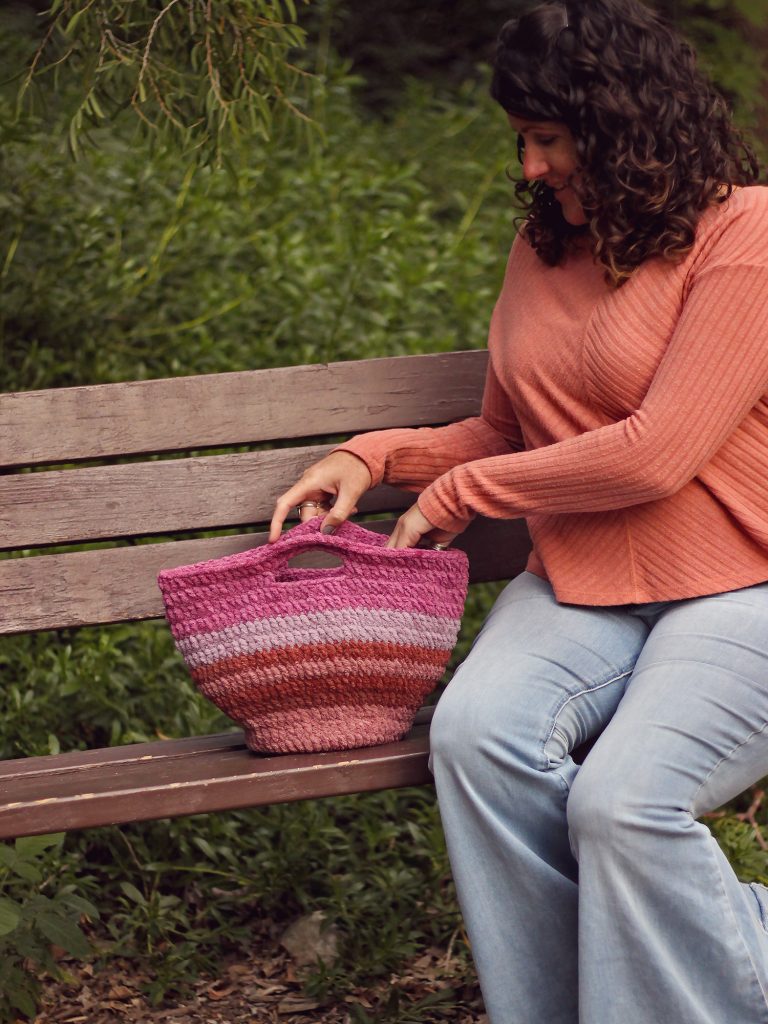
- Multiple uses – This bag is an ideal size to be used as a clutch for carrying your wallet, keys, and other small essentials, or fill it with yarn and use it as a project bag!
- The joy! – Carrying this squishy bag always makes me happy and I hope it has the same effect on you! :)
Yarn
#6 super bulky weight yarn: Approximately 180 yards of Bernat Blanket Ombré in Dusty Rose Ombré
Yarn Substitute Ideas
- Any Bernat Blanket yarn – Bernat Blanket comes in a lot of varieties and they should all be fine for this project. It would look nice in a solid color or, use up your scraps and make a multi-colored bag.
- Loops & Threads Chenille Home Slim, Premier Basix Chenille, Big Twist Plush – These are all very similar to Bernat Blanket and should work just fine!
- Your favorite #6 super bulky yarn – If you prefer not to use blanket yarn, you can experiment with your favorite yarns. It’s ok if you can’t meet the gauge with your chosen yarn as long as you don’t mind your bag being slightly different in size than mine.
Download The Pattern
You can find the FREE pattern by scrolling down. A print-friendly, ad-free PDF of this pattern is also available for a small fee. If you enjoy my patterns, please consider purchasing the PDF – your support is greatly appreciated and will help me keep the new patterns coming! :)
Supplies
- US Size J/10 (6mm) crochet hook or size needed to obtain gauge
- Yarn needle
- Scissors
- Sew on magnetic snap (optional)
- 6” Scrap of cardboard or thin plastic to strengthen bottom of bag (optional)
Difficulty
Easy
Gauge
9 dc & 4 rows = 3 inches
Gauge is not critical for this project but you do want to keep your stitches tight as it will keep the bag stiff, avoiding stretchiness and gaps between stitches.
Finished Measurements
8.5 inches tall, 15 inches wide. Bottom is 6 inches in diameter.
How to Adjust Size
You can easily make the bag taller by adding more rounds before you move onto making the handle (in round 16).
You could also make the bag smaller by using a smaller yarn & hook.
Abbreviations
- ch(s) – chain(s)
- dc – double crochet
- st(s) – stitch(es)
- sl st – slip stitch
Terms Of Use
You are welcome to sell any items you make using this pattern, in small quantities. Mass production is prohibited. When selling online, please credit Julie King / Gleeful Things by linking to www.gleefulthings.com or tagging @gleefulthings. You may NOT sell or distribute the pattern itself in any form, alter it to claim it as your own, post it online, or create a video demonstrating the pattern.
Notes
- Pattern is worked in joined rounds, from the bottom up.
- Ch 3 at beginning of rounds will always counts as 1 dc.
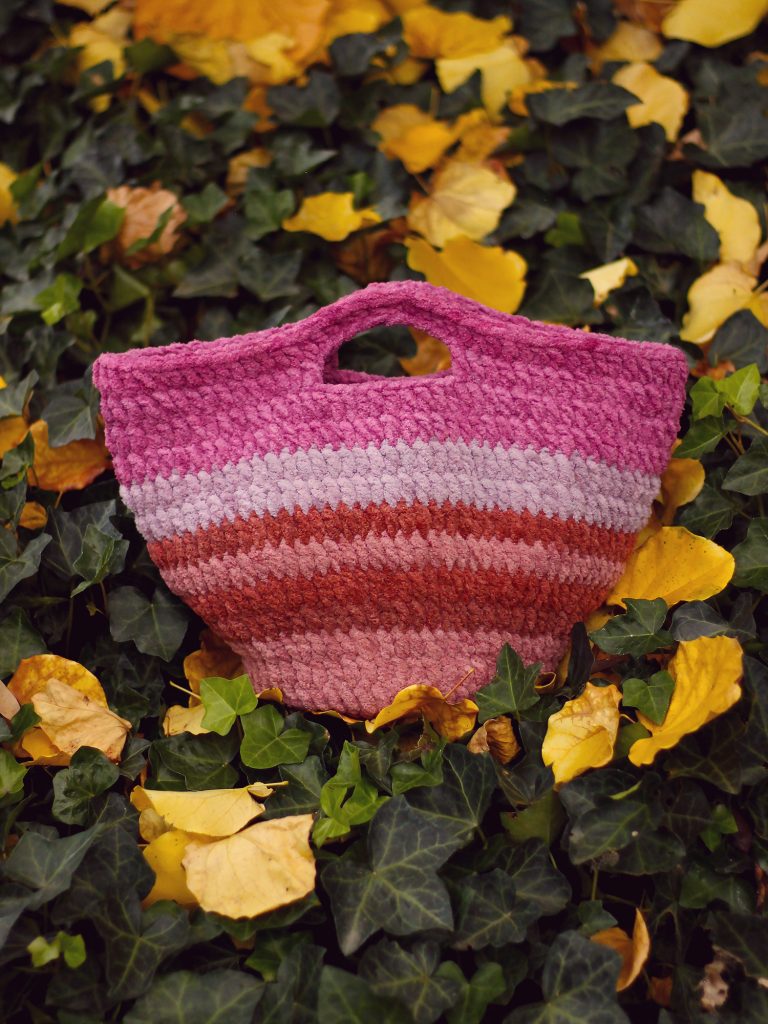
- Pattern is written with no color changes as the yarn used for the sample has multiple colors in it. You can let them flow naturally from one color to the next or cut them and switch to the next color as you choose. I chose to change colors at the end of the following rounds: 4, 7, 9, 10, 11, & 13.
Instructions
Round 1: Make a magic ring, ch 3 (counts as 1 dc now & throughout), 13 dc in ring, sl st to join to 3rd ch – 14 dc.
Round 2: Ch 3, 1 dc in same st, 2 dc in each st around, sl st to join to 3rd ch – 28 dc.
Round 3: Ch 3, 2 dc in next st, *1 dc in next st, 2 dc in next st; repeat from * around, sl st to join to 3rd ch – 42 dc.
Round 4: Ch 3, 1 dc in next st, 2 dc in next st, *1 dc in each of the next 2 sts, 2 dc in next st; repeat from * around, sl st to join to 3rd ch – 56 dc.
Rounds 5 – 6 (2 rounds): Ch 3: 1 dc in each st around, sl st to join to 3rd ch – 56 dc.
Round 7: Ch 3, 1 dc in each of the next 2 sts, 2 dc in next st, *1 dc in each of the next 3 sts, 2 dc in next st; repeat from * around, sl st to join to 3rd ch – 70 dc.
Round 8: Ch 3: 1 dc in each st around, sl st to join to 3rd ch – 70 dc.
Round 9: Ch 3, 1 dc in each of the next 3 sts, 2 dc in next st, *1 dc in each of the next 4 sts, 2 dc in next st; repeat from * around, sl st to join to 3rd ch – 84 dc.
Rounds 10 – 15 (6 rounds): Ch 3: 1 dc in each st around, sl st to join to 3rd ch – 84 dc.
Round 16: Ch 3, 1 dc in each of the next 15 sts, ch 10, skip 10 sts, 1 dc in each of the next 32 sts, ch 10, skip 10 sts, 1 dc in each of the next 16 sts, sl st to join to 3rd ch – 64 dc + 2 ch 10 spaces.
Round 17: Ch 3, 1 dc in each of the next 15 sts, 1 dc in each of the next 10 chs, 1 dc in each of the next 32 sts, 1 dc in each of the next 10 chs, 1 dc in each of the next 16 sts, invisible join to 3rd ch and fasten off – 84 dc.
Finishing
Cut a 6” circle from a scrap of cardboard or thin plastic to place inside, at the bottom of the bag. It will help keep the bottom from stretching, which helps the bag hold shape better. You can hot glue it in place if you’d like.
Attach a magnetic snap closure below the opening for the handles, if desired.
How to Customize Your Bag
- Try other yarns – Don’t feel limited to using blanket yarn for this bag. Experiment with your favorites, mix other types of yarn in similar sizes, whatever you feel excited about!
- Add a scarf – Tie a small scarf or bandana onto the handle.
- Add pins or patches – This bag looks super cute when decorated with enamel pins or sew on patches and they are the perfect way to add some of your personality to it!
Share Your Bag!
I hope you’ve enjoyed this pattern and I would love to see what you made! Please share your photos on social media and tag me @gleefulthings or use hashtag #gleefulthings. Don’t forget to add your project on Ravelry too! :)