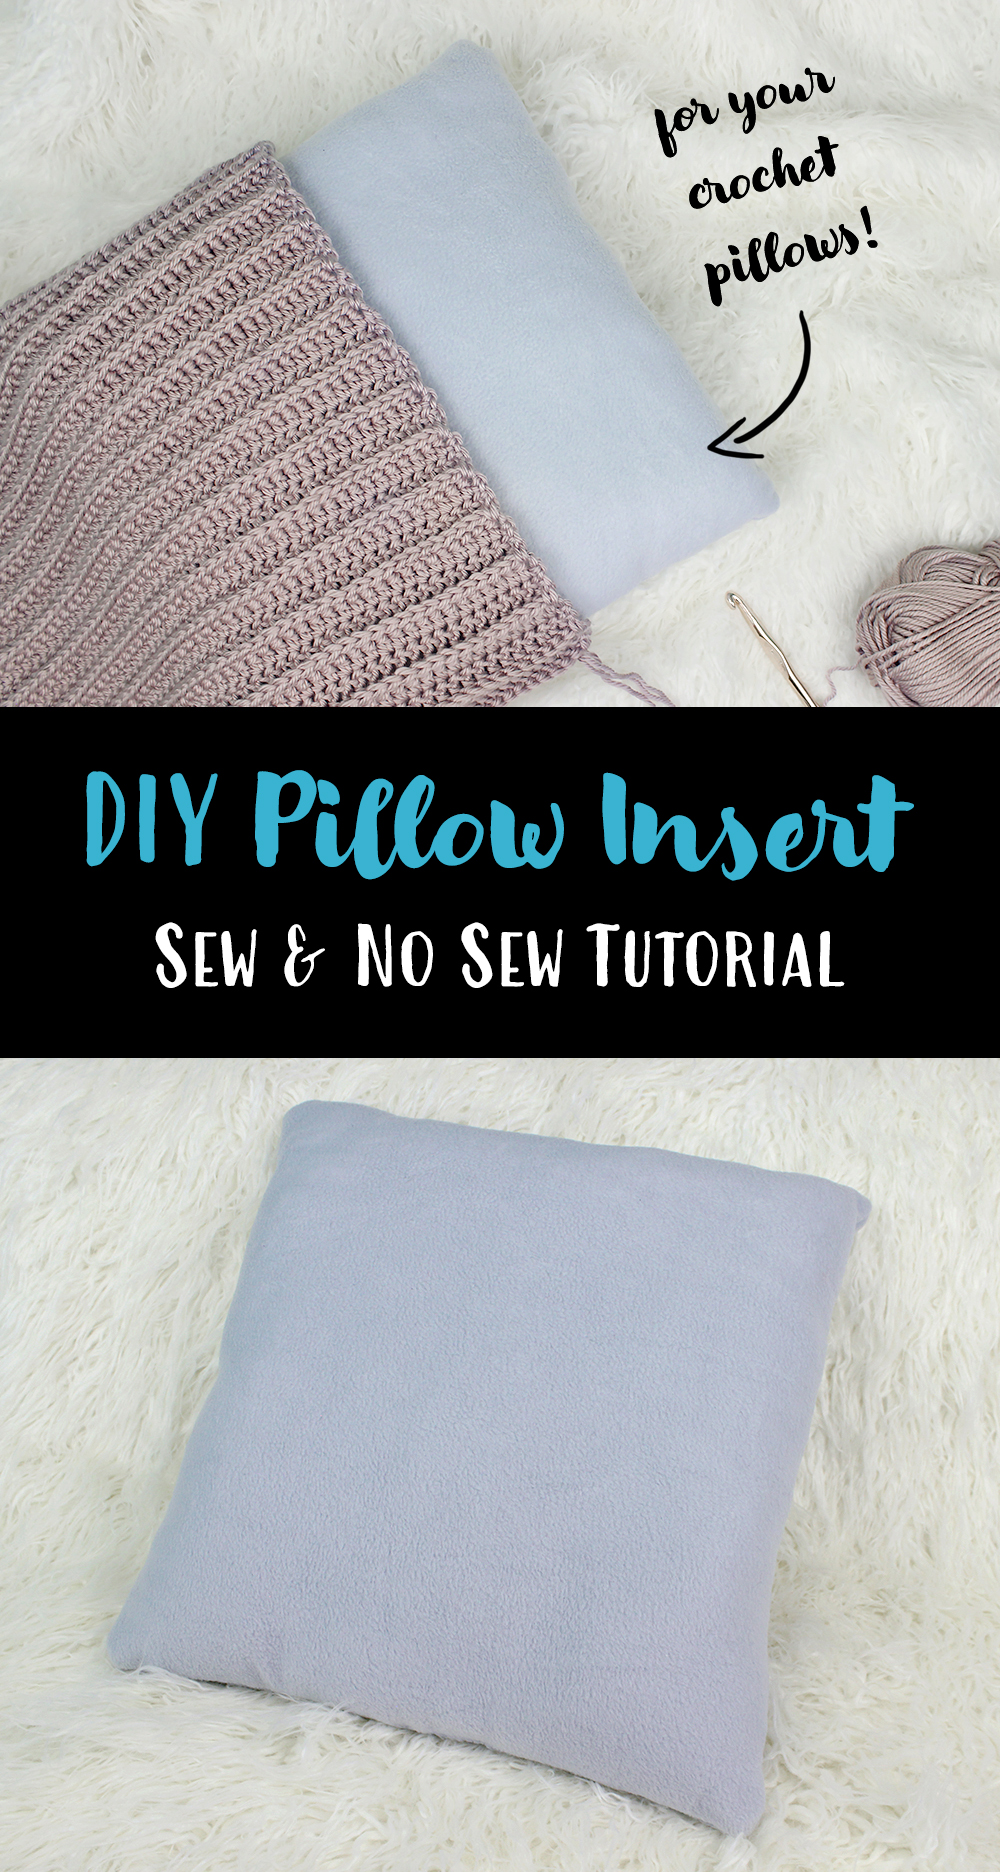
DIY Pillow Insert Sew or No Sew Tutorial

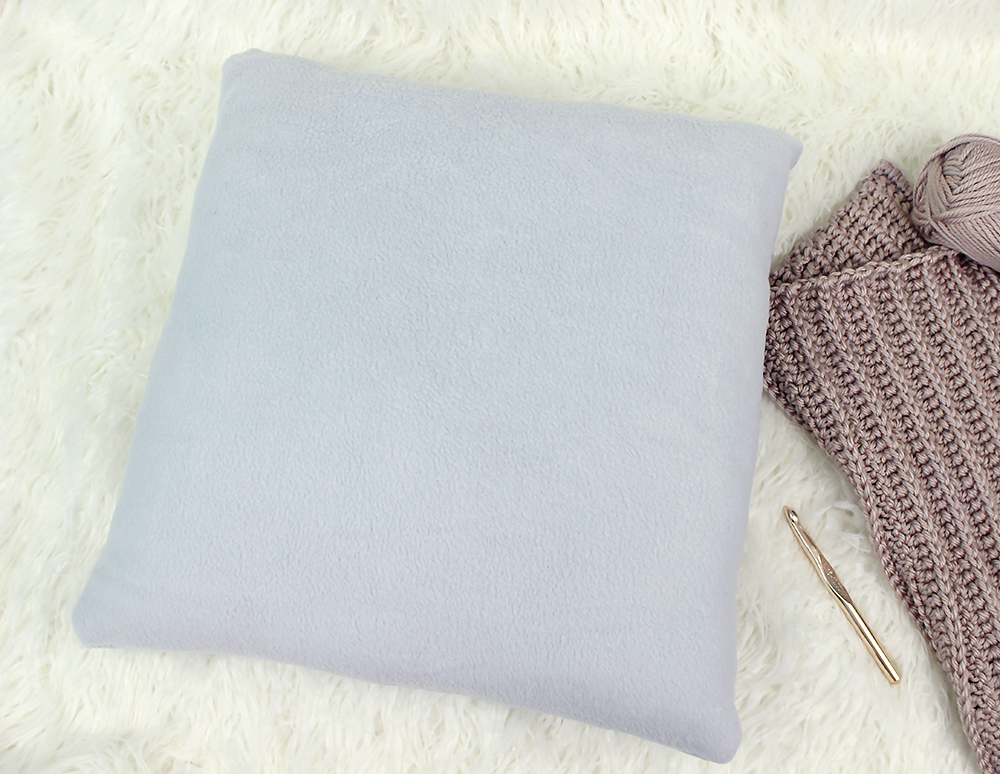
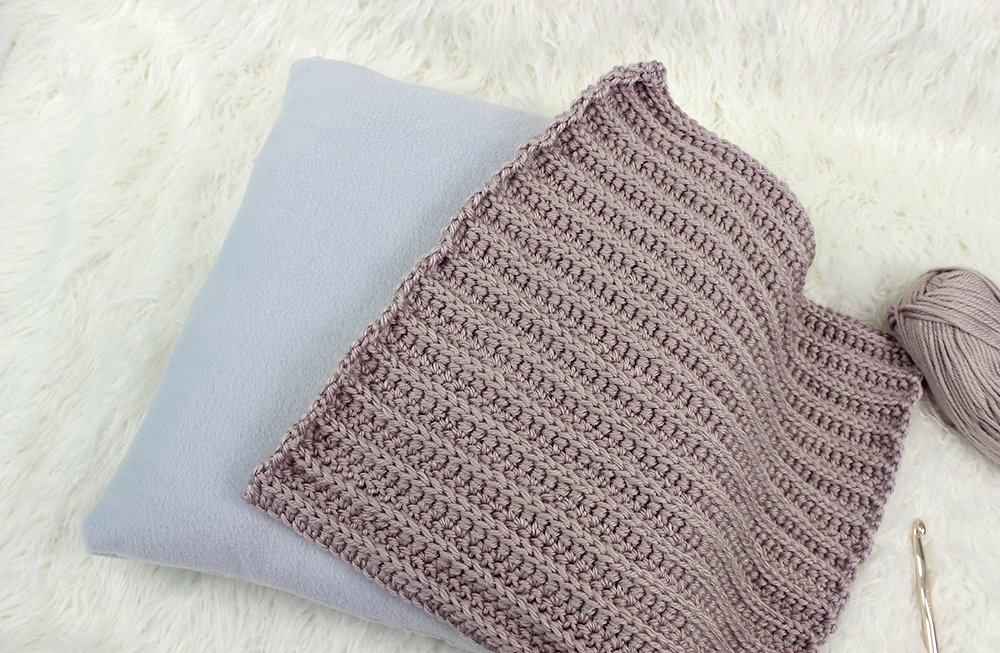
Have you ever noticed how expensive pillow inserts can be? I really hadn’t until I needed one for my Highland Ridge Pillow. I found some that were as much as $45! Yikes, right?! I couldn’t stand the idea of a pillow costing that much, let alone the inside of a pillow that no one is even going to see! So, being the crafty person that I am, I instead grabbed some stuffing and some cheap fabric and set off to make one on my own for much less!
In the video below, I’m gonna show you how I did just that! And best of all, you don’t even need to know how to sew! If you do know how to sew, awesome! You can do that! But if you don’t know how to sew, no problem at all! All you’re going to need is a glue gun! I’ll be showing both methods in one quick video.
These inserts are perfect for putting inside a pillow that you’ve crocheted because they will keep any stuffing from showing between the stitches or falling out over time. If you’d like to make the crochet pillow you see here, you can find the free pattern here.
Supplies:
- Fabric. Most fabrics will work but a basic cotton would be great. I used fleece because it was cheap. Yardage will depend on what size pillow you’re making. I needed an 18″ square pillow so I needed to cut two 19″ squares, which required just over a half yard of fabric.
- Stuffing. Again, how much you need will depend on your pillow size. For reference, I used an entire 16 ounce bag for my 18″ pillow, but probably could have used a little less.
- Fabric scissors
- Basic sewing supplies OR a glue gun
Disclosure: This post contains affiliate links. If you click & make a purchase, I will receive a small commission at no extra cost to you. This helps to ensure that I’m able to continue posting free patterns and tutorials! Thank you for your support! :)