DIY Leather Handles For Crochet Projects

I really love adding leather details to crochet projects because I feel like it gives it something extra and makes it feel more finished! There are a lot of handles you can buy in stores but it really is super easy to make your own! Below, I’ll show you how I made the handles for my Rustic Lace Basket and all of the supplies I used. Don’t miss the video tutorial at the bottom of this post! :)
Supplies:
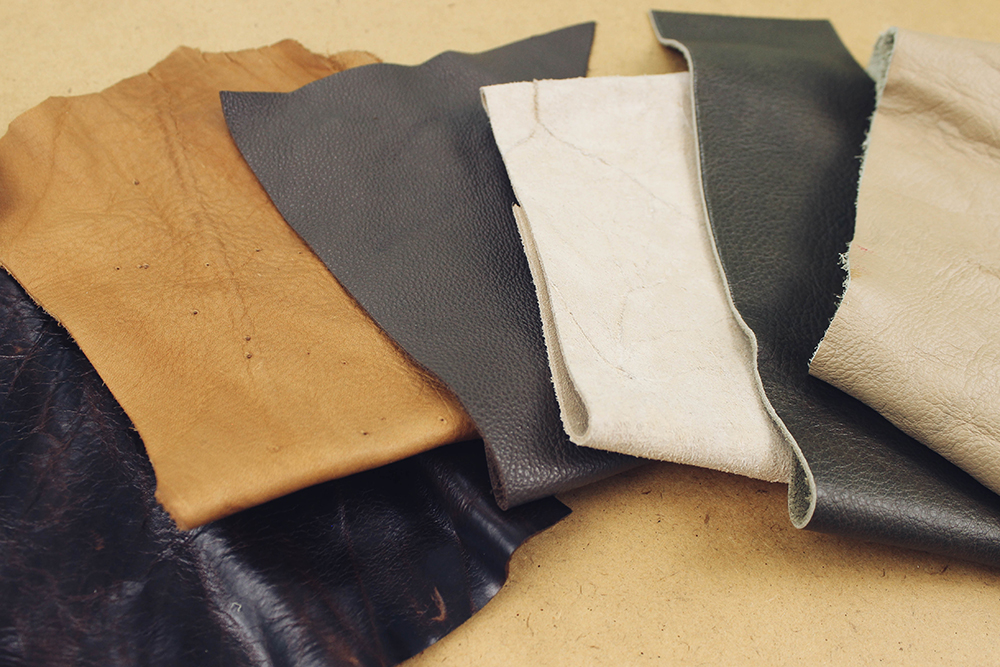
- Leather scraps/remnants – You can find bags of these at any craft store for around $10. Pros: You can get a lot of leather pieces for not much money. Cons: It’s hard to tell what’s in the bags until you open them & sometimes a piece that you thought would be perfect will turn out to be much smaller than expected. Usually craft stores also sell individual small leather pieces for about the same price. Pros: These are nice if you want a specific color and to make sure you get enough for two handles. Cons: The pieces are usually something like a 10″ square, so not much leather for the same price as a larger mystery bag.

- Metal studs or rivets – There are a lot of types of studs or rivets that you can use to attach the handles. Personally, I like these ones that are actually intended to be purse feet. I found them at Jo-Ann along with all of the bag handles and supplies meant for purse making. If you don’t like the prongs on the back, there are also hammer on types and screw on ones with flat backs.
- Scissors that will cut leather – I use Fiskars RazorEdge & they are awesome!
- Rotary cutter, Ruler & Cutting Board – These are not totally necessary, you can definitely just use scissors. But the rotary cutter makes it a lot easier to get a really nice, straight cut. Also quicker! ;)
How to:
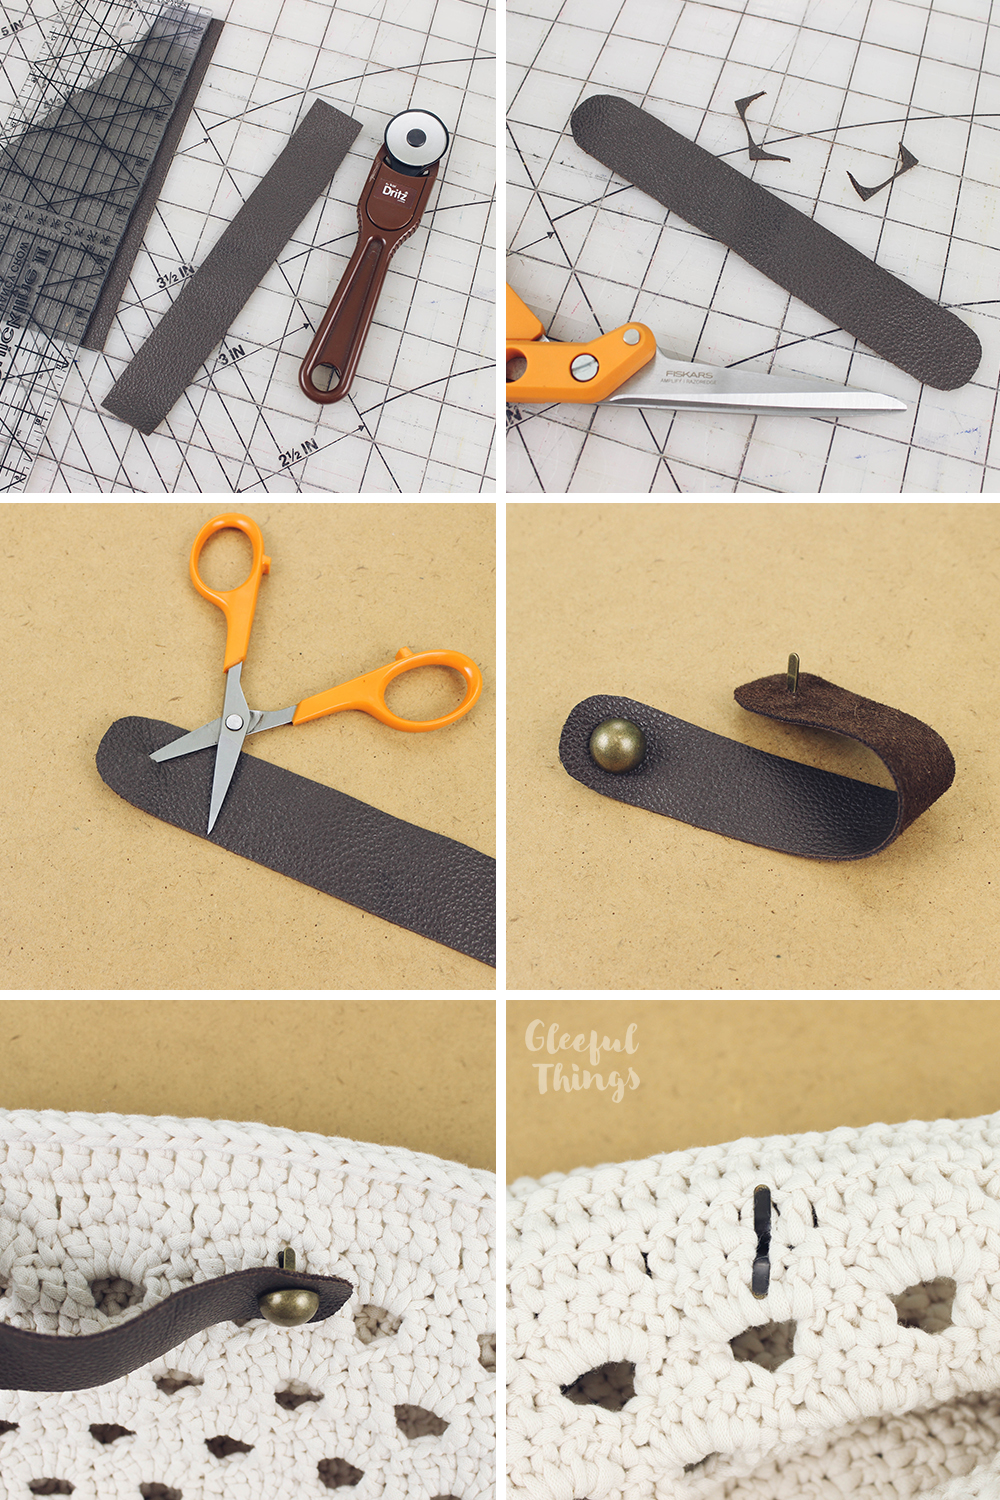
- Use your ruler & rotary cutter to cut a piece of leather to the desired size of your handle. Mine is 7″ x 1″.
- Use your scissors to round the ends, if desired.
- Poke a small hole about an inch from each end of the handle and insert your stud/rivet.
- Insert the stud/rivet into a stitch on your crochet project and attach the back to secure it (or flatten the prongs, in this case).
Great tutorial, Julie! Thank you!