Tips For Taking Better Photos of Your Craft Projects
Since I started blogging and selling online several years ago, I’ve experimented with a lot of different ways to photograph my projects. Through lots of trial and error, I’ve learned what works for me and what doesn’t. So here I’ve put together some tips for anyone who is wanting to make their project photos a little better!

If you sell your craft online, having the best photos possible is absolutely essential and can greatly affect the success of your business. But even if you’re just wanting to share your projects on Ravelry or your blog, good photos are always nice, right? :) Here are some simple tips that anyone with any camera can use!

Selecting a good background for your photos is so so SO important! Taking photos anywhere with a cluttered background looks thoughtless and really doesn’t allow your item to shine! If your photography looks thoughtless, people may worry that your work is thoughtless as well and not want to buy from you. Sure people can see it ok, but after all the hard work you put into making the item, don’t you think your work deserves a little better than a quick snapshot on the couch?
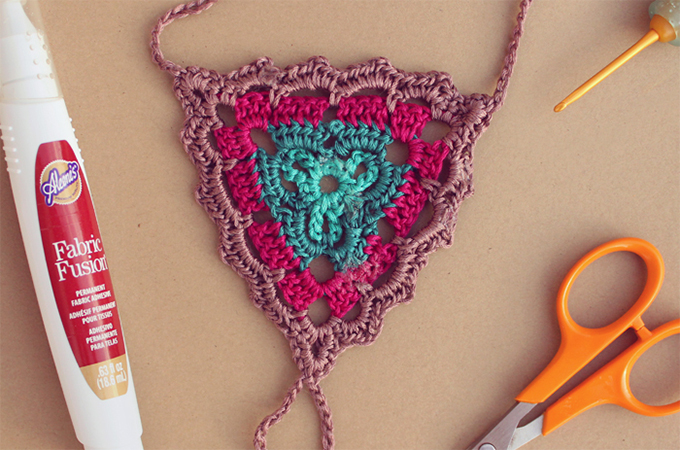
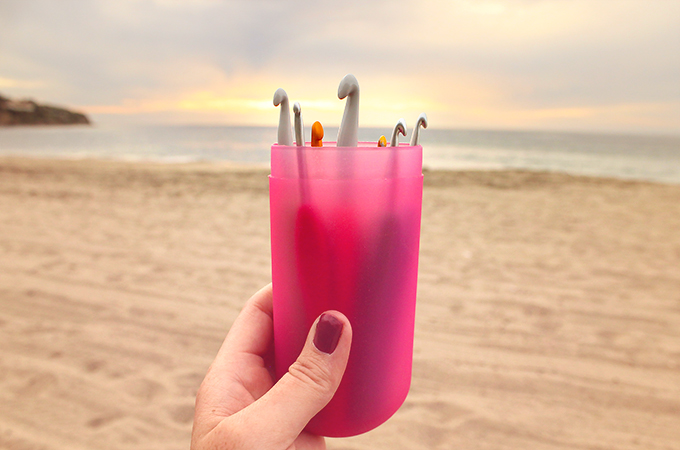
My personal favorite background is a piece of fabric in a color that compliments or contrasts well with your project. It’s best to avoid most printed fabrics (that’s basically another type of clutter that will take the focus away from your project). I also really like more natural backgrounds such as weathered wood, peeling paint, cement, sand, and rocks. Some of those obviously work better for close ups of tiny items, like jewelry.

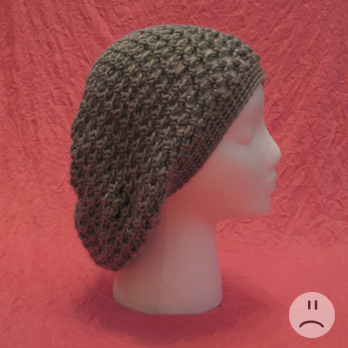
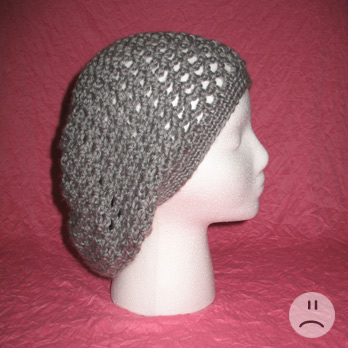
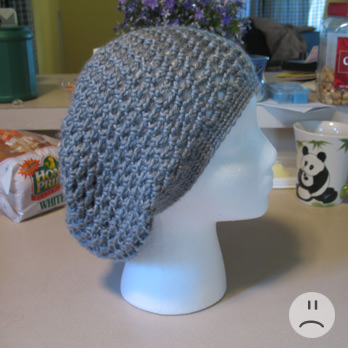
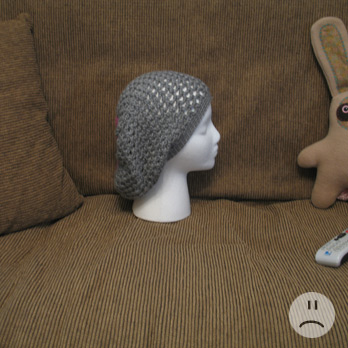
Choosing a flattering lighting source is also VERY important! Even with a good background, crappy lighting can still make your project look much less awesome than it really is. The first photo here is taken indoors with no flash and the second one is indoors with a flash. The first one is too dark and hard to see and while you can see the second one alright, the flash makes the background look ugly and creates unflattering shadows. I do not recommend taking photos indoors, ever, unless you have a huge window letting in plenty of beautiful sunlight!
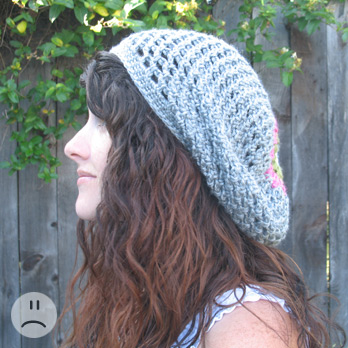
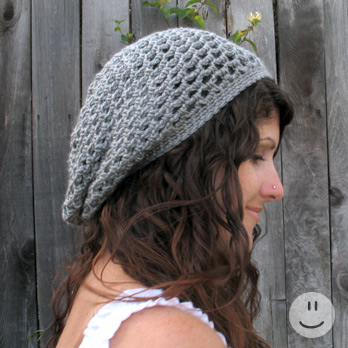
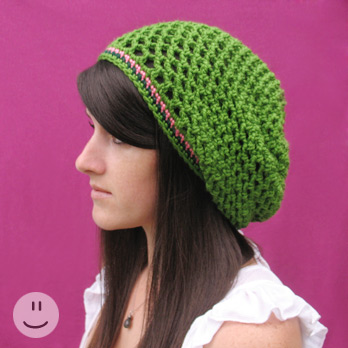
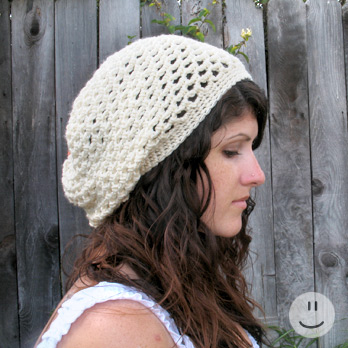
Speaking of sunlight, it can ruin photos just as easily as it can help them! Taking photos outdoors while the sun is high in the sky and shining directly on you is a bad idea (as you can see in the photo on the left here). I take my outdoor photos either in a place that is blocked from direct sunlight or later in the day after the sun has gone down far enough that it’s not shining directly on me/my project. For me, this is the only way that I’m ever happy with my photos.

It’s really not necessary to buy a fancy, expensive camera. I use an inexpensive Canon point & shoot for all of my photos, I love it to pieces and think it does a great job! There are a few basic settings on (pretty much) every camera that are very easy to set and will really enhance your photos! I really, really recommend cracking open your camera’s manual and learning how to change the following settings!
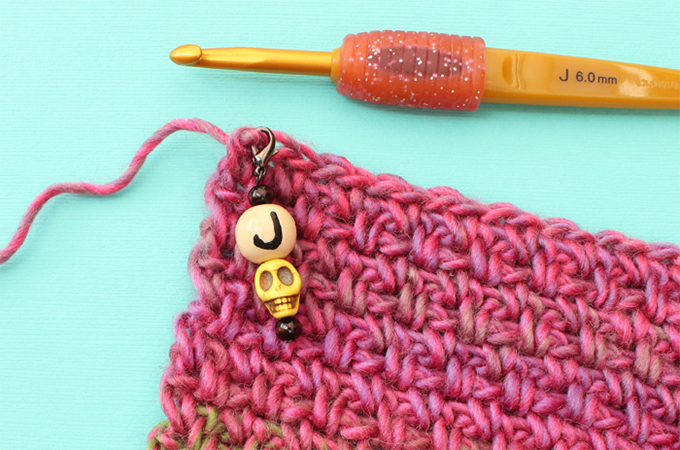
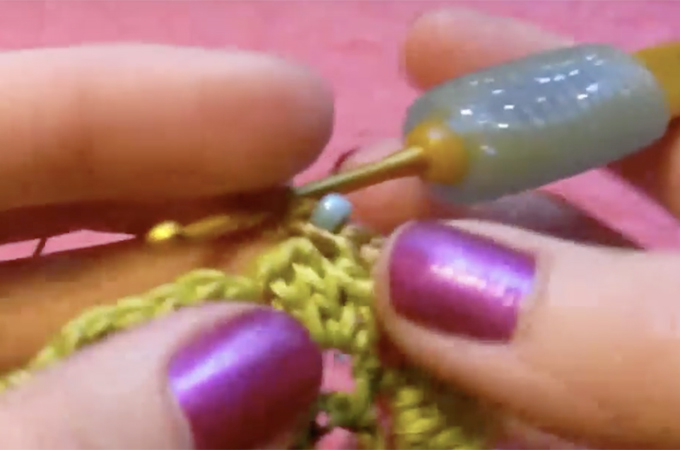
– Macro mode is a little tulip symbol on most cameras and when turned on, it helps your camera focus on very close up objects. Any time you’re doing close ups of an item, I recommend turning this setting on. Your photos will be much more sharp and in focus!
– White balance is a setting that helps ensure that the colors in your photos are correct. If you don’t set your white balance, your item may appear a different color in the photo than it is in real life. Cameras will auto white balance but for your photo to look it’s best, you should do it manually. Here is an article that explains white balance more in depth!
– Self timer is your best friend when you need to model an item! I don’t know about you, but I get really awkward in front of the camera when someone else is behind it. So I prefer to put my camera on a tripod and use self timer to shoot my own photos whenever I have a hat to model. I usually set it to take 10 photos, 3 seconds apart.

I could talk a lot more about photography and what I’ve learned so far, so if there’s anything you’d like to know more about, feel free to ask! Maybe I can make a Q&A post if there is any interest. :)
Also, if anyone has anything to add, I would love to hear your photography tips and tricks!
Thank you for this post. The sun outside past 3 works best for me too but I always get crazy and want to take a pic right away. I love the idea with the piece of fabric too!
Gabli