Little Peaks Mittens Free Crochet Pattern
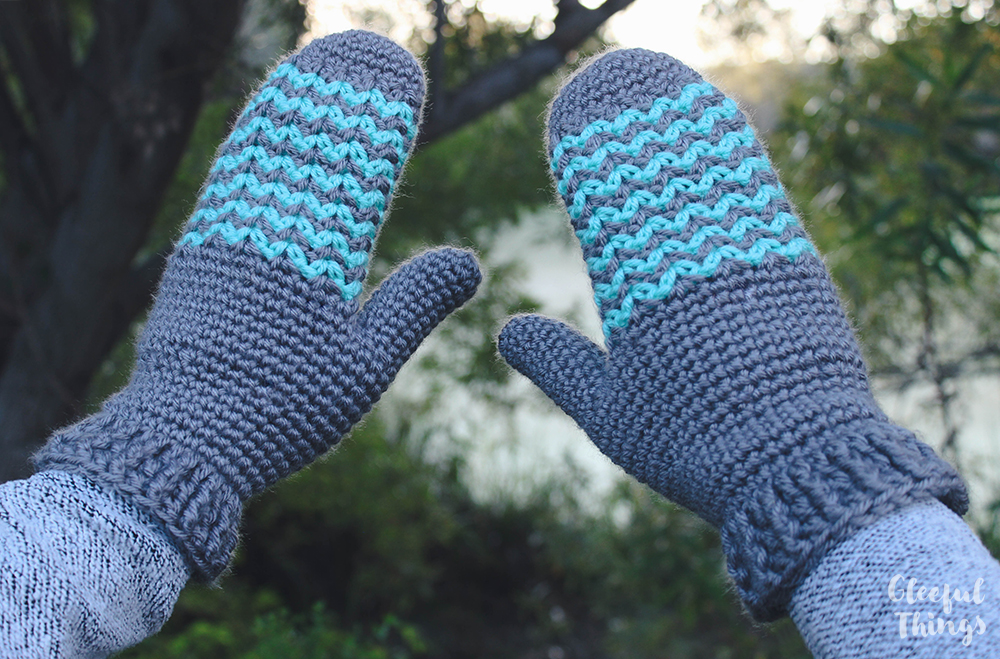
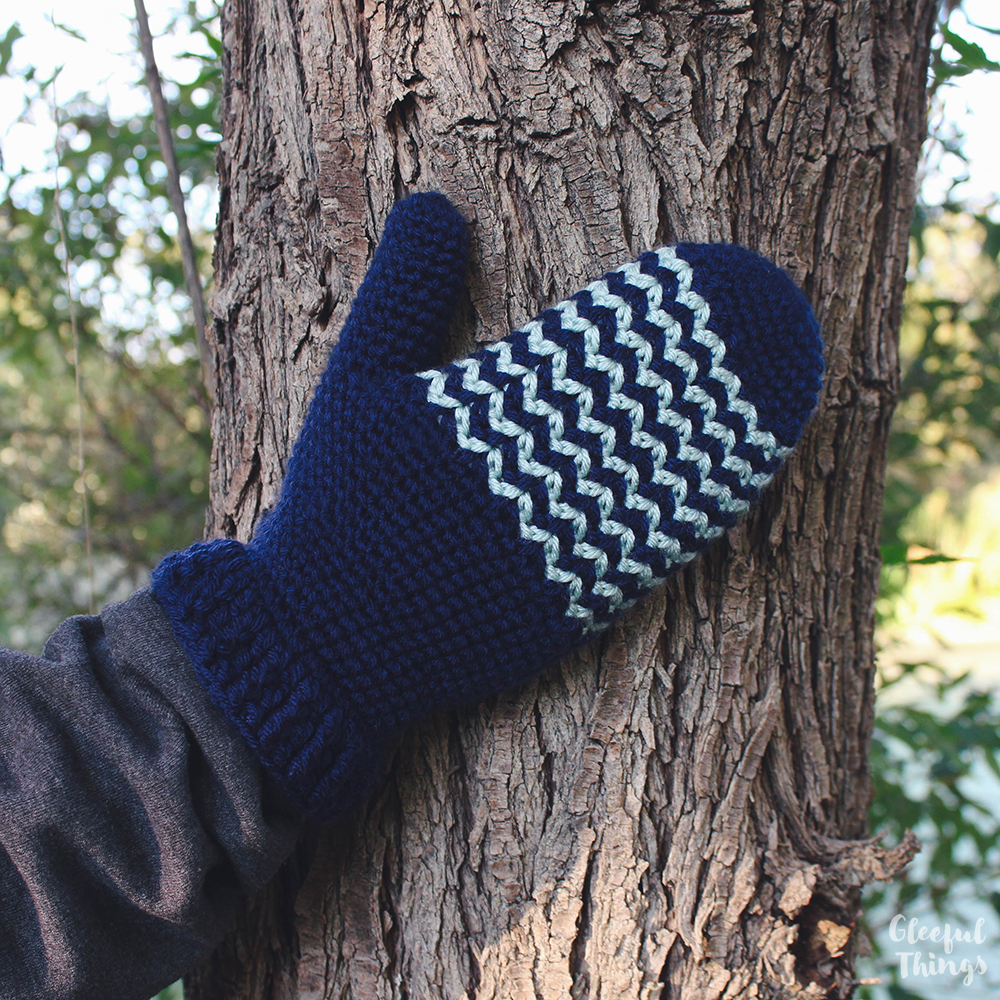
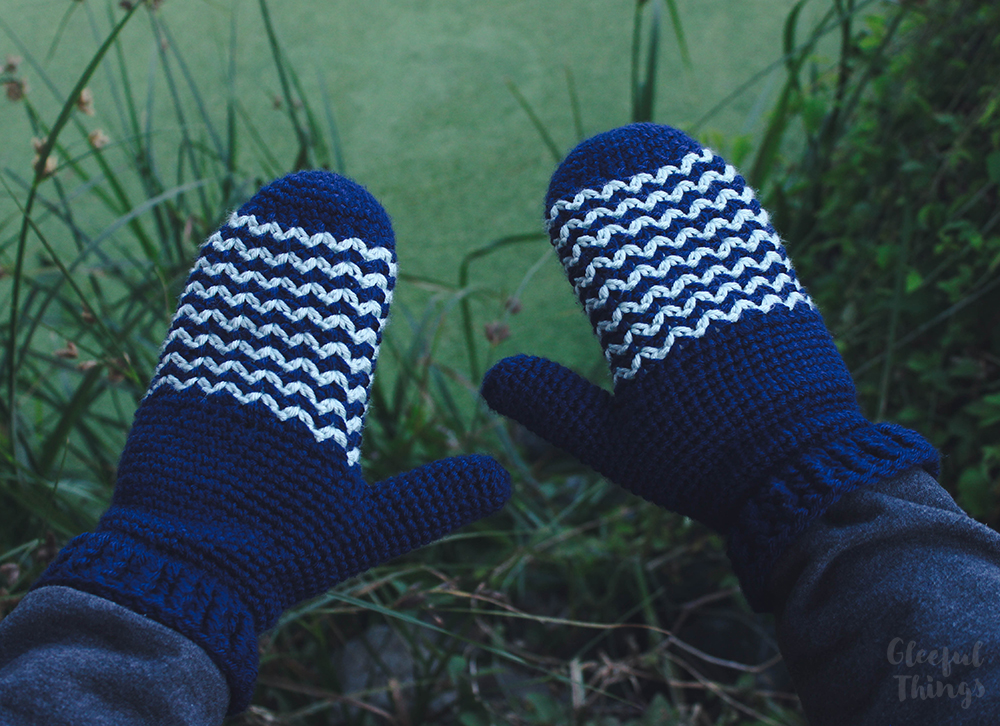
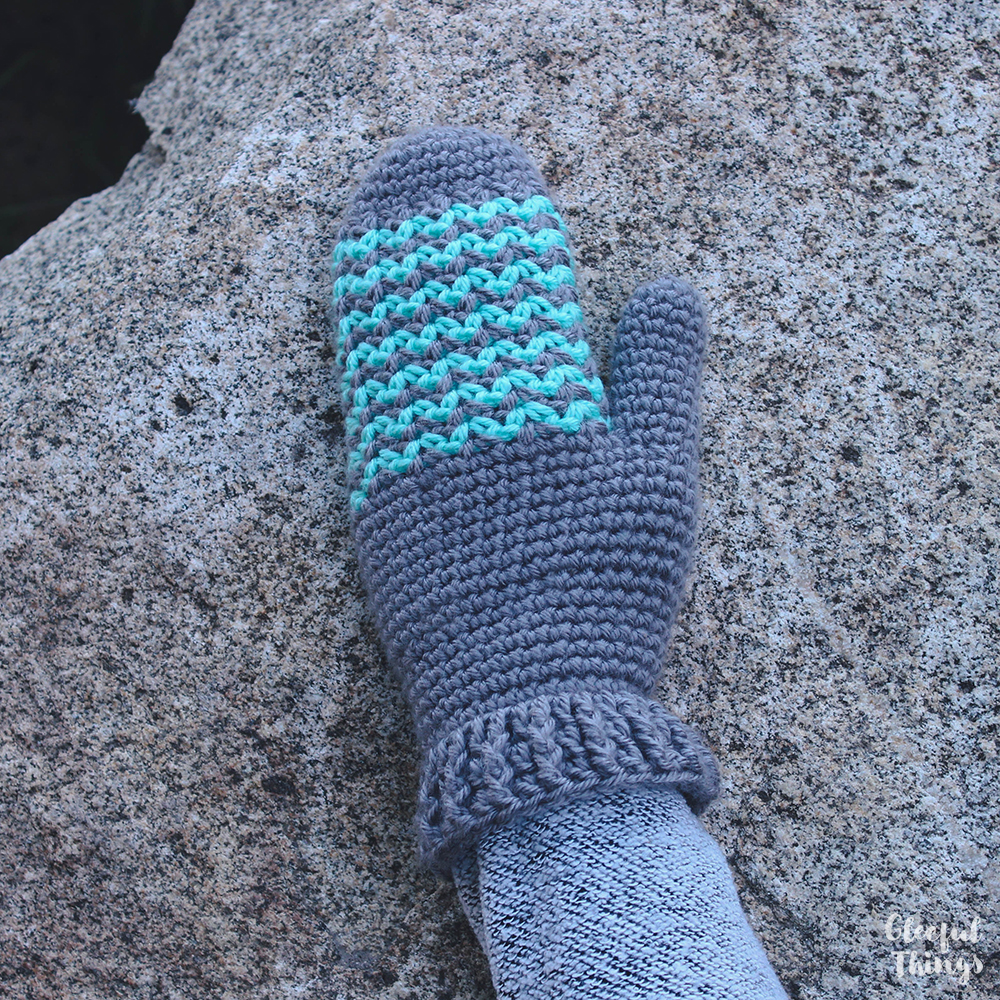
Fall is here and the weather is getting crisp and cool! Good thing, the Little Peaks Mittens are here to keep your hands cozy! Featuring a fairly simple, two-color design, this pattern uses V stitches to create little “peaks” across your fingers.
If you’ve ever been intimidated by how mittens are made, I think you’ll find these an easy pattern to start with. The construction is simple and I’ve even included photos to help you along the way.
Grab two colors of your favorite #4 worsted weight yarn and whip up a pair today!
Disclosure: This post contains affiliate links. If you click and make a purchase, I will receive a small commission, at no extra cost to you. This, along with the ads shown on this blog, help to ensure that I’m able to continue posting free patterns and tutorials for you to enjoy. Thank you for your support!
Why You’ll Love These Mittens
- Simple construction – Start by making the thumb, then the finger portion, join the two together and continue working up to the wrist. It really is that easy!
- So many yarn options! – This pattern is well suited for your basic worsted weight yarn that every crocheter seems to have in their stash. Whatever your favorite happens to be, I bet it will work for these mittens!
- Thoughtful gift idea – Mittens would make a really great gift for someone who is hard to buy for because who doesn’t need mittens when the weather gets cold?!
Yarn
#4 worsted weight yarn: Loops & Threads Colorwheel (discontinued) in the following colors and amounts:
Women’s size: 160 yards of #52 Mid Grey (A) and 35 yards of #24 Bright Mint (B)
Men’s size: 190 yards of #35 Navy (A) and 50 yards of #23 Mint (B)
Note: Loops & Threads Colorwheel has been discontinued but is very easy to substitute. Your favorite #4 worsted weight yarn will probably work just fine! See below for my personal favorites:
Yarn Substitute Ideas
- Red Heart Soft, Caron Simply Soft, Lion Brand Heartland – These basic, soft, acrylic yarns are very similar to Colorwheel and would be a perfect replacement.
- WeCrochet Swish Worsted – If you’d like to use wool for a bit more warmth, this is a very nice but affordable superwash merino.
- WeCrochet Chroma Worsted – If you’re looking for more color, you’ll love this superwash wool/nylon blend! Chroma offers some of the prettiest gradient colors along with some solids to compliment them. This would work up so nicely with the little “peaks” stitch pattern in these mittens!
Download the Pattern
You can find the FREE pattern by scrolling down. A print-friendly, ad-free PDF of this pattern is also available for a small fee. If you enjoy my patterns, please consider purchasing the PDF – your support is greatly appreciated and will help me keep the new patterns coming! :)
Supplies
- US Size H/8 (5mm) crochet hook or size needed to obtain gauge
- Yarn needle
- Scissors
- Stitch marker
- 2 ponytail elastics (1 per mitten) – These are used around the wrist to help the mittens fit more snug. I usually use the ones for thick hair for the men’s size mittens and then the normal ones for women’s size mittens.
Difficulty
Intermediate
This pattern may be a little difficult for a beginner. Some understanding of color changes would be helpful. You’ll also need to know front post double crochets and how to single crochet decrease (sc2tog). If you understand those stitches and are looking for an easy mitten pattern, you’ve come to the right place!
Gauge
13 sc and 14 rows = 3”
Sizes & Finished Measurements
Women’s: Length: 9”, Around base of thumb: 9”
Men’s: Length: 10.5”, Around base of thumb: 10”
Abbreviations
- ch(s) – chain(s)
- sc – single crochet
- sc2tog – single crochet 2 together
- dc – double crochet
- FPdc – front post double crochet
- st(s) – stitch(es)
- sl st – slip stitch
Special Stitches
Single crochet V stitch (Vst) – [1 sc, ch 1, 1 sc] in one st or ch space
Terms of Use
You are welcome to sell any items you make using this pattern, in small quantities. Mass production is prohibited. When selling online, please credit Julie King / Gleeful Things by linking to www.gleefulthings.com or tagging @gleefulthings. You may NOT sell or distribute the pattern itself in any form, alter it to claim it as your own, post it online, or create a video demonstrating the pattern.
Notes
1. Pattern is worked in continuous rounds without joining. You will want to use a stitch marker to help you keep track of your rounds. The final 4 rounds are worked in joined rounds.
2. The thumb is made first and then the mitten is worked from the finger tips to the wrist, joining the thumb to the mitten at round 23 (women’s size) / round 26 (men’s size).
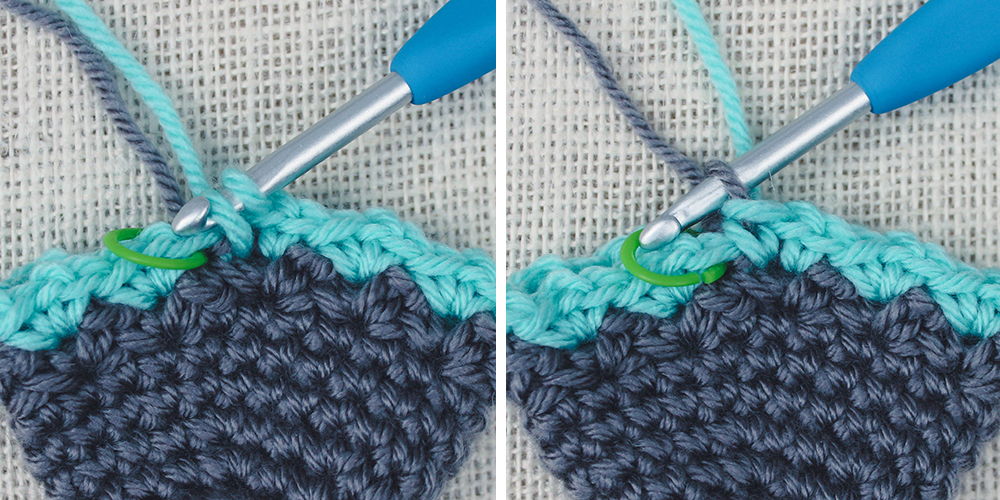
3. Color changes: During rounds 8 – 22 (women’s size) & rounds 9 – 25 (men’s size), you will be doing color changes. When you get to the last single crochet of the round before a new color begins, you will make that single crochet following these instructions: Draw up a loop in the color you’re currently using, then to finish that single crochet, use the new color as shown in the photos below. There is no need to fasten off after each color change, just drop the color when you’re done with it and pick up the new one.
Women’s Size Instructions:
Thumb
With A, make a magic ring.
Round 1: 6 sc in ring – 6 sc.
Round 2: 2 sc in each st around – 12 sc.
Rounds 3 – 10: 1 sc in each st – 12 sc.
Round 11: 1 sc in each st, invisible join and fasten off A leaving a tail 5 inch long – 12 sc.
Mitten
With A, make a magic ring.
Round 1: 6 sc in ring – 6 sc.
Round 2: 2 sc in each st around – 12 sc.
Round 3: *1 sc in next st, 2 sc in next st; repeat from * around – 18 sc.
Round 4: *1 sc in each of the next 2 sts, 2 sc in next st; repeat from * around – 24 sc.
Round 5-7: 1 sc in each st – 24 sc.
Round 8: *Vst in next st, skip 1 st; repeat from * around – 12 Vst.
Round 9: With B, 1 Vst in each ch space – 12 Vst.
Round 10: With A, 1 Vst in each ch space – 12 Vst.
Round 11-22: Repeat round 9 & 10 six times. Fasten off B after round 21.
Round 23: With A, [1 sc in next st, 1 sc in ch space, 1 sc in next st] 5 times, join thumb by making 1 sc in each of 10 sts around the thumb, skip 2 sts in thumb & skip 1 sc & 1 ch space in mitten, 1 sc in next st, [1 sc in next st, 1 sc in ch space, 1 sc in next st] 6 times – 44 sc.
*Use your yarn needle and the tail you left attached to the thumb to stitch the hole left by skipped sts closed.*
Round 24: [1 sc in each of the next 4 sts, sc2tog] 7 times, 1 sc in each of the last 2 sts – 37 sc.
Round 25 -30: 1 sc in each st around – 37 sc.
Round 31: [1 sc in each of the next 4 sts, sc2tog] 6 times, 1 sc in last st – 31 sc.
Round 32: 1 sc in next st, sc2tog, 1 sc in each st around – 30 sc.
Round 33-36: 1 sc in each st around – 30 sc.
Round 36 ½ (partial round): 1 sc in each of the next 3 sts (this is just intended to get you to the side of the mitten so the seam in the following rounds will be there rather than on the front/back of the mitten).
Round 37: 1 sc in each st around working over a pony tail elastic, sl st to join to 1st sc – 30 sc.
Round 38: Ch 3 (counts as 1 dc now and through out), 1 dc in each st around, sl st to top of ch 3 to join – 30 dc.
Round 39: Ch 3, 1 FPdc in next st, *1 dc in next st, 1 FPdc in next st; repeat from * around, sl st to top of ch 3 to join – 15 dc + 15 FPdc.
Round 40: Ch 3, 1 FPdc in next st, *1 dc in next st, 1 FPdc in next st; repeat from * around, invisible join to top of ch 3 and fasten off A – 15 dc + 15 FPdc.
Men’s Size Instructions:
Thumb
With A, make a magic ring.
Round 1: 7 sc in ring – 7 sc.
Round 2: 2 sc in each st around – 14 sc.
Rounds 3 – 11: 1 sc in each st – 14 sc.
Round 12: 1 sc in each st, invisible join and fasten off A leaving a tail 5 inch long – 14 sc.
Mitten
With A, make a magic ring.
Round 1: 6 sc in ring – 6 sc.
Round 2: 2 sc in each st around – 12 sc.
Round 3: *1 sc in next st, 2 sc in next st; repeat from * around – 18 sc.
Round 4: *1 sc in each of the next 2 sts, 2 sc in next st; repeat from * around – 24 sc.
Round 5: *1 sc in each of the next 3 sts, 2 sc in next st; repeat from * around – 30 sc.
Round 6-8: 1 sc in each st – 30 sc.
Round 9: *Vst in next st, skip 1 st; repeat from * around – 15 Vst.
Round 10: With B, 1 Vst in each ch space – 15 Vst.
Round 11: With A, 1 Vst in each ch space – 15 Vst.
Round 12-25: Repeat round 10 & 11 seven times. Fasten off B after round 24.
Round 26: With A, [1 sc in next st, 1 sc in ch space, 1 sc in next st] 6 times, 1 sc in next st, 1 sc in next ch space, join thumb by making 1 sc in each of 10 sts around the thumb, skip 4 sts in thumb & skip [1 sc, 1 sc & 1 ch space, 1 sc] in mitten, [1 sc in next st, 1 sc in ch space, 1 sc in next st] 7 times – 51 sc.
*Use your yarn needle and the tail you left attached to the thumb to stitch the hole left by skipped sts closed.*
Round 27: [1 sc in each of the next 4 sts, sc2tog] 8 times, 1 sc in each of the last 3 sts – 43 sc.
Round 28 -34: 1 sc in each st around – 43 sc.
Round 35: [1 sc in each of the next 4 sts, sc2tog] 7 times, 1 sc in last st – 36 sc.
Round 36-40: 1 sc in each st around – 36 sc.
Round 40 ½ (partial round): 1 sc in each of the next 3 sts (this is just intended to get you to the side of the mitten so the seam in the following rounds will be there rather than on the front/back of the mitten).
Round 41: 1 sc in each st around working over a pony tail elastic, sl st to join to 1st sc – 36 sc.
Round 42: Ch 3 (counts as 1 dc now and through out), 1 dc in each st around, sl st to top of ch 3 to join – 36 dc.
Round 43: Ch 3, 1 FPdc in next st, *1 dc in next st, 1 FPdc in next st; repeat from * around, sl st to top of ch 3 to join – 18 dc + 18 FPdc.
Round 44: Ch 3, 1 FPdc in next st, *1 dc in next st, 1 FPdc in next st; repeat from * around, invisible join to top of ch 3 and fasten off A – 18 dc + 18 FPdc.
Helpful Photos
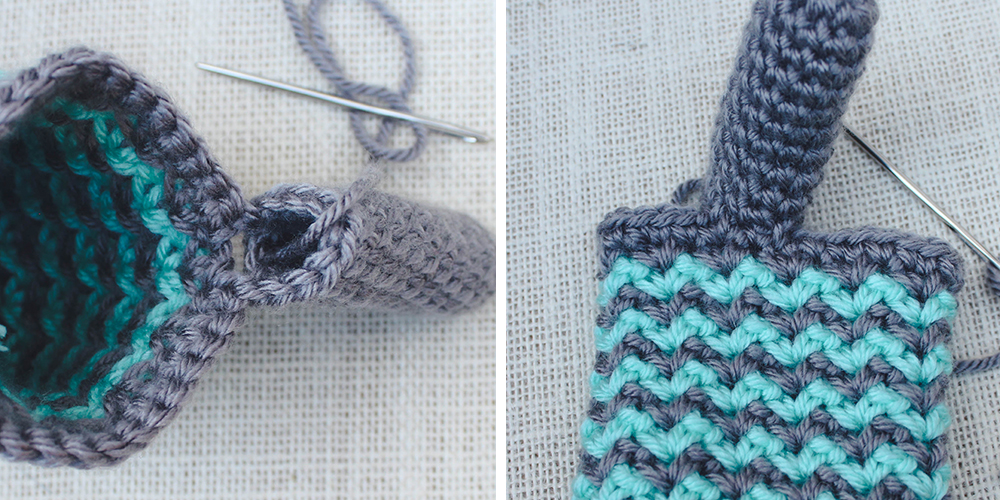
Joining the thumb (round 23 of women’s size/round 26 of men’s size):
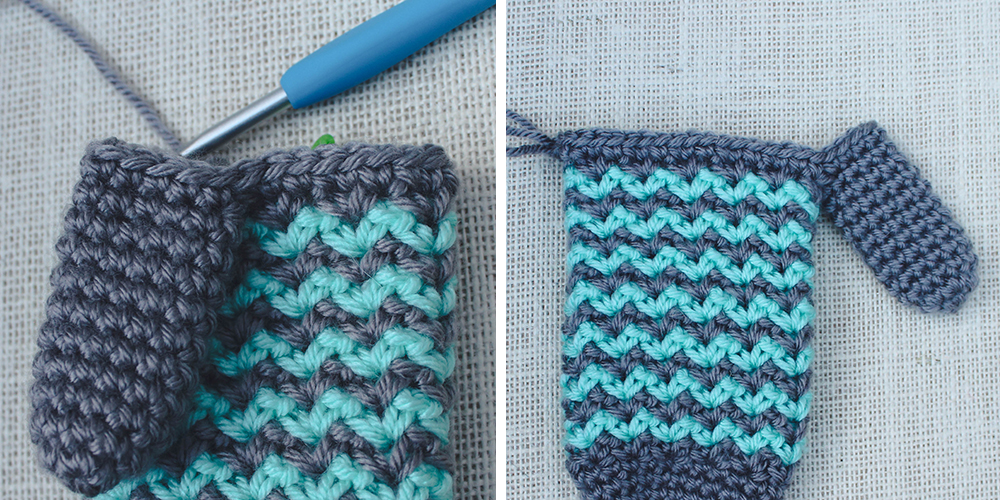
First you will be working in the mitten, then around the thumb, then skipping 2 stitches (women’s size)/4 stitches (men’s size) and back to the other side of the mitten. You’ll be left with a hole that needs to be stitched shut.
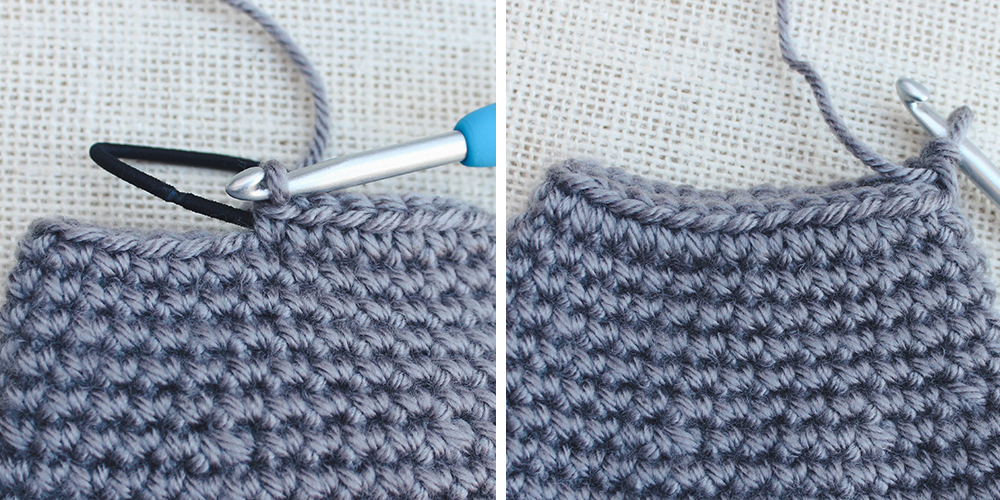
Adding elastic to the wrist (round 37 of women’s size/round 41 of men’s size):
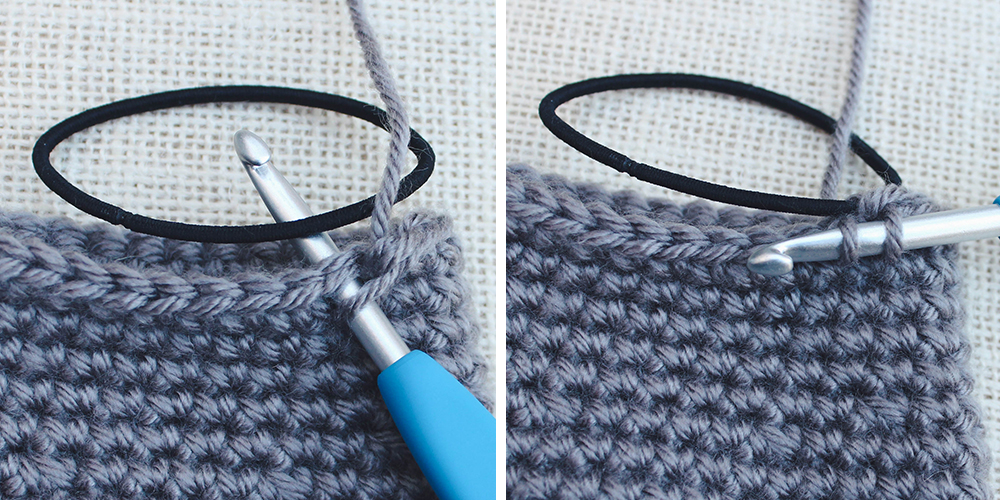
You’ll be making your stitches around the elastic. To do this, pull up your first loop under the elastic, and then the second one, over the elastic.
Share Your Project!
I hope you’ve enjoyed this pattern and I would love to see what you made! Please share your photos on social media and tag me @gleefulthings or use hashtag #gleefulthings. Don’t forget to add your project on Ravelry too! :)

What cute mittens! I love your patterns, Julie!