Amethyst Pocket Scarf Free Crochet Pattern
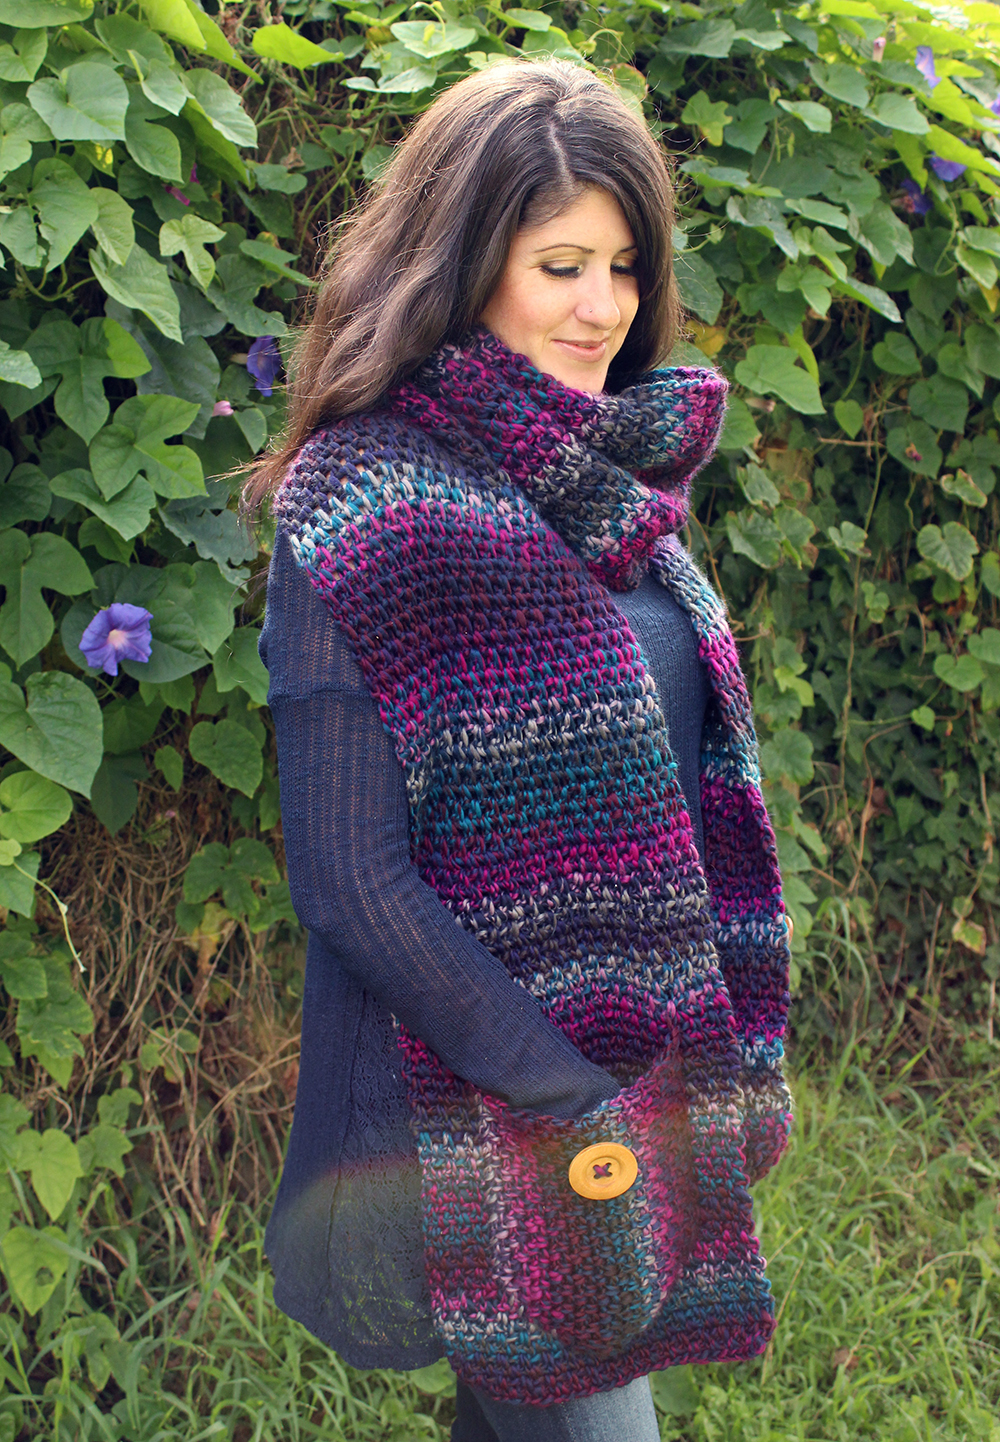
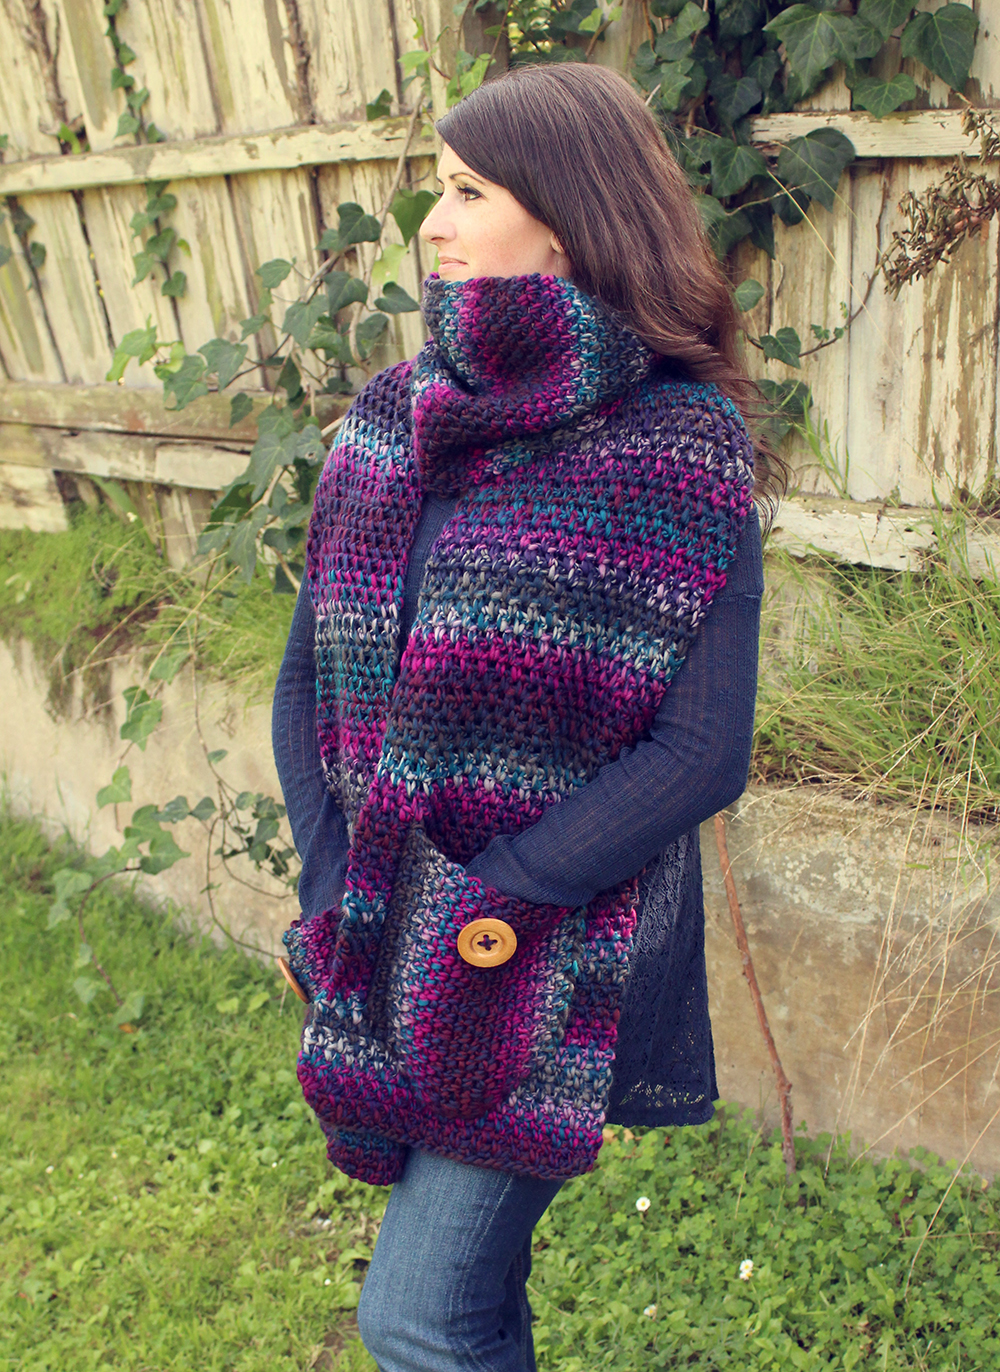
The Amethyst Scarf is perfect for any bulky #5 yarn and despite being oversized, works up really quickly! This pattern features the linen stitch which will really flatter a self-striping yarn. But it will look just as nice in a solid color too.
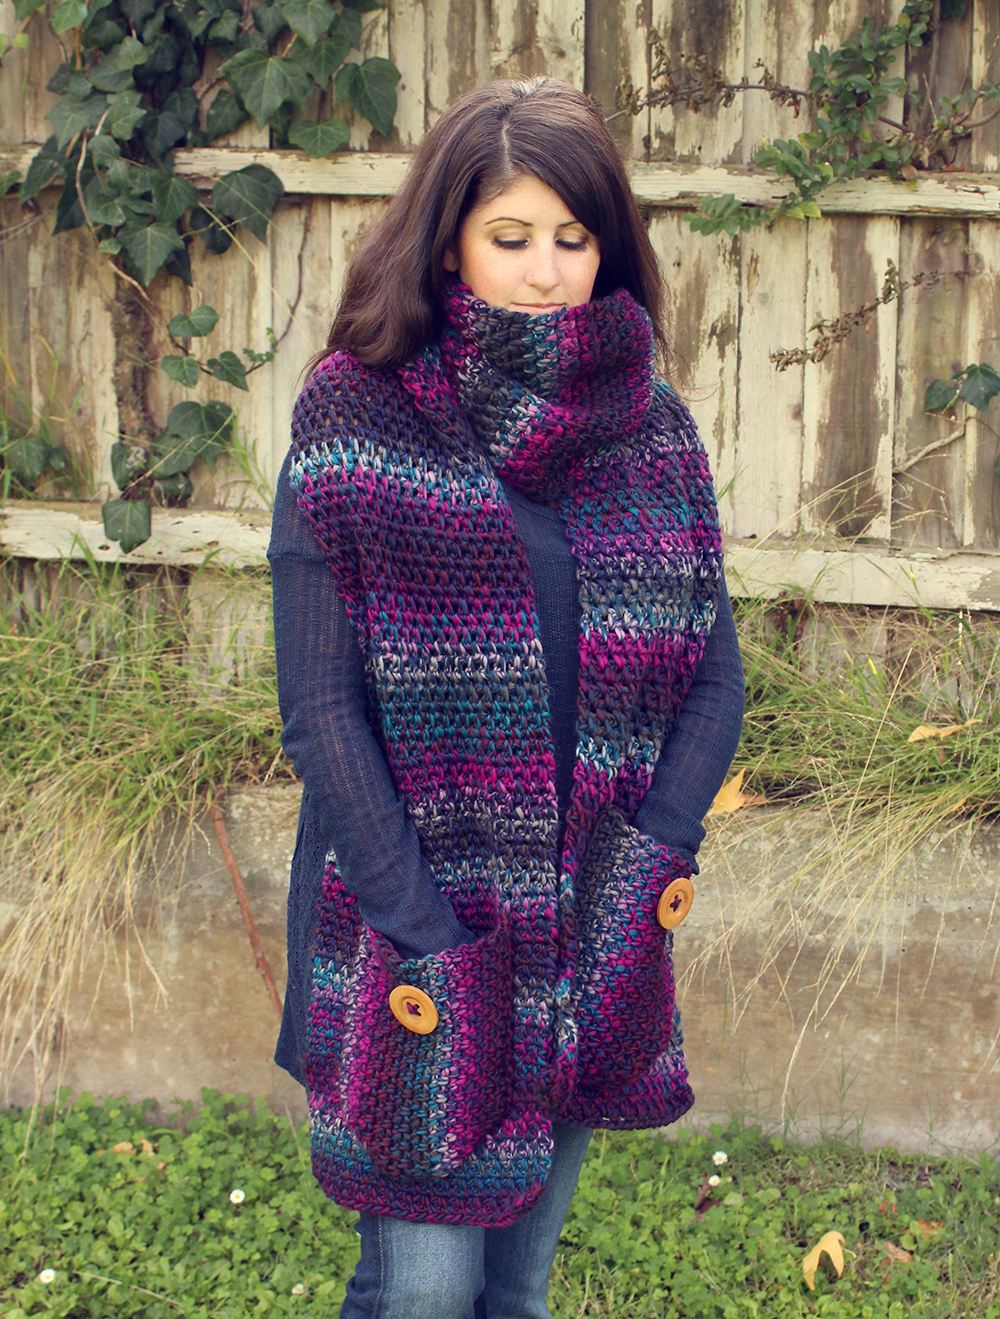
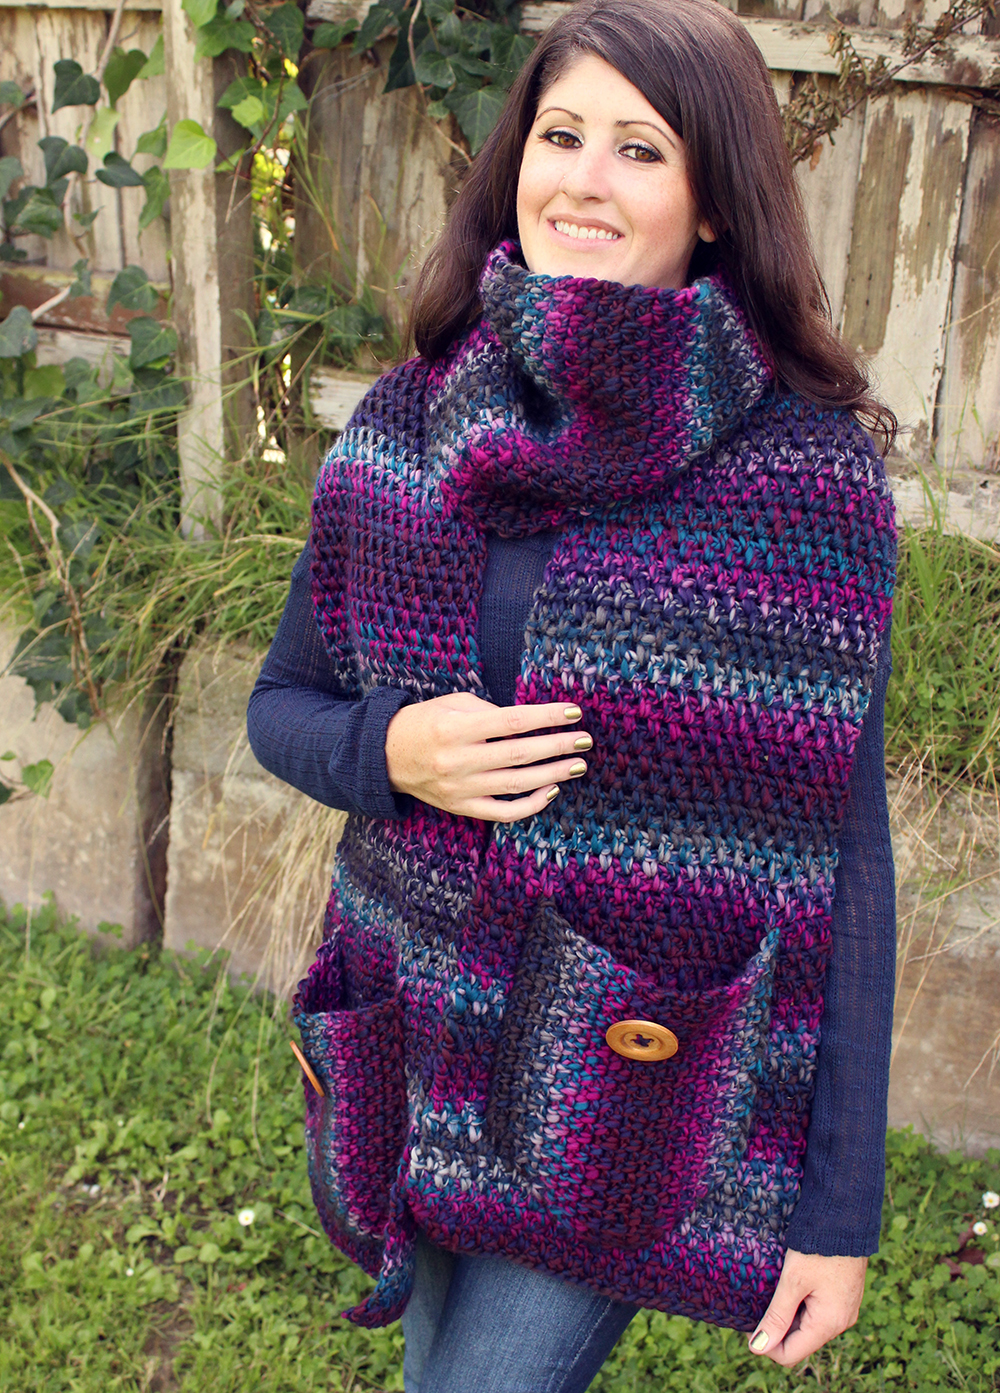
This thick, chunky scarf will be sure to keep you warm and it even has pockets to keep your hands cozy! Or, stash your phone and other essentials in there!
Disclosure: This post contains affiliate links. If you click and make a purchase, I will receive a small commission, at no extra cost to you. This, along with the ads shown on this blog, help to ensure that I’m able to continue posting free patterns and tutorials for you to enjoy. Thank you for your support!
Why You’ll Love This Beginner Friendly Scarf
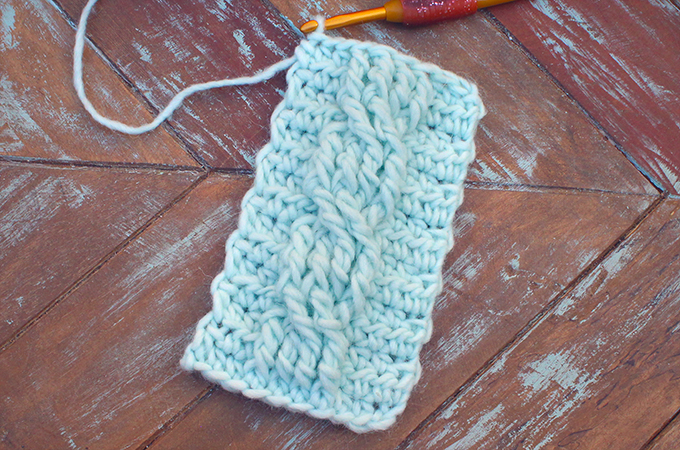
- Easy Stitch – The Amethyst Scarf is made entirely with the linen stitch which is super easy and perfect for those occasions when you want to crochet without giving it 100% of your attention. ie. Netflix & crochet, road trip crochet, etc.
- Fast Project – Using a bulky yarn makes it surprisingly quick to whip up!
- Pockets – Because every outfit is better with pockets, right? With this scarf, you’ll always have an easy place to stash your phone and other necessities!
Yarn
#5 bulky weight yarn: Approximately 700 yards of Loops & Threads Facets in #19 Amethyst
Note: This pattern was written using the original Loops & Threads Facets (discontinued) from 2016 which is a #5 bulky weight. The 2023 Loops & Threads Facets is a #4 worsted weight yarn and is not ideal for this pattern. I have some good substitutes listed below.
Yarn Substitute Ideas
- Red Heart Gemstones – Offering a lot of bright, fun shades, the color selection of Gemstones is the closest that I’ve found to the original Facets yarn.
- Bernat Symphony – If subtle hues are more your style, this is a great option.
- Lion Brand Scarfie – Possibly the easiest to find yarn in this list. Scarfie will give you a slightly different look, with longer sections of each color.
- Bernat Crushed Velvet – If you’re looking for a less stripey option that has a bit fancier vibe, you’ll love this one!
Download the Pattern
You can find the FREE pattern by scrolling down. A print-friendly, ad-free PDF of this pattern is also available for a small fee. If you enjoy my patterns, please consider purchasing the PDF – your support is greatly appreciated and will help me keep the new patterns coming! :)
Supplies
- US Size K/10.5 (6.5mm) crochet hook or size needed to obtain gauge
- yarn needle
- scissors
- 2 large buttons (optional)
Difficulty
Easy
This is a very beginner friendly scarf. If you know how to chain and single crochet, you should be able to handle this pattern with ease! The pockets will give you an opportunity to practice a really simple decrease which is explained in the special stitches section.
Gauge
[sc, ch 1] 14 times & 10 rows = 4 inches
Gauge is not critical for this project but if you want your scarf to turn out the same size as mine, you’ll want to match my gauge.
Finished Measurements
11 inches wide, 85 inches long.
How to Adjust Size
Customizing the size of your scarf is easy! To alter the width, all you need to do is start with more or fewer chains in the beginning. Just make sure that you have an ODD number of chains. Customizing the length is even easier. Just repeat row 2 until you’ve reached your desired length.
Abbreviations
- ch(s) – chain(s)
- sc – single crochet
- st(s) – stitch(es)
- yo – yarn over
- sc2tog – single crochet 2 together (decrease)
Special Stitches
- sc2tog over next 2 ch spaces – insert hook into first ch space, yo and draw up a loop, insert hook into next ch space, yo and draw up a loop, yo and draw through all loops on hook.
Learn the Linen Stitch with This Video
Terms of Use
You are welcome to sell any items you make using this pattern, in small quantities. Mass production is prohibited. When selling online, please credit Julie King / Gleeful Things by linking to www.gleefulthings.com or tagging @gleefulthings. You may NOT sell or distribute the pattern itself in any form, alter it to claim it as your own, post it online, or create a video demonstrating the pattern.
Notes
1. Ch 2 at beginning of rows always counts as 1 sc + ch 1.
2. sc2tog will count as 1 sc in final stitch count at end of rows.
Instructions:
Scarf
Row 1: Ch 35 (1st 2 chs count as 1 sc + ch 1), 1 sc in 3rd ch from hook, *ch 1, skip 1 ch, 1 sc in next ch; repeat from * across ‐ 18 sc + 17 ch 1 spaces.
Row 2: Ch 2 (counts as 1 sc + ch 1 now and throughout) & turn, skip 1 st, 1 sc in next ch space, *ch 1, skip 1 st, 1 sc in next ch space; repeat from * across ‐ 18 sc + 17 ch 1 spaces.
Repeat row 2 until you reach your desired length. Example shown measures approximately 85 inches long. Fasten off after final row.
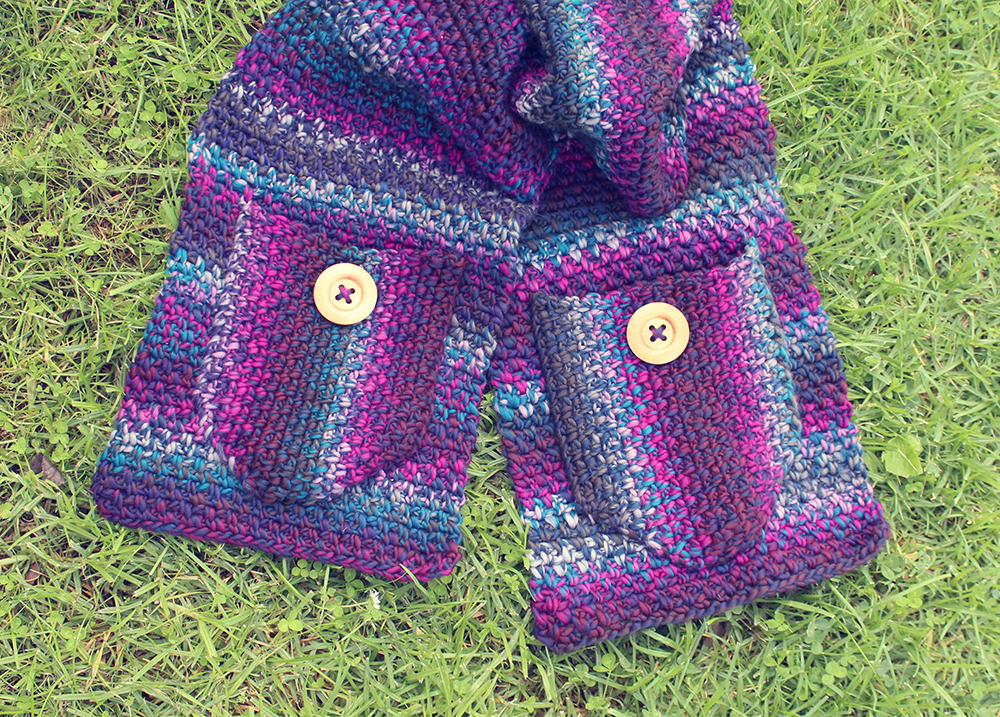
Pockets (make 2)
Row 1: Ch 21 (1st 2 chs count as 1 sc + ch 1), 1 sc in 3rd ch from hook, *ch 1, skip 1 ch, 1 sc in next ch; repeat from * across ‐ 11 sc + 10 ch 1 spaces.
Row 2: Ch 2 (counts as 1 sc + ch 1 now and throughout) & turn, skip 1 st, 1 sc in next ch space, *ch 1, skip 1 st, 1 sc in next ch space; repeat from * across until 1 ch space remains, ch 1, skip 1 st, 1 sc in next ch space, ch 1, 1 sc in same ch space ‐ 12 sc + 11 ch 1 spaces.
Row 3: Ch 2 & turn, skip 1 st, 1 sc in next ch space, *ch 1, skip 1 st, 1 sc in next ch space; repeat from * across ‐ 12 sc + 11 ch 1 spaces.
Row 4: Ch 2 & turn, skip 1 st, 1 sc in next ch space, *ch 1, skip 1 st, 1 sc in next ch space; repeat from * across until 1 ch space remains, ch 1, skip 1 st, 1 sc in next ch space, ch 1, 1 sc in same ch space ‐ 13 sc + 12 ch 1 spaces.
Row 5: Ch 2 & turn, skip 1 st, 1 sc in next ch space, *ch 1, skip 1 st, 1 sc in next ch space; repeat from * across ‐ 13 sc + 12 ch 1 spaces.
Row 6: Ch 2 & turn, skip 1 st, 1 sc in next ch space, *ch 1, skip 1 st, 1 sc in next ch space; repeat from * across until 1 ch space remains, ch 1, skip 1 st, 1 sc in next ch space, ch 1, 1 sc in same ch space ‐ 14 sc + 13 ch 1 spaces.
Row 7: Ch 2 & turn, skip 1 st, 1 sc in next ch space, *ch 1, skip 1 st, 1 sc in next ch space; repeat from * across ‐ 14 sc + 13 ch 1 spaces.
Row 8: Ch 2 & turn, skip 1 st, 1 sc in next ch space, *ch 1, skip 1 st, 1 sc in next ch space; repeat from * across until 1 ch space remains, ch 1, skip 1 st, 1 sc in next ch space, ch 1, 1 sc in same ch space ‐ 15 sc + 14 ch 1 spaces.
Row 9-15 (7 rows): Ch 2 & turn, skip 1 st, 1 sc in next ch space, *ch 1, skip 1 st, 1 sc in next ch space; repeat from * across ‐ 15 sc + 14 ch 1 spaces.
Row 16: Ch 2 & turn, skip 1 st, 1 sc in next ch space, *ch 1, skip 1 st, 1 sc in next ch space; repeat from * across until 2 ch spaces remain, ch 1, skip 1 st, sc2tog over next 2 ch spaces ‐ 14 sc + 13 ch 1 spaces.
Row 17: Ch 2 & turn, skip 1 st, 1 sc in next ch space, *ch 1, skip 1 st, 1 sc in next ch space; repeat from * across ‐ 14 sc + 13 ch 1 spaces.
Row 18: Ch 2 & turn, skip 1 st, 1 sc in next ch space, *ch 1, skip 1 st, 1 sc in next ch space; repeat from * across until 2 ch spaces remain, ch 1, skip 1 st, sc2tog over next 2 ch spaces ‐ 13 sc + 12 ch 1 spaces.
Row 19: Ch 2 & turn, skip 1 st, 1 sc in next ch space, *ch 1, skip 1 st, 1 sc in next ch space; repeat from * across ‐ 13 sc + 12 ch 1 spaces.
Row 20: Ch 2 & turn, skip 1 st, 1 sc in next ch space, *ch 1, skip 1 st, 1 sc in next ch space; repeat from * across until 2 ch spaces remain, ch 1, skip 1 st, sc2tog over next 2 ch spaces ‐ 12 sc + 11 ch 1 spaces.
Row 21: Ch 2 & turn, skip 1 st, 1 sc in next ch space, *ch 1, skip 1 st, 1 sc in next ch space; repeat from * across ‐ 12 sc + 11 ch 1 spaces.
Row 22: Ch 2 & turn, skip 1 st, 1 sc in next ch space, *ch 1, skip 1 st, 1 sc in next ch space; repeat from * across until 2 ch spaces remain, ch 1, skip 1 st, sc2tog over next 2 ch spaces ‐ 11 sc + 10 ch 1 spaces.
Row 23: Ch 2 & turn, skip 1 st, 1 sc in next ch space, *ch 1, skip 1 st, 1 sc in next ch space; repeat from * across, cut yarn leaving a long tail ‐ 11 sc + 10 ch 1 spaces.
Finishing
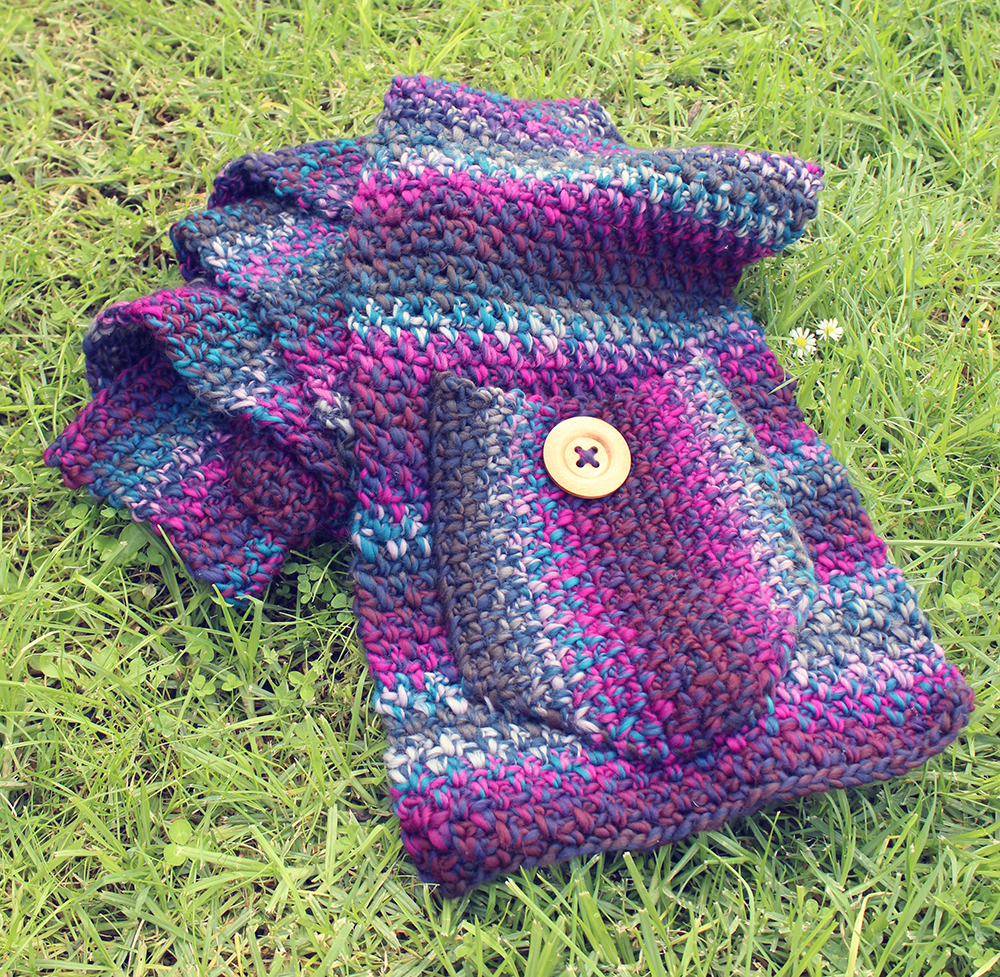
Use a yarn needle & the long tail to attach the pocket to the scarf by stitching around the sides and bottom edge. Fasten off.
Optional: Attach a large button to each pocket for decoration.
How to Customize It
The special finishing touches you add are what makes your scarf truly unique!
- Add fringe or tassels – It’s so easy to give a scarf a little something extra by adding fringe or tassels along the ends. Here is an easy tutorial on making and attaching fringe.
- Decorate the pockets – I like to add buttons to the pockets but you could also decorate them with patches, embroidery, or crocheted shapes like this easy heart pattern.
- Repurpose pockets from old clothes – If you’re really feeling crafty, you could cut the pockets off an old pair of jeans or a shirt and sew them onto the scarf rather than crocheting pockets.
Share Your Project!
I hope you’ve enjoyed this pattern and I would love to see what you made! Please share your photos on social media and tag me @gleefulthings or use hashtag #gleefulthings. Don’t forget to add your project on Ravelry too! :)
curious if you know of a good substitute yarn for Loops & Threads Facets – I can’t seem to find it anyway but I love the extra thread to the self-striping. These colors are gorgeous – I’m so sad I can’t it!!!