Yarn Storage Basket Sewing Tutorial

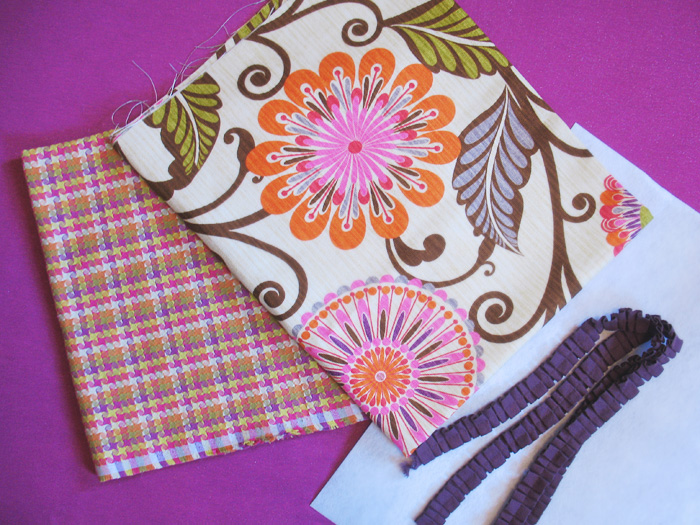
I’m so excited to share this tutorial with you! Jo-Ann so generously sent me some fabrics from their new line of HGTV Home Fabrics to try out and review and I used them to make a big yarn storage basket! I really love this Urban Blossom fabric that they sent me because it’s honestly really me! It actually reminds me of the fabric that I have in the header on my blog. The HGTV Home Fabrics line also has some chevron prints that I really like as well as some other floral prints! Jo-Ann also sent me a coupon for you so if you’d like to try these fabrics, scroll down for a coupon! :)
Now, I’m going to show you how I made my yarn basket! It’s a pretty simple project, but definitely requires some sewing experience! This basket is big (12″ high x 17″ wide) so it would be great for so many things, like a laundry basket even!
Supplies:
♥ 1 yard each of two coordinating fabrics – I’m using HGTV Urban Blossom Berry & HGTV Checkered Past Berry
♥ 54 inches of matching trim – I’m using HGTV 1” Pleat Twill Mulberry
♥ 2 yards of extra stiff interfacing
♥ Sewing machine and basic sewing supplies/tools
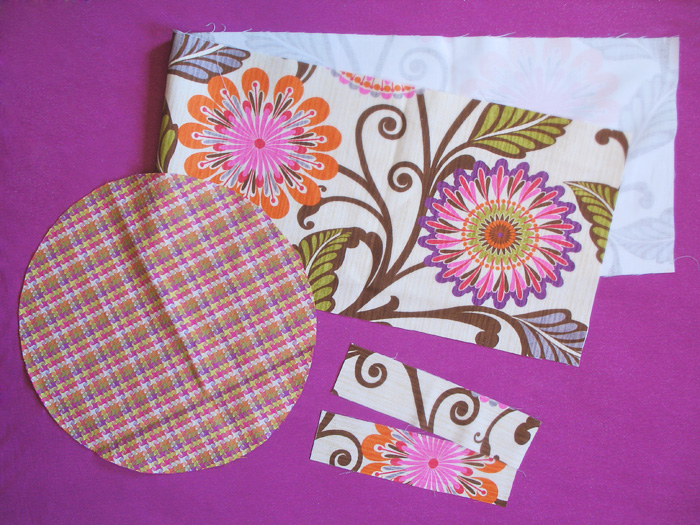
Step 1: Cutting out all the pieces:
♥ From both fabrics & interfacing – cut 1 circle that is 17 inches in diameter (53 inch circumference) + 1 piece (for the sides) that is 54 inches long x 13 inches tall.
♥ From the outer fabric – cut two pieces that are 12 inches long x 3 inches tall (for the handles)
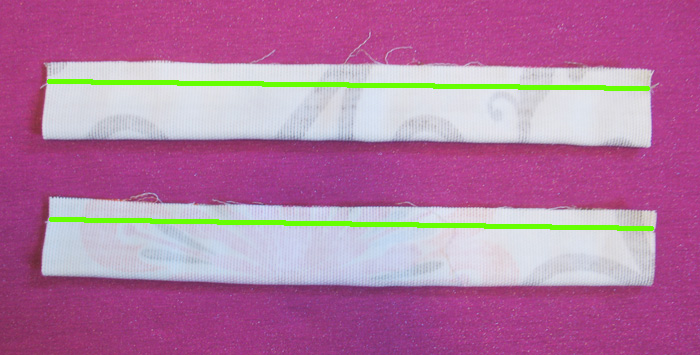
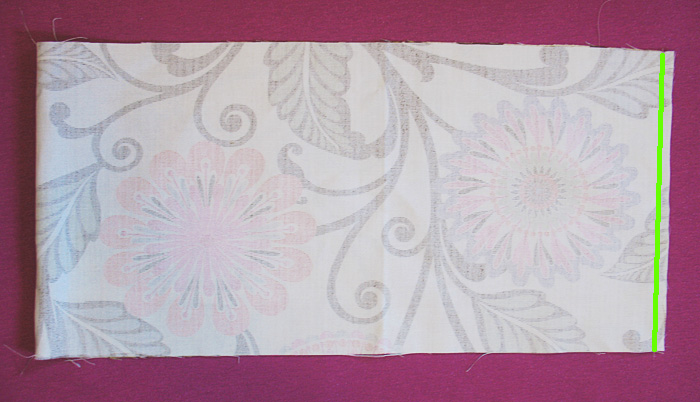
Step 2: Handle pieces: With right sides together, sew along the long edge (green line) using a 1/2″ seam allowance.
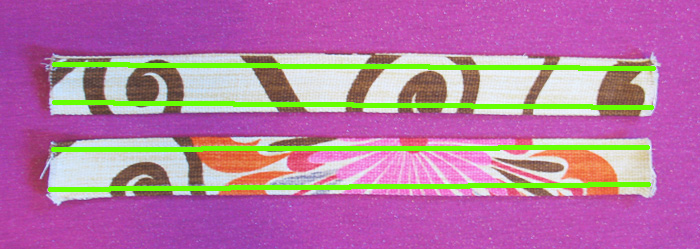
Step 3: Turn the handles right side out and use your iron to press them flat. Top stitch along the green lines.
Step 4: On both of your fabrics & interfacing: With right sides together, sew along the short edge (green line) using 1/2″ seam allowances.
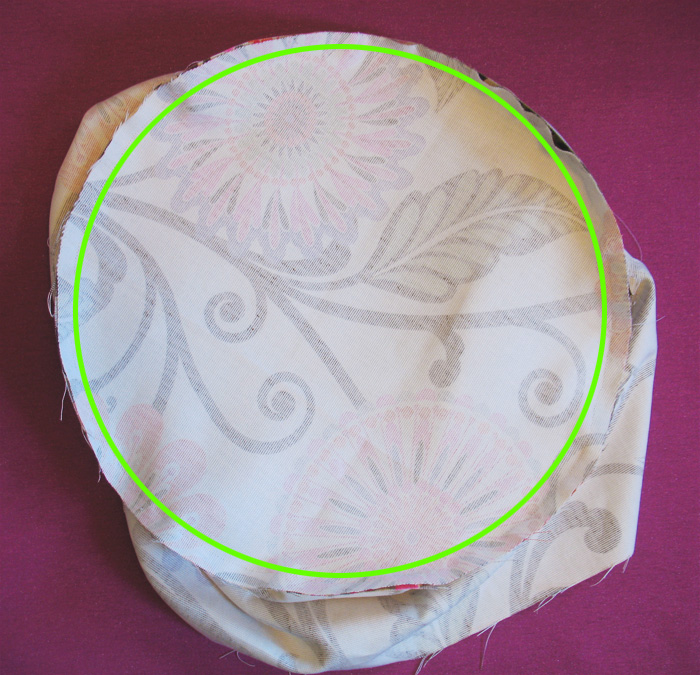
Step 5: On both of your fabrics & interfacing: Pin the bottom circle to the side piece (right sides together) and sew around the circle (green line) using 1/2″ seam allowances.
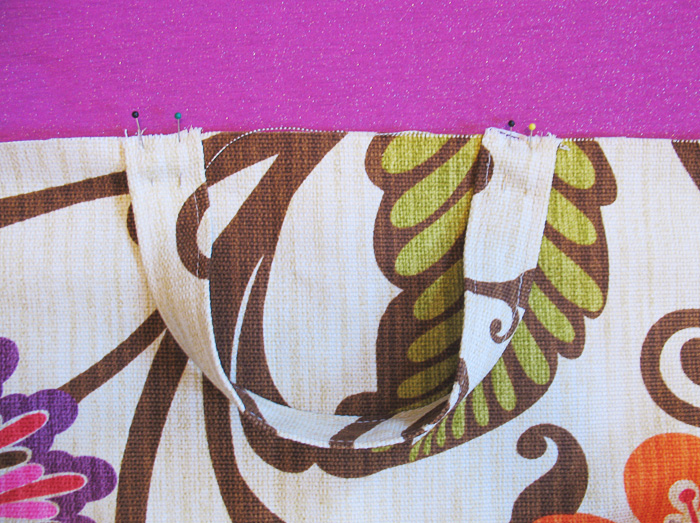
Step 6: Pin the handles in place on your outer fabric.
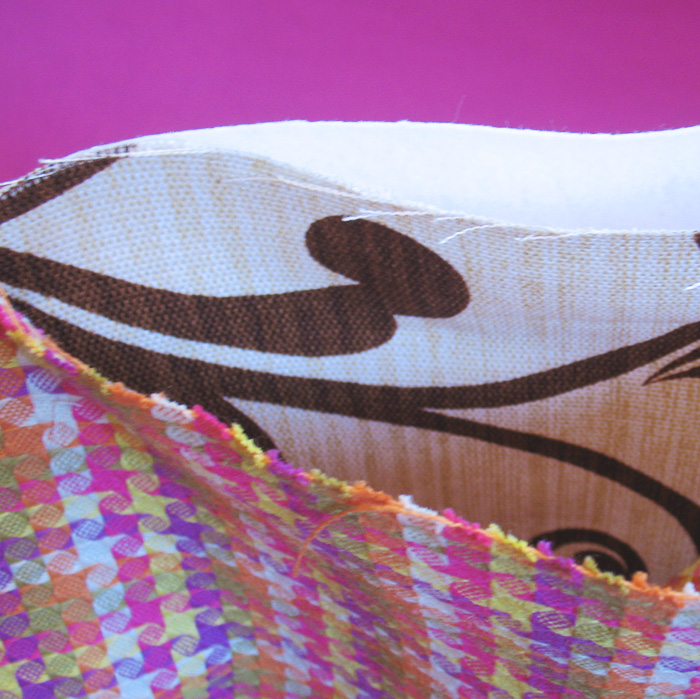
Step 7: Putting all the pieces together!
Put the outer fabric inside the interfacing and then with right sides together, put the lining fabric inside the outer fabric. Pin all the way around then sew together using a 1/2″ seam allowance. Be sure to leave about 6 inches unsewn so that you can turn the whole thing right side out.
Step 8: Turn right side out and pin the hole shut that you left for turning.
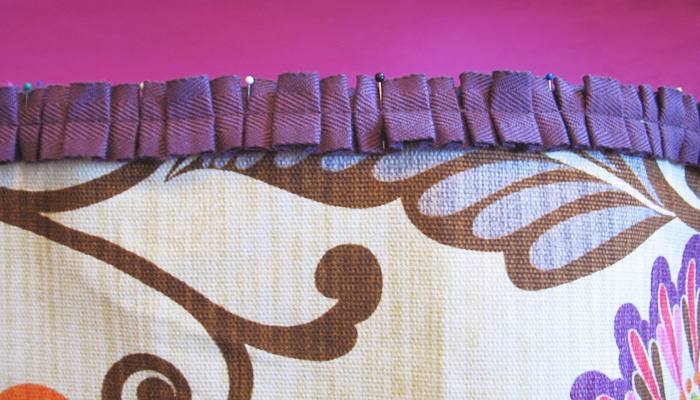
Step 9: Pin your trim in place all the way around the top edge. Sew around (this will also sew up the hole that you left for turning).
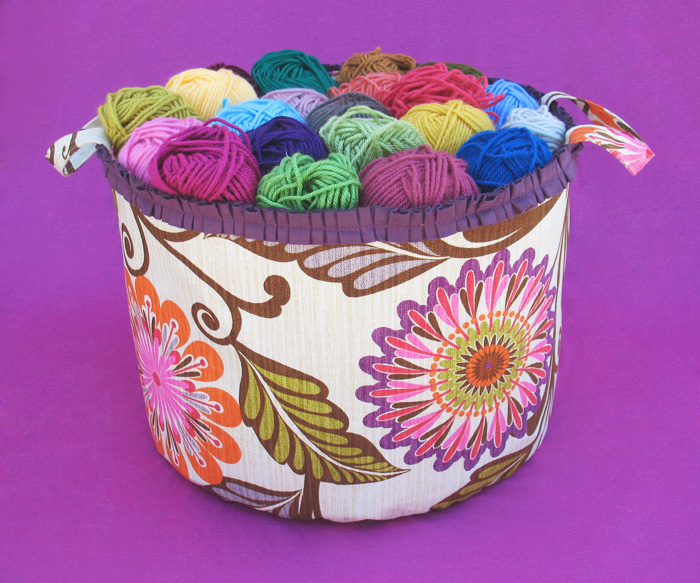
All done! Now stuff it full of yarn and enjoy! :)

I was able to fit about 45 skeins of yarn in there! If you wanted to make a smaller basket, it would be really easy by simply making a smaller diameter circle. Here is a circumference calculator that I always find helpful for this sort of thing!
Here is a 10% off coupon for you to use! From April 14 – May 4, the HGTV HOME line is 50% off at Jo-Ann and the coupon can be used during that time for extra savings!

This is such a cool project!
This is so great! The fabrics are great :) Thanks so very much for sharing . . I can’t wait to try it out.
As always, Juli, this is yet another beautifully done tutorial. I only wish we could have seen some pics without the yarn inside… We didn’t get to see the other fabric and how it was used. Btw, lucky you in getting that fabric! It is quite stunning and I can see how it would remind you of your blog header .. Which I would LOVE to know where I can find it bc my daughter would adore it (blog header fabric) So , if it isn’t too much to ask or too much trouble , would you mind showing us the inside of the very beautiful , very practical basket..It very well may be my second major sewing projects if it is really as easy as it seems. Will ric rac work in place of the pleated twill? or even a heavy ribbon or lace? You can see my first sewing project on IG… Its a bag to hold clothes pins. It uses everything from sewing, to a hand embroidered old school clothes pin appliqué , and even embroidery … To use as a way to hang it from my clothes lines ( Texas heat dries clothes faster than you can blink without wasting electricity from the drier. Anyway… I would love for you to check it out and let me know what you think… Perhaps it would be easier to email to you.
Oh yeah!! I got a new hoop!! It sooo beautiful! I will email you some pics of it and the other as well as my clothes pin bag.
Take care girlie
Xoxo
Thanks Erin! I’m glad you like it the tutorial! :) You could totally use ric rac and ribbon for the trim. Or no trim at all. I just thought it was a nice little extra touch! The fabric in my blog header was purchased at Joann’s maybe two years ago now.. I can’t really remember. I wish I could find it again because it’s so pretty, I want more!
I would love to see your hoop and clothes pin bag! Email me! :)
Hi Julie,Thank you for the clear explanation .It’s very helpful for me.thanks again
fabric so nice..like the basket
What kind of fabric is that? Is it a duck canvas?