DIY Tutorial: Glitter Painting

I’m not sure if it’s come up here yet, but I freaking LOVE Gnomes! I wish I could remember where, but (somewhere!) recently, I saw a Gnome that was completely covered in glitter. I thought that it was the coolest and of course, had to have one!
I had this little dude, who had done some time outdoors, and had gotten a bit faded from the sun. So I decided that I would make him my glitter Gnome!
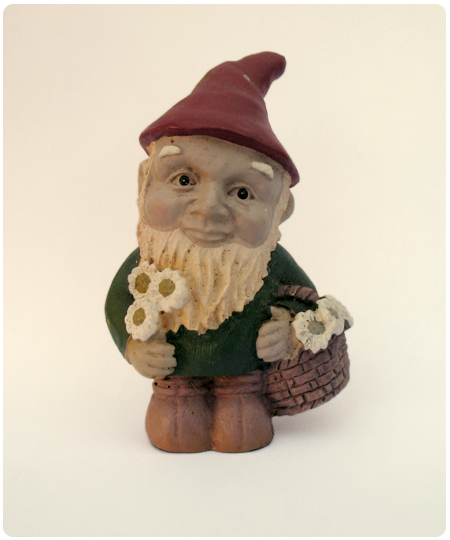
This tutorial will of course, work with just about anything. But in my case, I was after a glitter Gnome, so that’s what I’m painting! :)
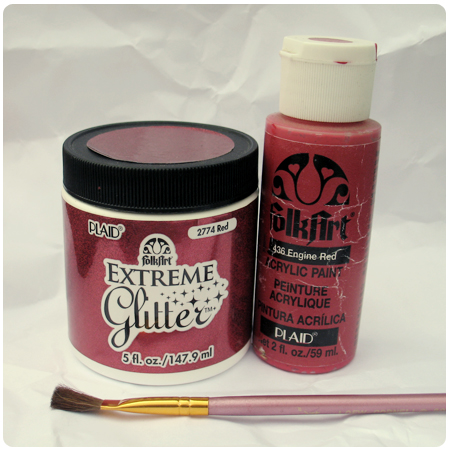
Supplies you’ll need:
– Extreme Glitter paint by Plaid/FolkArt
– Acrylic paint in a matching color
– Paint brush
– Something to paint. Obviously :P
This is really pretty simple and hardly even qualifies as a tutorial! :P
Step 1: Apply a base coat of acrylic paint and allow it to dry. Do multiple coats if you need to. Make sure no color is showing through.
Step 2: Apply a coat of the Extreme Glitter paint and allow it to dry. If you’re not satisfied with the amount of glitter, keep applying more coats until you’re happy with it. I did two coats on my Gnome.
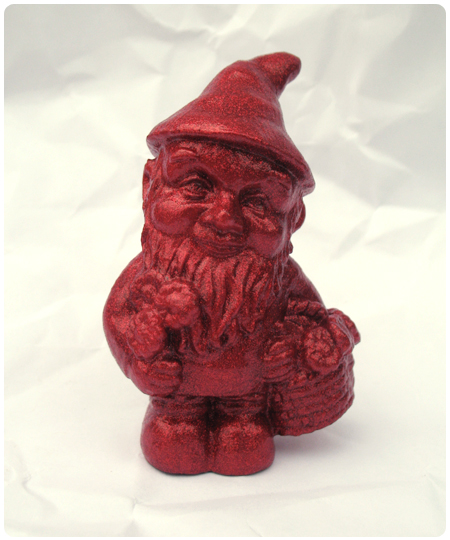
I wish that I would have picked a different color (I’m totally lusting after the peridot color!) but I already had the glitter paint in red, left over from something I made for Halloween. And I swear that the original glitter Gnome I saw was red! So I went with red! I’m on the lookout for something else to glitter paint now. I love this stuff!
I hope you like it! I would love to see pictures if you give it a try!
Ah! Did you see my post with my gnome that I just painted teal? LOVE love love the glitter!!
I didn’t! *runs quickly to your blog*
Ooo! this would look great on picture frames too :)
ooh! Good idea! I may have to try that!
I paint all my gnomes different shades of pink. I just do their hats and clothes. This keeps the neighborhood boys from stealing them. They are unique and would stand out in someone else’s yard. So far this year no stolen gnomes. Sniff sniff I still miss gerome the gnome he was my fav.
Great blog, really love your work.