Tutorial: How to make a hula hoop!
As promised, here it is! My guide to making your own hula hoop! Enjoy!

I’m going to show you how to make a high quality, adult hula hoop! These are much different (and better!) than the ones we used as kids! They’re made with irrigation tubing which is heavy, and that weight helps it keep it’s momentum, which makes it easier to use! We decorate them with fancy tapes and also grippy tapes, which add to the ease of use.
Keep in mind that with higher quality comes a higher price. A 100 foot roll of tubing might cost $50 but you’ll get about 8 hoops out of it. So why not split the cost with some friends and have a hoop making party? :)
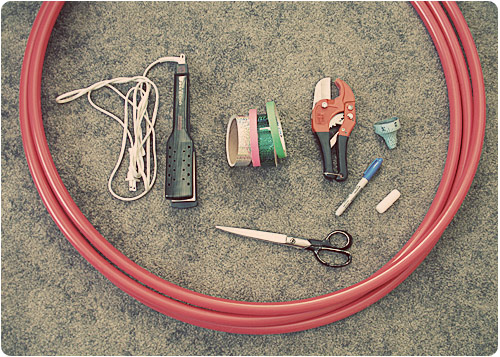
Supplies:
– Polyethylene tubing
– 1 connector that fits your tubing
– PVC pipe cutters
– Sharpie
– Tape Measure
– A flat iron or blow dryer
– Scissors
– Pretty tapes
Where / what to buy:
♥ Tubing & Connectors can sometimes be found at Home Depot or Lowes. If you have a local irrigation supply store, that’s your best bet. If not, you can always buy online. Connectors are also known as fittings or couplings. Polyethylene tubing is also known as PEX tubing and HDPE tubing. 100 or 160 PSI, 3/4″ – 1″ outside diameter PEX tubing is perfect for beginners.
If you have to buy online, I recommend McMaster. You can also try Etsy (especially if you only want to make one hoop!). Search for “naked hula hoop” or “untaped hula hoop”.
♥ Tape is easiest to find online. I like to use 1 inch wide sparkle tape & 1/2 inch wide gaffer tape. Gaffer tape is grippy, which makes the hoop easier to use. Sparkle tapes are just for looks. A 25 foot roll should be enough to cover one hoop when swirled with one other tape.
Identi-tape has the best selection but requires you to buy huge rolls which aren’t cheap. Find Tape & Tape Brothers have decent selections too. Ebay is usually the cheapest. Just search for “hoop tape”.
Part One: Putting a hoop together
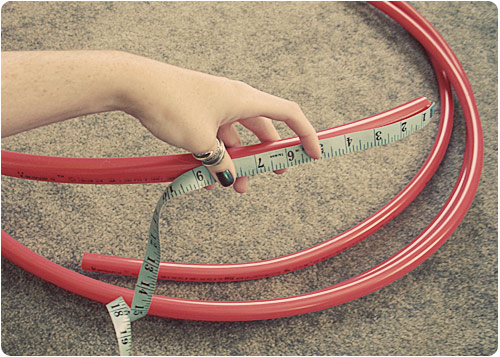
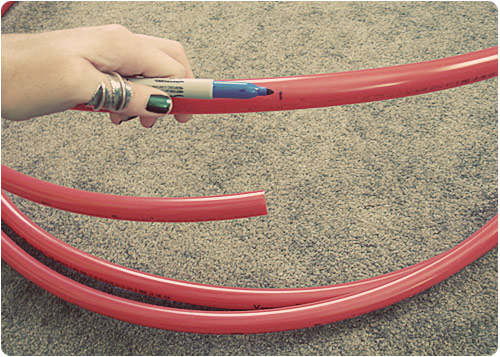
Step 1: Figure out what size hoop you wanna make. Beginners usually start out with a 38 – 42 inch diameter hoop (the larger it is, the easier it’ll be to use). You’ll need to know the circumference (here’s a calculator). Measure that around the outer edge of the tubing and make a mark where you’re going to cut.
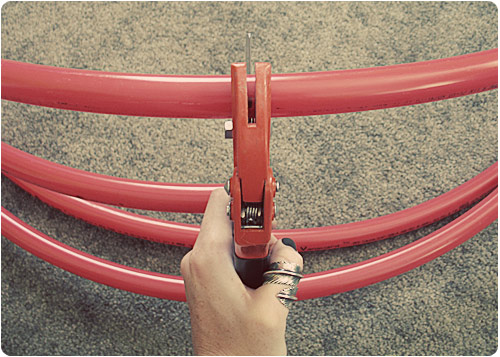
Step 2: Cut on the mark you made. Now you can set that extra tubing aside!
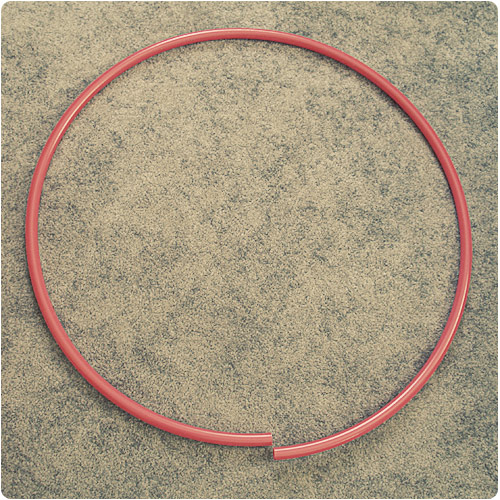
It’s almost a hoop! :)
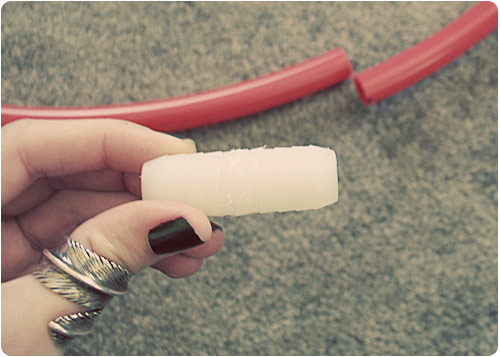
Step 3: Get your connector ready & heat up your flat iron. Some connectors have a ridge in the middle. You can leave it or sand it down flat. If you leave it, you might have a little gap between the ends of the tubing. I removed mine using a sander bit on a dremel tool.
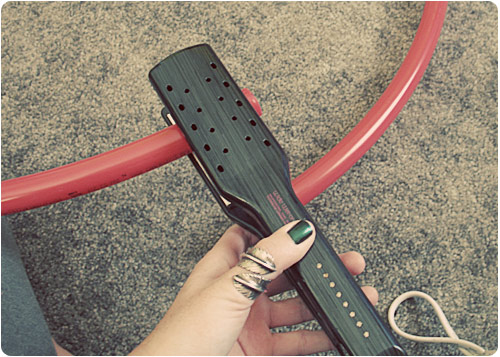
Step 4: Use your flat iron to heat up one end of the tubing.
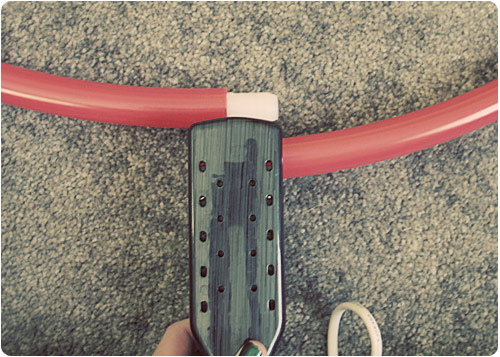
Step 5: Shove the connector into that end. If it won’t go in, keep heating it and try again.
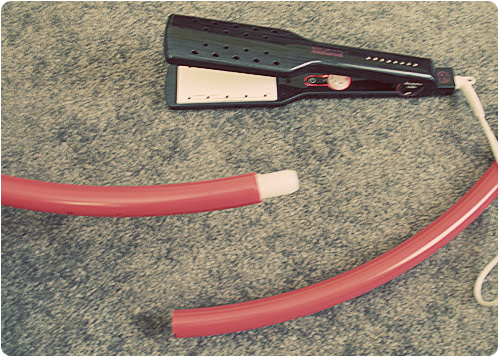
Step 6: Repeat step 4 & 5 on the other end of the tubing.
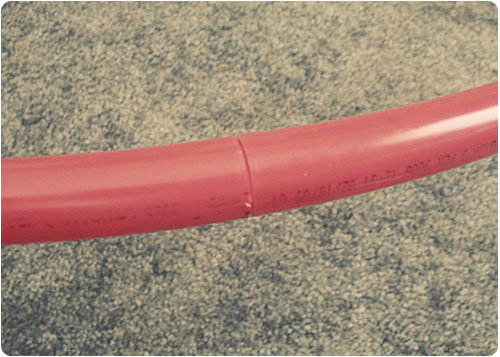
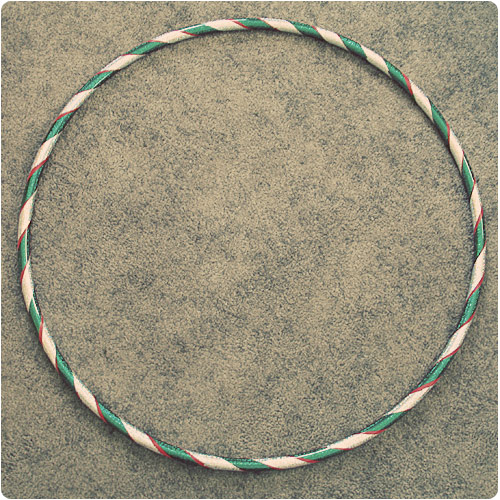
Yay! It’s a hoop! Now to make it pretty! :D
Part Two: Taping your hoop
Just FYI, I’m super anal about my tape jobs so I apologize if there’s way too much info in this section! :P
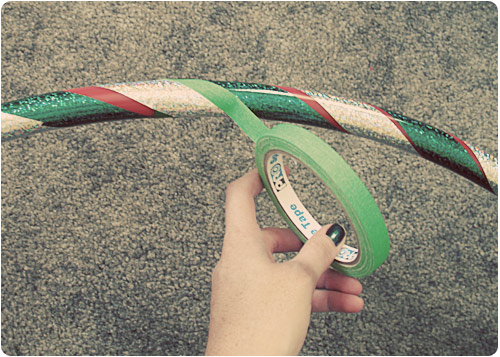
I’m going to be using two sparkle tapes and two gaffer tapes. Be forewarned, the more tapes you use, the trickier it is to get the spacing right. You might want to try just one sparkle and one gaffer at first.
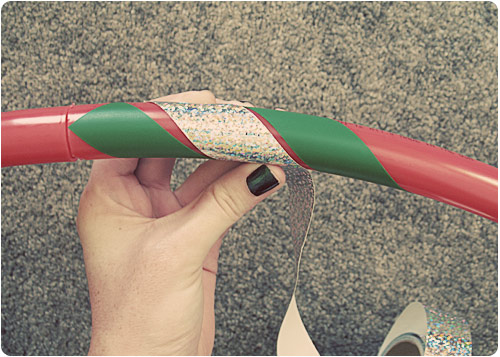
I like to sit in the center of the hoop while taping. To help me figure out the right spacing, I use a scrap piece of tape and reposition it as many times as necessary until I’m happy with the spacing.
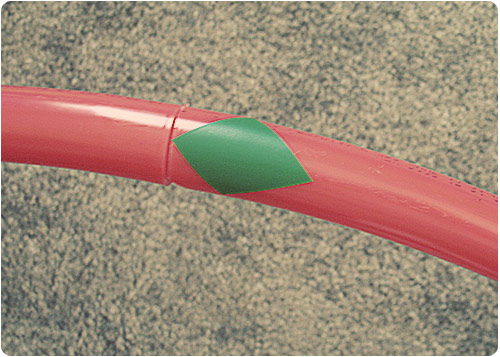
Then cut almost all of that piece off. Stick your sparkle tape on over it so that it’s at the same angle. You can remove that little piece at the end or just tape over it.
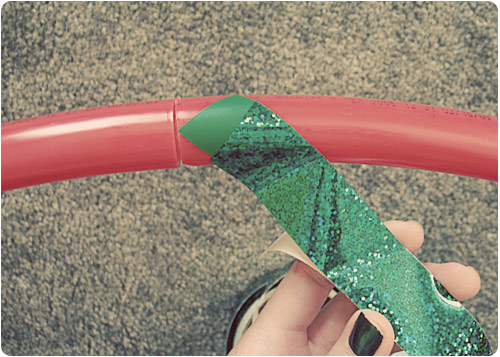
Use both of your thumbs to keep the tape smooth while sticking it down. If you get any air bubbles or kinks in the tape, it’ll make it go crooked and screw up your spacing. If your spacing does get messed up, just cut the tape and reposition it. Told you I was super anal about taping! hehe! :P

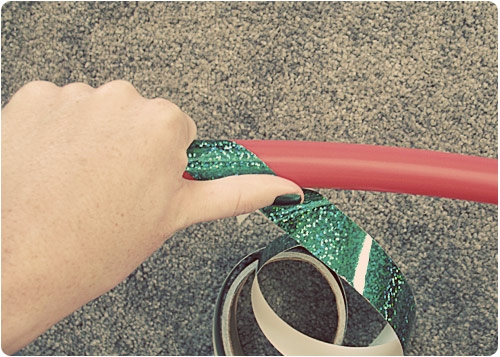
Use that method to swirl the tape all the way around the hoop. Keep cutting the tape backing off so it doesn’t get in the way.

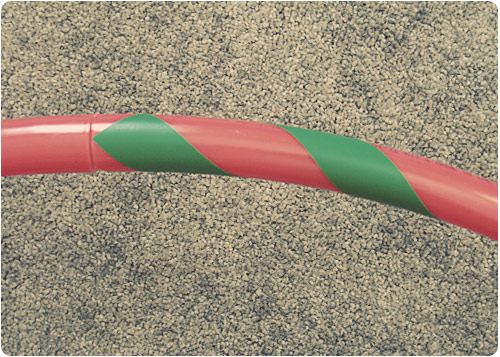
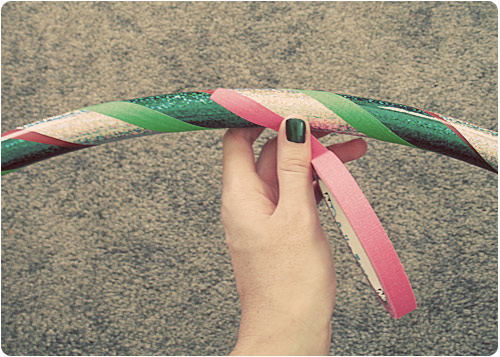
On to sparkle tape #2!
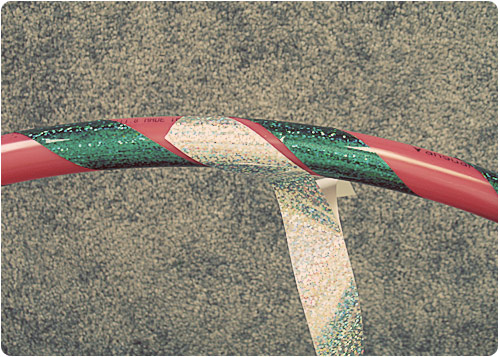
Use the same method as before to swirl the next tape around. If it starts to overlap the first tape, just cut it and reposition it.
Now to cover the gaps with gaffer tape!
Bascially the same idea as the previous tapes except this goes over the top of the edges of the sparkle tape. Gaffer tape is easier to use because it’s stretchy! :D
Almost done! Swirl gaffer tape #2 around.
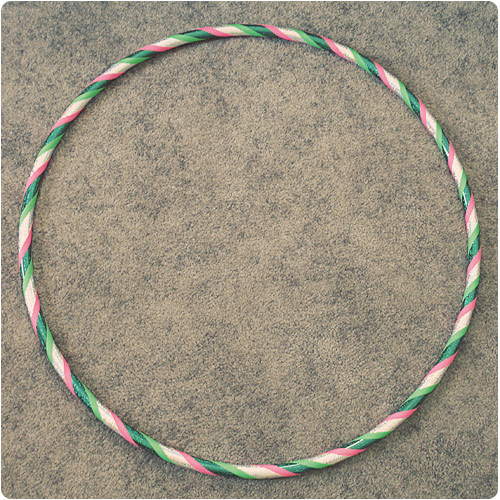
All done! yay!!
Now check out some hooping tutorials and get inspired to learn some tricks! Hula hooping is also good exercise!
Enjoy! :)
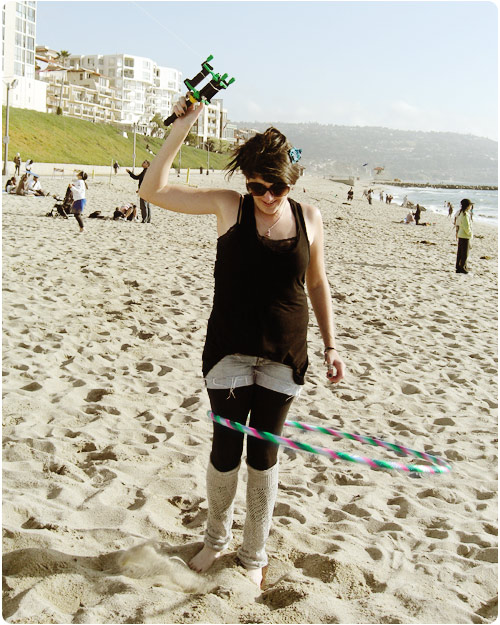
I tested it out at the beach, while flying a kite! hee! I’ll explain later! :)
Thank you, Thank you, Thank you!!!! Can’t wait to try this out. I had no idea it was made from PEX. DH is in construction and just did some plumbing… ;P Guess what I’m going to ask to do with leftovers. ha ha ha… Maybe in a month or so I can get to make one.
Again Thank you!!!
You’re welcome! And that’s awesome that you might be able to get leftover tubing! yay! :D
Oooooh, your sample looks so minty! :-D I really want to try this!
It’s like somewhere between minty and watermelony! hehe! You should give it a try! so fun! :D
Thanks for this! Question: I usually have a pot of boiling water on the stove to heat the ends of the tubing before i put the coupling in…have you tried that? would you say with experience that you think a flat iron/hair dryer works better?
I’ve heard of people doing that but I’ve never tried. The flat iron or blow dryer just seem so much easier/quicker to me. I guess I’m too impatient to wait for water to boil! hehe! :P
Hi Julie,
Thanks for posting this!!!
I’ve got just one problem. I can’t get the tube in an even circle. It’s more like an egg, than a circle. I still can use it to hoop, but imagine that it disturbs the flow.
Do you have any advice?
Thanks a lot, byebye jenny
ahh! I dunno how I missed this! I’m sorry for not responding sooner!
Did you use the beginning or end of a roll of tubing by any chance? I’ve noticed that some tubings will have a straight portion on the end that won’t curve. That’s the only thing that’s ever given me a lopsided hoop.
I love this! I have wanted to make one for myself for a while but never found out how to make them. I can NOT wait to do this!
I use to make hula hoops in the summer to pay mt bills, I sold each hula hoop for $10. People love hula hooping! and that make me Happy :)
P.S. I love your Thumb ring :)
I’m glad I found this! My question is… in the demonstration, which PSI is that? 100 or 160? Thanks!!
100 :)