Skip to content
YouTube
Facebook
Instagram
Pinterest
Email
Newest Pattern
:
Plush Hug Hand Bag
Gleeful Things
Crochet Patterns
Expand
Slouchy Hats & Beanies
Sun Hats
Tops & Sweaters
Barefoot Sandals
Home Décor
Bags & Cozies
Cowls & Scarves
Mittens & Arm Warmers
Leg Warmers
Headbands
Holiday
Squares & Hexagons
Amigurumi
Free Crochet Patterns
Tips & Techniques
Expand
Crochet Tips
Stitch Tutorials
Finishing & Embellishments
Yarn Tips & Reviews
Printable PDFs
Expand
Etsy
Ravelry
Videos
About
Search
YouTube
Facebook
Instagram
Pinterest
Email
Search
Gleeful Things
Toggle Menu
Tutorial
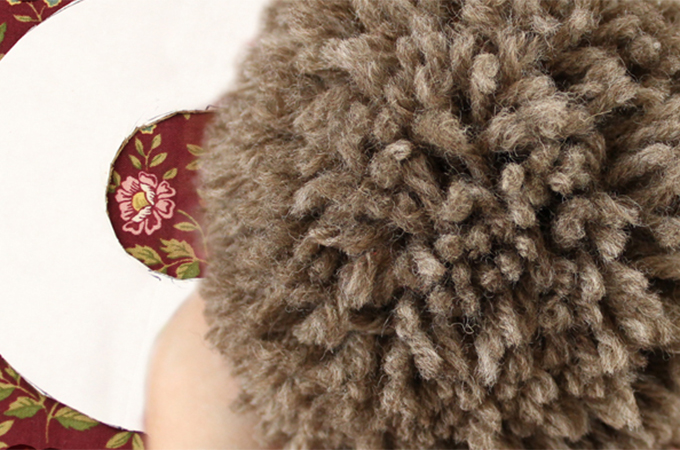
How To Make Pom Poms & Your Own Pom Pom Maker
Front Post Double Crochet Video Tutorial
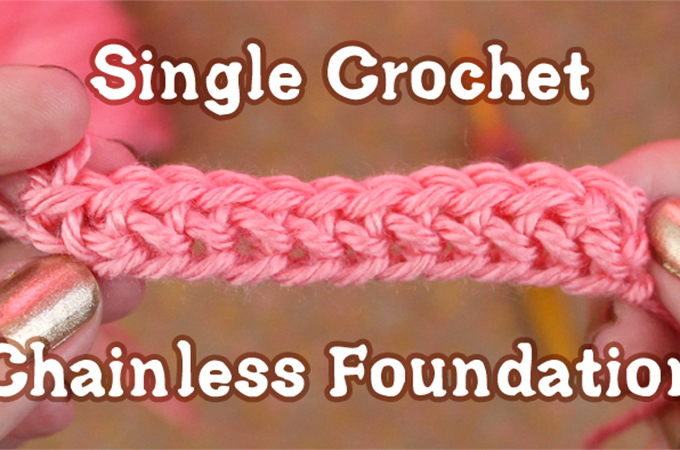
Single Crochet Chainless Foundation Video Tutorial
Half Double Crochet Chainless Foundation Video Tutorial
8 Crochet Heart Patterns For Valentine’s Day!
Double Crochet Chainless Foundation Tutorial + Q&A
How To Block Your Afghan Squares
Tiny Collections of Sea Glass & Shells
Page navigation
Previous Page
Previous
1
2
3
4
…
12
Next Page
Next
Scroll to top
Scroll to top
Crochet Patterns
Toggle child menu
Expand
Slouchy Hats & Beanies
Sun Hats
Tops & Sweaters
Barefoot Sandals
Home Décor
Bags & Cozies
Cowls & Scarves
Mittens & Arm Warmers
Leg Warmers
Headbands
Holiday
Squares & Hexagons
Amigurumi
Free Crochet Patterns
Tips & Techniques
Toggle child menu
Expand
Crochet Tips
Stitch Tutorials
Finishing & Embellishments
Yarn Tips & Reviews
Printable PDFs
Toggle child menu
Expand
Etsy
Ravelry
Videos
About
Toggle Menu Close
Search for:
Search