
Get the latest in your inbox!


Meet the Designer
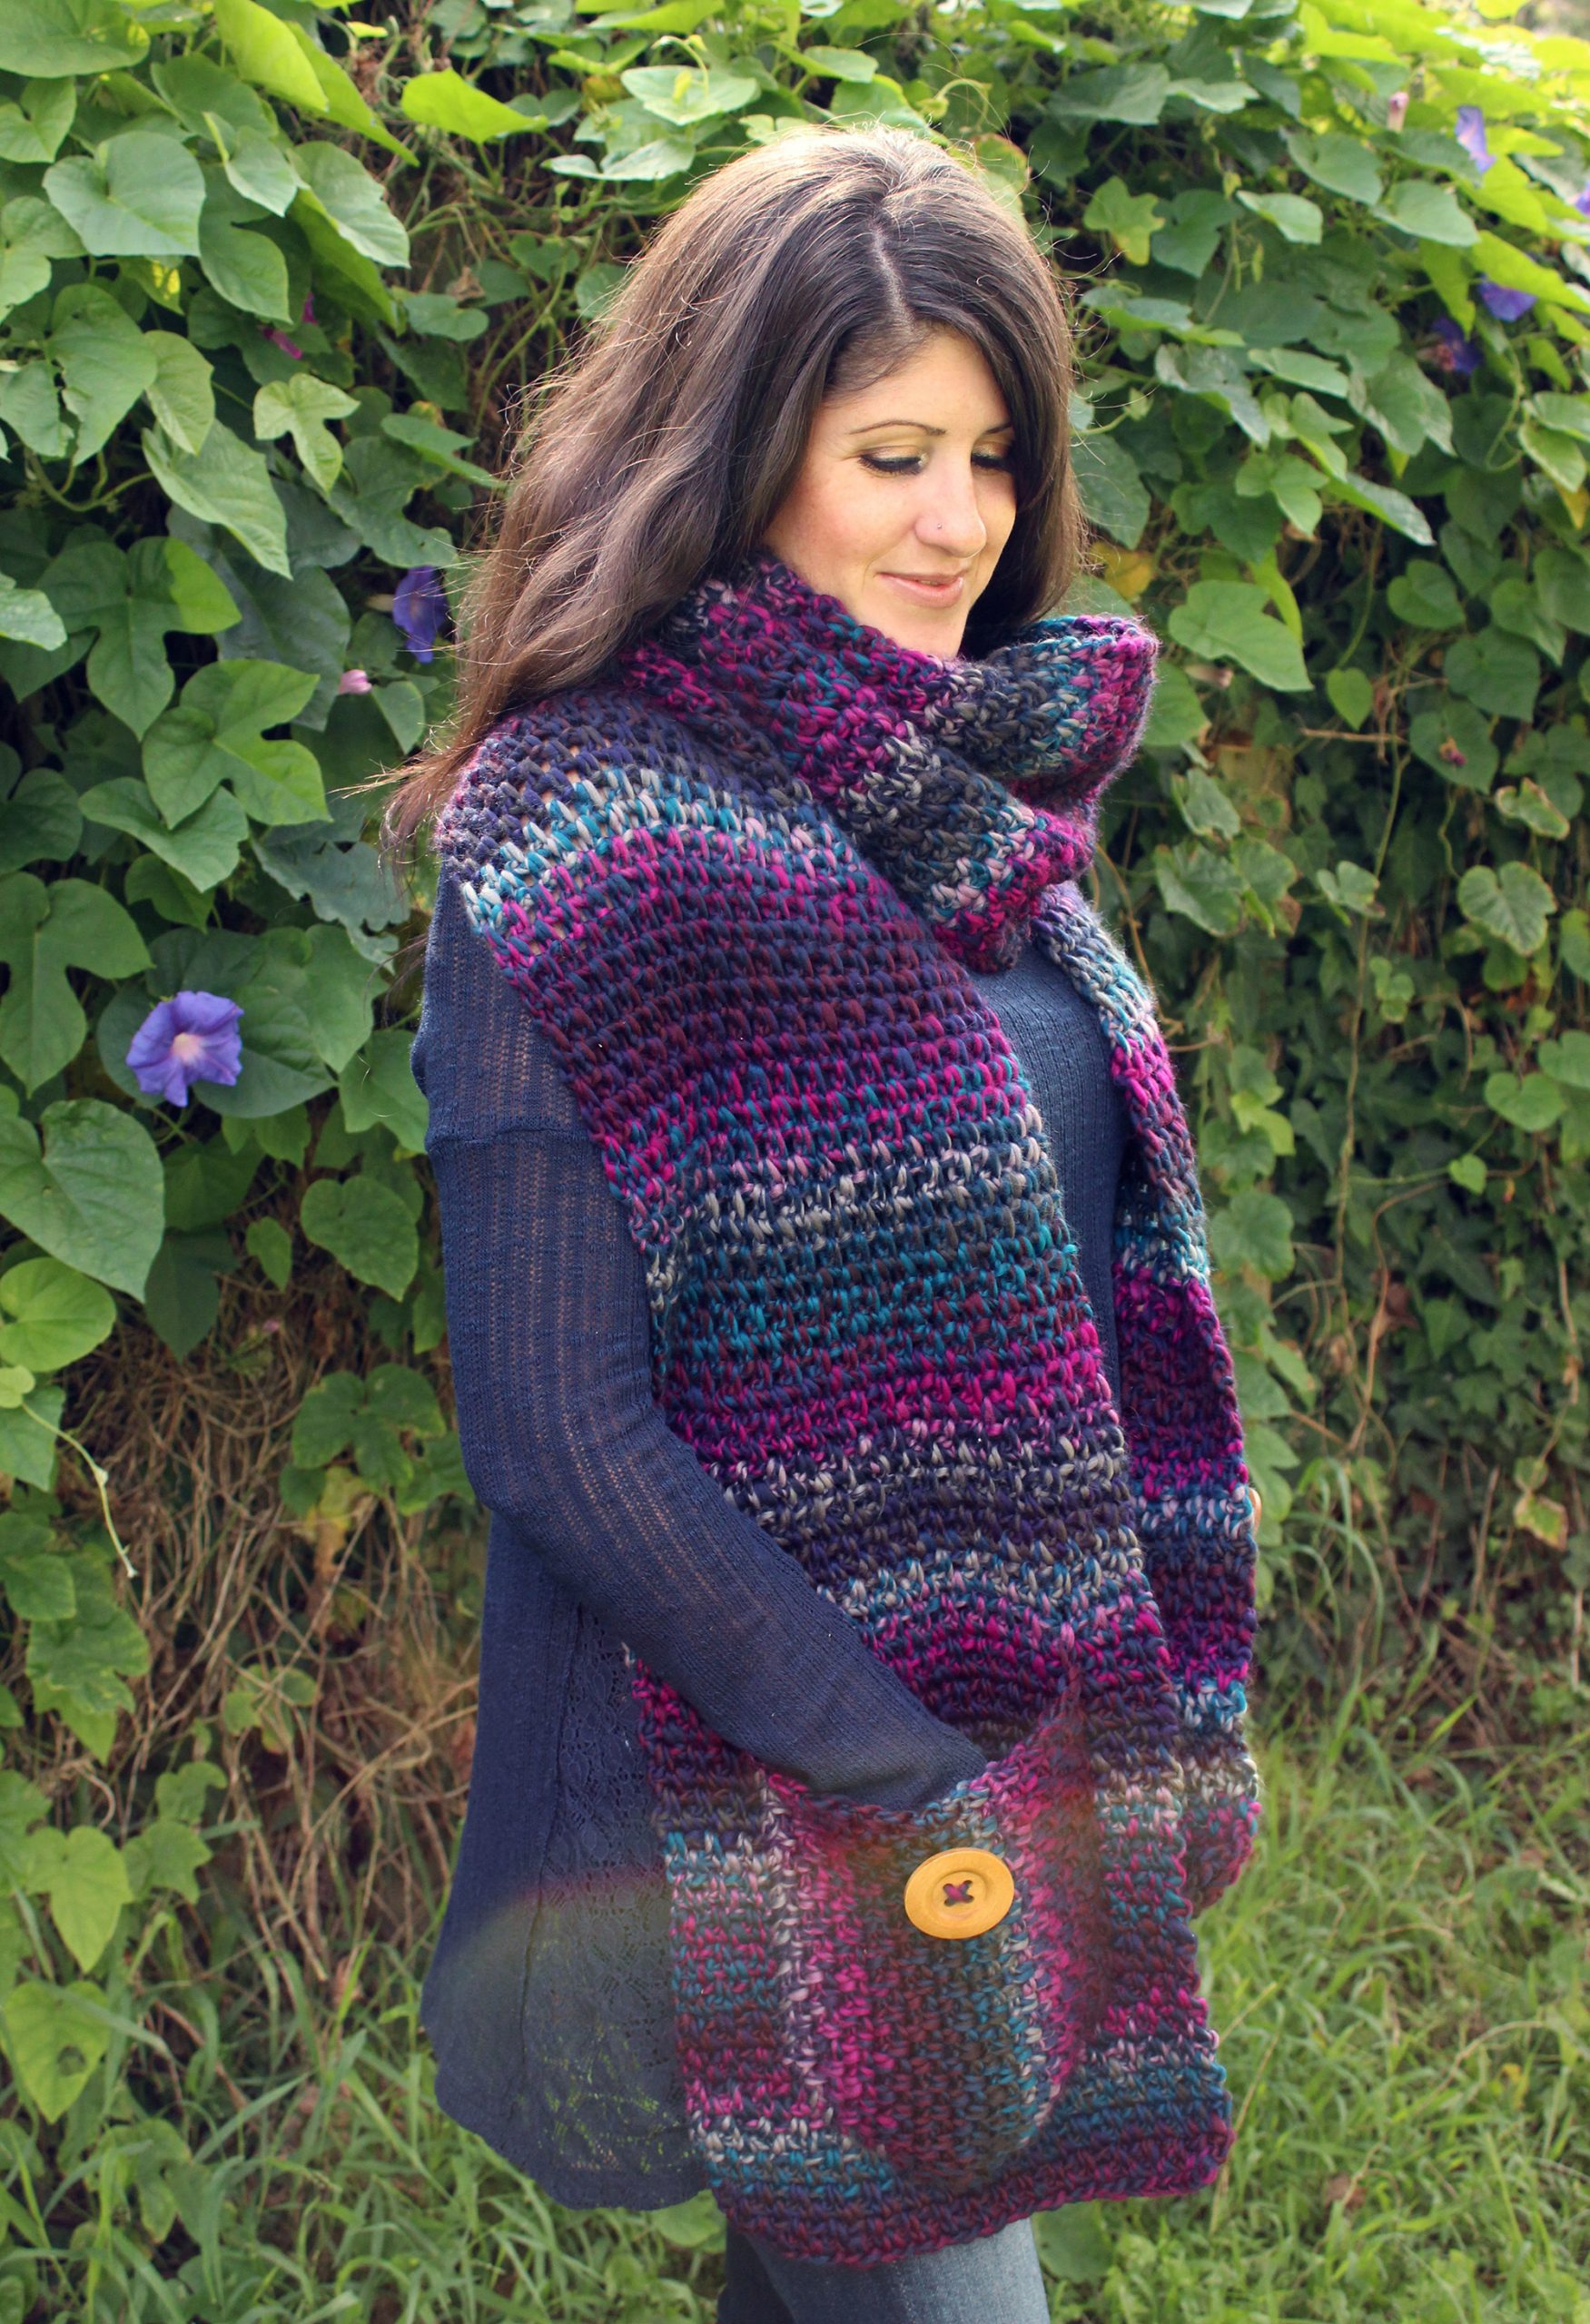
Hey there, I’m Julie!
I’m a southern California based crochet designer who strives to create patterns that you’ll love to both make and wear! This blog is where I share my work and inspiration, as well as pass along useful tips and tutorials. I hope your visit leaves you with a new crochet project and lots of fun ideas!
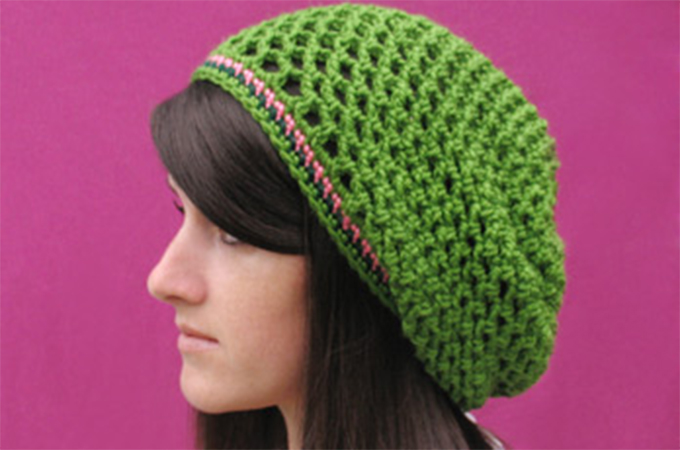
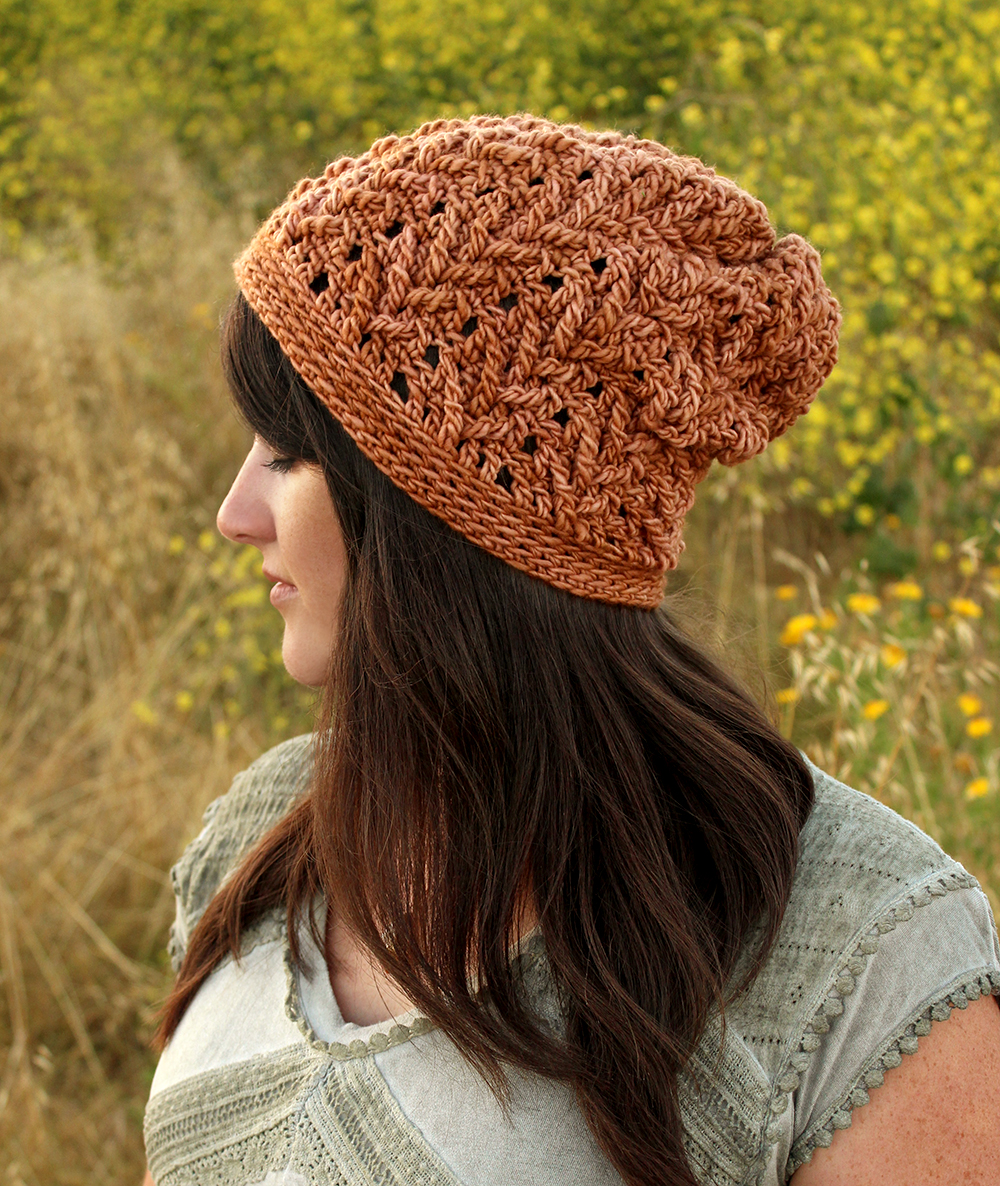
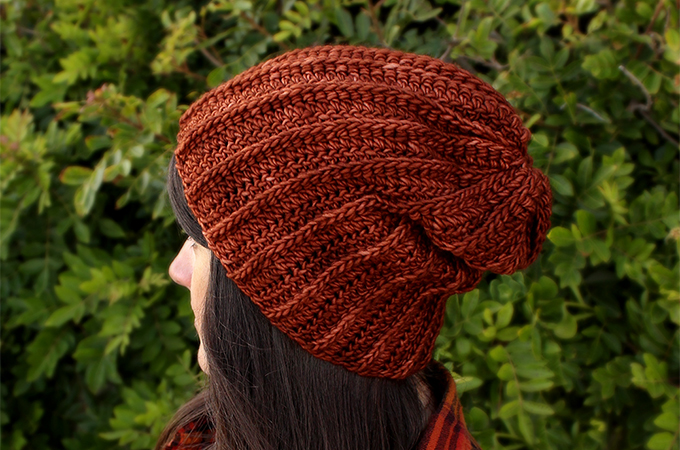
Want to crochet your own beanies and slouchy hats? You’ll love my book!
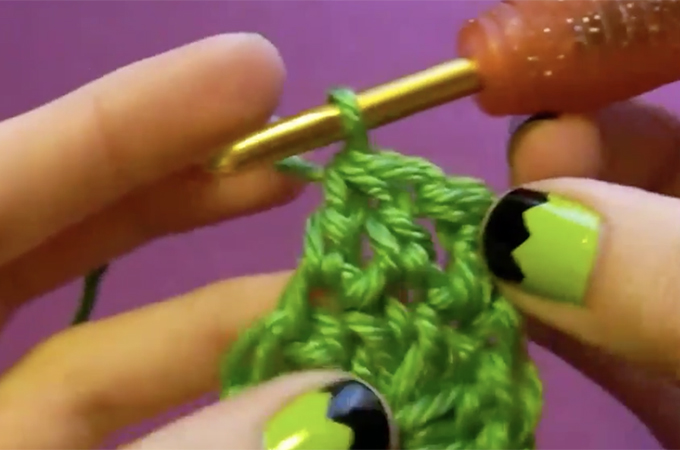
Crocheted Beanies & Slouchy Hats features 31 patterns for fun, colorful hats that use a variety of simple stitches and yarns that are easily accessible. You’ll also find a section of photo tutorials that will teach you every stitch used within the book.