Wilderness Leg Warmers Free Crochet Pattern
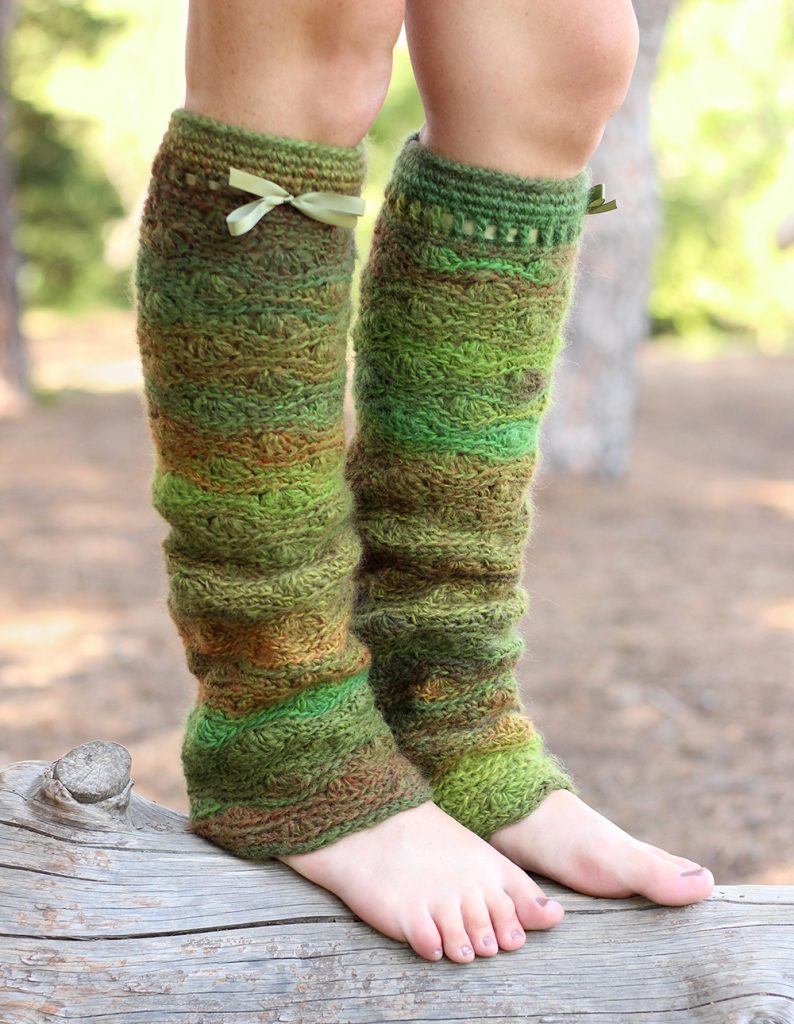
I designed these cozy leg warmers with Lion Brand Amazing, which I’ve used to make a variety of items already so far, but this is my first published design with it! I really think you’re going to love it! The colors are so pretty and it has a very nice fuzziness to it.
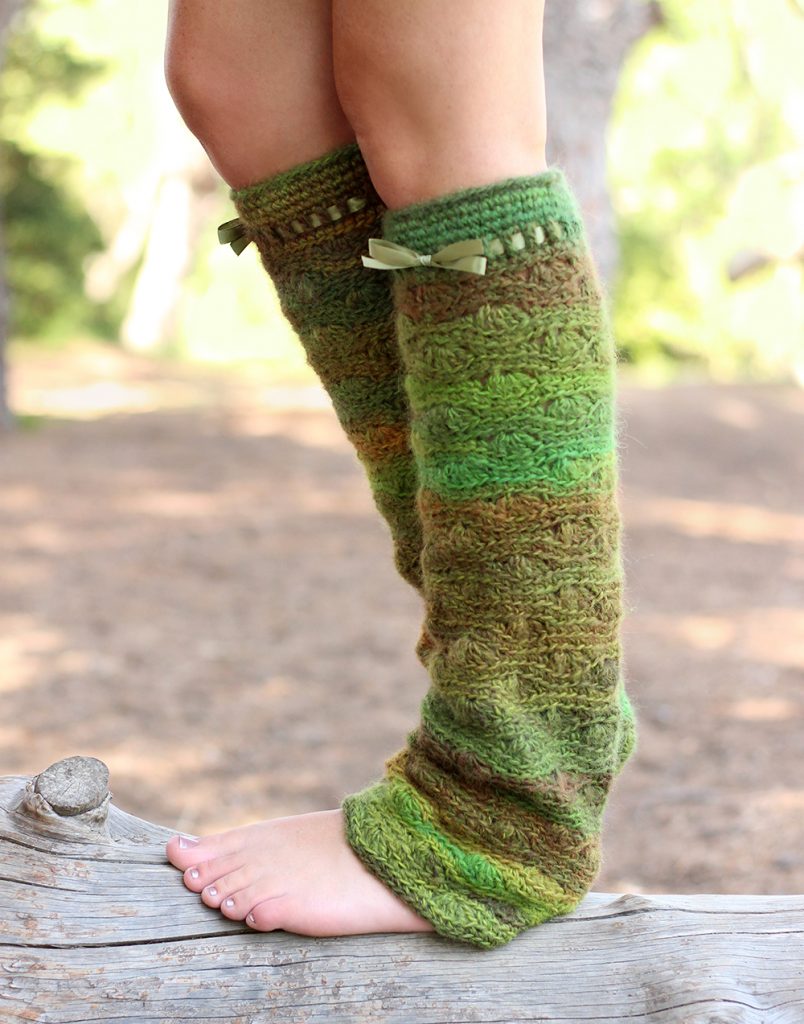
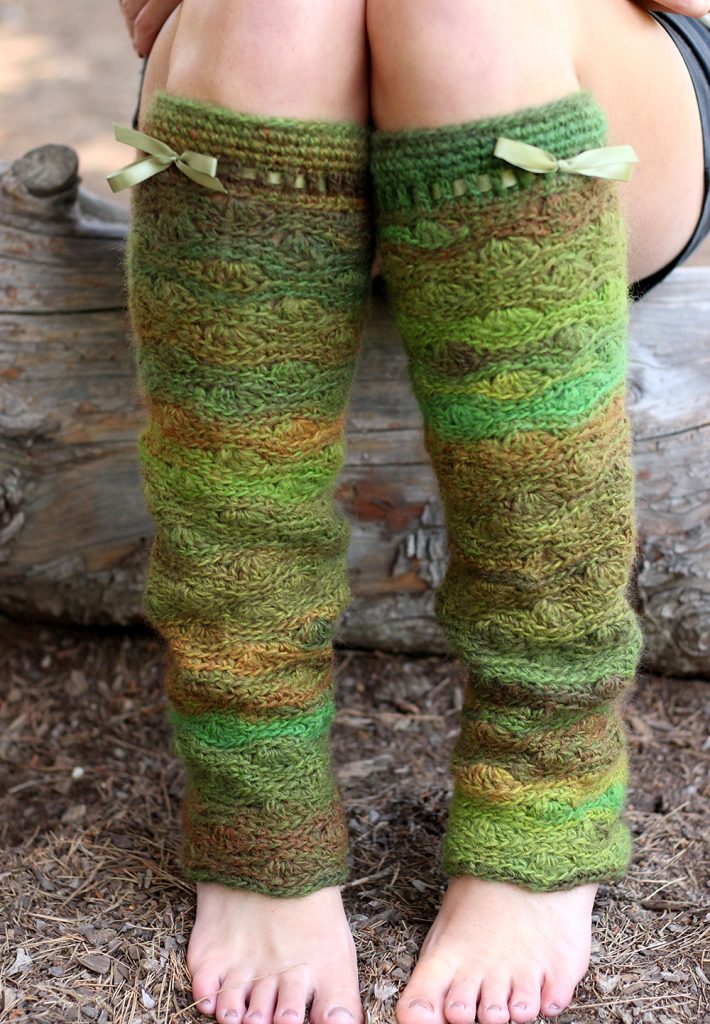
The Wilderness Leg Warmers feature a subtle wavy design and are worked mainly in back loops only to create a nice texture. They use only basic stitches so even an advanced beginner could conquer this pattern!
You’ll be pleasantly surprised by how quickly you can whip up a pair! Try them with some Lion Brand Amazing or your other favorite light worsted weight yarns.
They can be made with ribbon at the top for a cute, delicate added touch if you’d like. Or, it’s easy to skip that if ribbon isn’t your thing. I’ll also show you how to add elastic thread to help keep them from falling down.
Disclosure: This post contains affiliate links. If you click and make a purchase, I will receive a small commission, at no extra cost to you. This, along with the ads shown on this blog, help to ensure that I’m able to continue posting free patterns and tutorials for you to enjoy. Thank you for your support!
Why You’ll Love This Pattern
- 1 – 2 day project – Being made with #4 worsted weight yarn makes these leg warmers a quick project to whip up!
- Beginner friendly texture – The shell & back loop only stitches create a lovely, subtle texture that is simple enough for an advanced beginner to handle.
- Use your favorite yarn – You can easily substitute the yarn I used with YOUR favorite #4 worsted weight yarn or maybe even a #3 DK weight yarn.
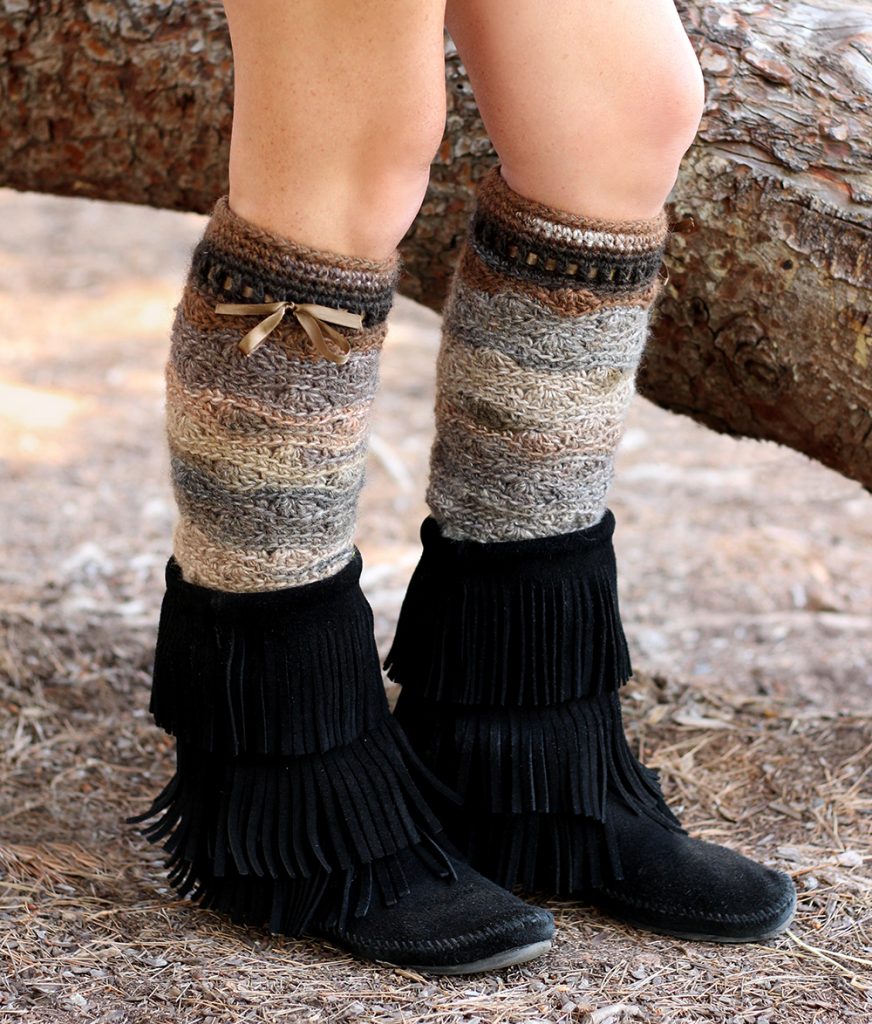
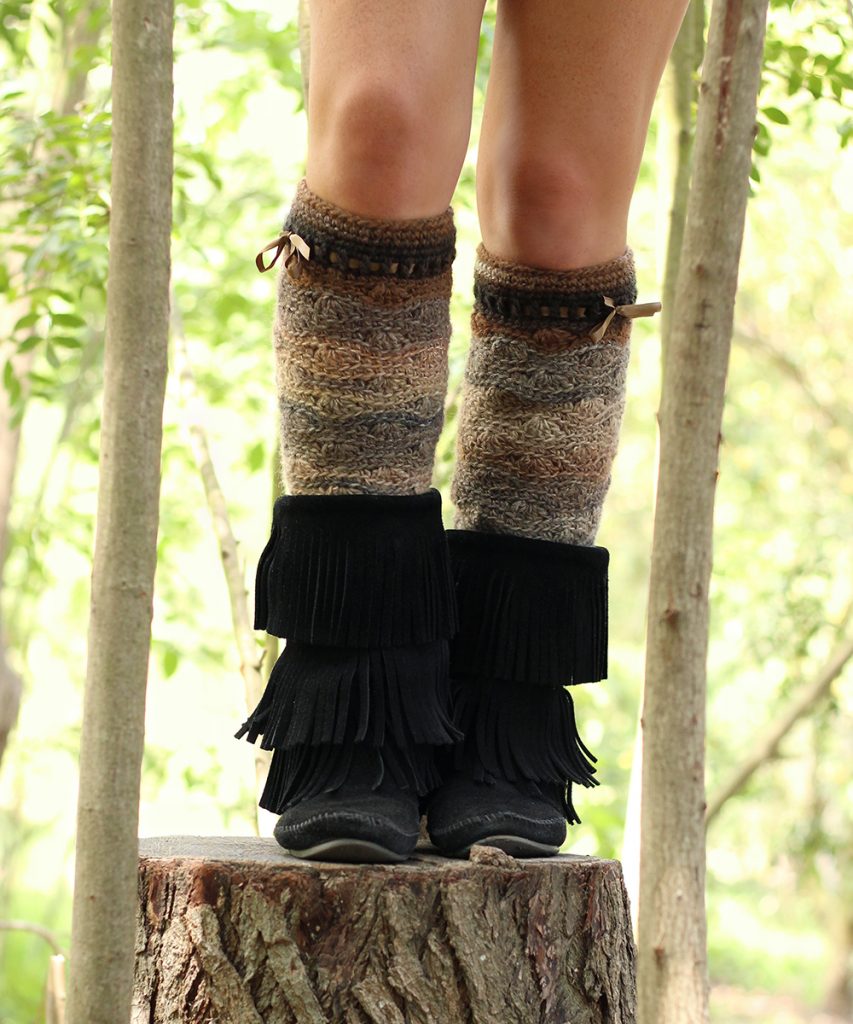
- Get cozy! – Leg warmers are a wonderful option for layering on cold days! Wear them over leggings or even under loose pants.
Yarn
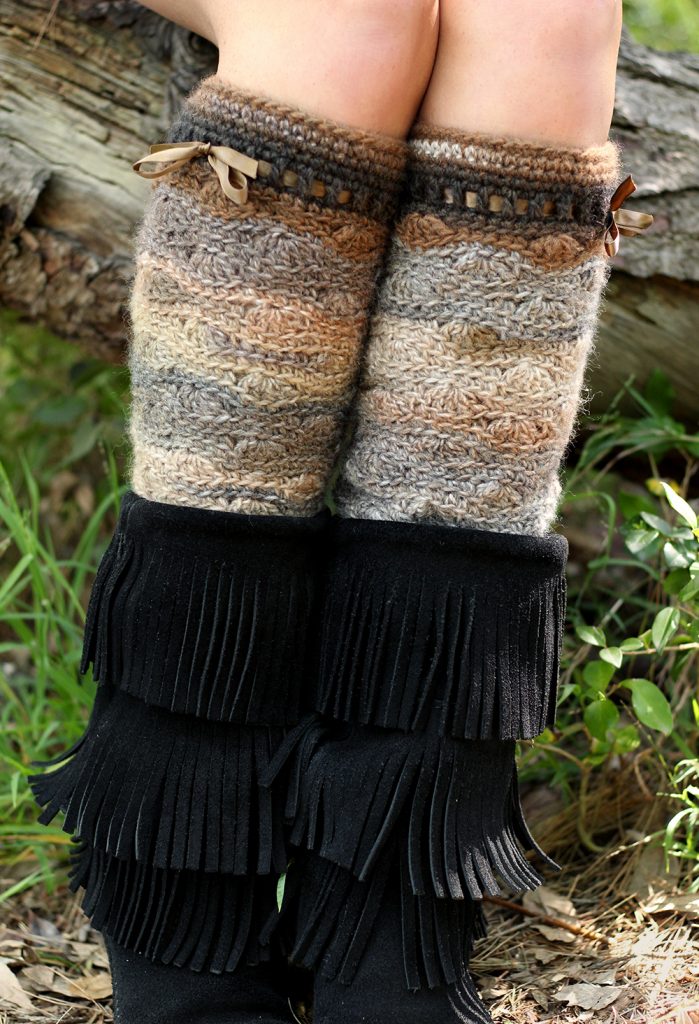
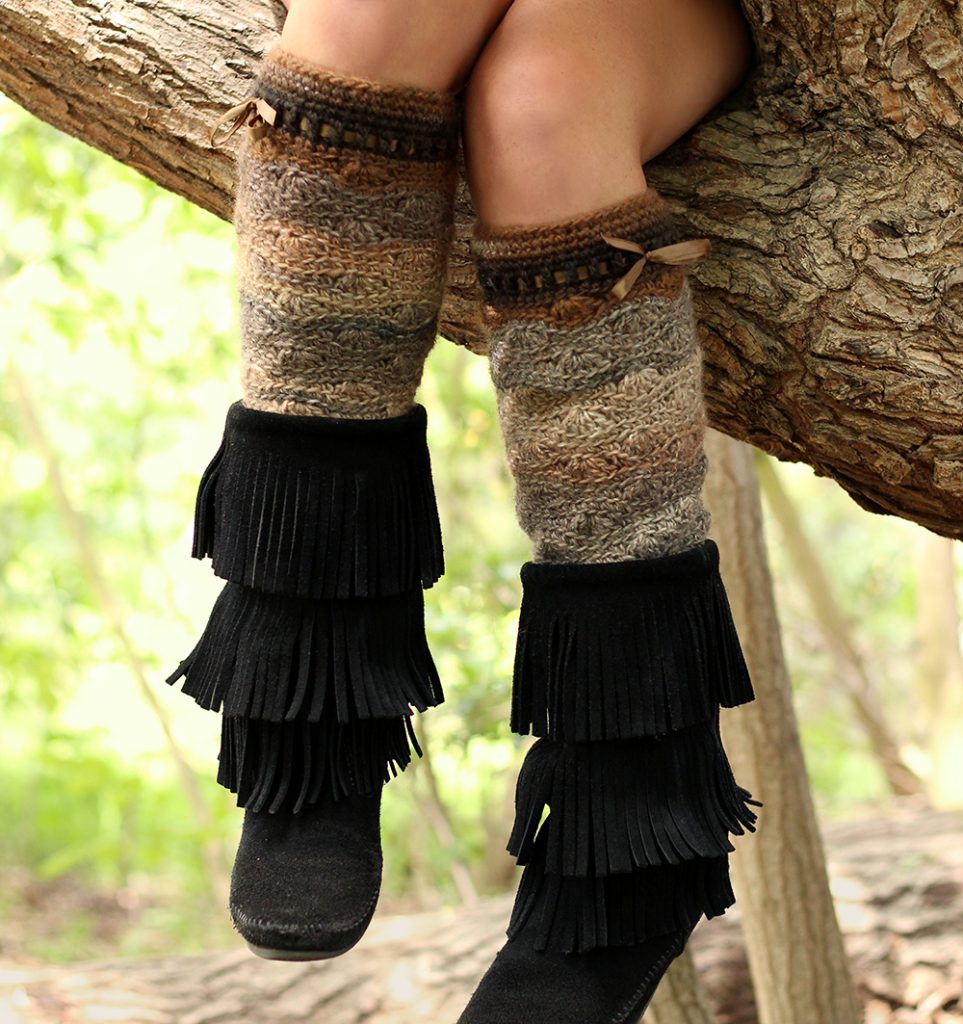
#4 worsted weight yarn: Approximately 430 (500, 580) yards of Lion Brand Amazing* in Rainforest or Cobblestone
* Since this pattern was published, this yarn has unfortunately been discontinued. Lion Brand Amazing was somewhat thin for a #4 worsted weight so you’ll have the best luck substituting with a yarn that is also a bit thin for a #4. You can probably even use a #3 DK weight yarn. Just be sure to check your gauge. See the list below for some possible substitute ideas.
Yarn Substitute Ideas
- Lion Brand Ferris Wheel – This yarn looks very similar to Amazing! It’s not fuzzy and it’s 100% acrylic, but looks pretty similar.
- Red Heart Roll With It Melange – Another option that looks very similar to Amazing, except without the fuzziness and 100% acrylic.
- Lion Brand Scarfie Lite – If you prefer pastel hues, you’ll love this yarn that also has a similar fuzziness to it!
- Loops & Threads Ombre Hues – This #3 DK weight yarn is another option, featuring some very pretty pastel colorways with a slight fuzziness as well.
- Hobbii Manaya – Also a very similar look to the original yarn, this wool/acrylic blend offers some brighter and bolder color options.
Download The Pattern
You can find the FREE pattern by scrolling down. A print-friendly, ad-free PDF of this pattern is also available for a small fee. If you enjoy my patterns, please consider purchasing the PDF – your support is greatly appreciated and will help me keep the new patterns coming! :)
Supplies
- US Size H (5mm) crochet hook or size needed to obtain gauge
- Yarn needle
- Scissors
- Stitch marker
- 3/8” ribbon (optional)
- Elastic thread (optional)
Difficulty
Advanced Beginner
Gauge
16 sc and 16 rows = 4”
Sizes & Finished Measurements
Small (Medium, Large)
Length: 19 (20, 21)”
Circumference: 12 (14, 16)”
Abbreviations
- ch(s) – chain(s)
- sc – single crochet
- dc – double crochet
- st(s) – stitch(es)
- sl st – slip stitch
Special Stitches
Shell – 5 dc in one stitch
Terms of Use
You are welcome to sell any items you make using this pattern, in small quantities. Mass production is prohibited. When selling online, please credit Julie King / Gleeful Things by linking to www.gleefulthings.com or tagging @gleefulthings. You may NOT sell or distribute the pattern itself in any form, alter it to claim it as your own, post it online, or create a video demonstrating the pattern.
Notes
- 1. Instructions are written for size small with modifications for sizes medium & large in parentheses. To adjust length, do more or fewer repeats of rounds 11-14 as desired. To adjust circumference, shorten or lengthen your starting chain in increments of 10.
- Pattern is worked in continuous rounds with the exception of rounds 4-6. Do not join at the end of rounds except where specified. Be sure to use a stitch marker to keep track of the beginning of each round.
- Rounds 1-6 will be worked in both loops as usual. Round 7 and on will be worked in back loops only.
- If you do not want to add ribbon to your leg warmers, do not join at the end of round 4 & skip round 5.
Instructions
Ch 50 (60, 70), sl st to join to 1st ch.
Round 1: Ch 1 (does not count as a st), 1 sc in each ch, do not join – 50 (60, 70) sc.
Round 2-3: 1 sc in each st, do not join – 50 (60, 70) sc.
Round 4: 1 sc in each st, sl st to join to 1st sc – 50 (60, 70) sc.
Round 5: Ch 3 (counts as 1 dc), 1 dc in each st, sl st to join to top of ch 3 – 50 (60, 70) dc.
Round 6: Ch 1 (does not count as a st), 1 sc in each st, sl st to join to 1st sc – 50 (60, 70) sc.
*Work in back loops only from here on. Do not join at the end of rounds.*
Round 7: Ch 1 (does not count as a st), *1 sc in each of the next 5 sts, skip 2 sts, 1 shell in next st, skip 2 sts; repeat from * around – 25 sc + 25 dc (30 sc + 30 dc, 35 sc + 35 dc).
Round 8: 1 sc in each st – 50 (60, 70) sc.
Round 9: *Skip 2 sts, 1 shell in next st, skip 2 sts, 1 sc in each of the next 5 sts; repeat from * around – 25 sc + 25 dc (30 sc + 30 dc, 35 sc + 35 dc).
Round 10: 1 sc in each st – 50 (60, 70) sc.
Round 11: *1 sc in each of the next 5 sts, skip 2 sts, 1 shell in next st, skip 2 sts; repeat from * around – 25 sc + 25 dc (30 sc + 30 dc, 35 sc + 35 dc).
Round 12: 1 sc in each st – 50 (60, 70) sc.
Round 13: *Skip 2 sts, 1 shell in next st, skip 2 sts, 1 sc in each of the next 5 sts; repeat from * around – 25 sc + 25 dc (30 sc + 30 dc, 35 sc + 35 dc).
Round 14: 1 sc in each st – 50 (60, 70) sc.
Round 15 – 54 (58, 62): Repeat rounds 11-14: 10 (11, 12) times.
After round 54 (58, 62), invisible join to next st and fasten off.
Finishing
Ribbon:
Ribbon can be added to round 5. Weave your ribbon under one dc and over the next, repeating all the way around, then tie a bow.
Elastic:
Elastic is helpful to keep your leg warmers snug at the top and prevents them from falling down. There are a lot of types of elastic threads & cords that you can get at any craft store. The biggest variety of colors are usually available in the jewelry making section.
Thread your needle with elastic and weave it through the back of the stitches in round 1. Tie a knot to secure it (it’s best to try it on when you do this so it’s not too loose or too tight). Click here for a tutorial with photos.
Share Your Project
I hope you’ve enjoyed this pattern and I would love to see what you made! Please share your photos on social media and tag me @gleefulthings or use hashtag #gleefulthings. Don’t forget to add your project on Ravelry too! :)
Adore this!
Thank you! I love your designs, btw! :)
Very cute! I definitely need to try some legwarmers. :D
Thank you! You should, they’re so fun! :D