My First Attempt At Making Soy Candles!
Candle making has been on my things to try list for seriously, years!! I love burning candles but they can be expensive so I thought maybe making my own would be a cheaper (and FUN!) alternative!
I posted on Facebook and Instagram when I had some questions and got a lot of useful advice (thank you!!!). I was also asked to share my experience so here goes! :)
The first round ended up being kind of pricey due to the cost of the jars and pitcher but they’ll be reused for future batches so it’s all good! If we’re only considering the cost of the other supplies, then it really wasn’t that bad. I’ll talk more about cost in a bit!
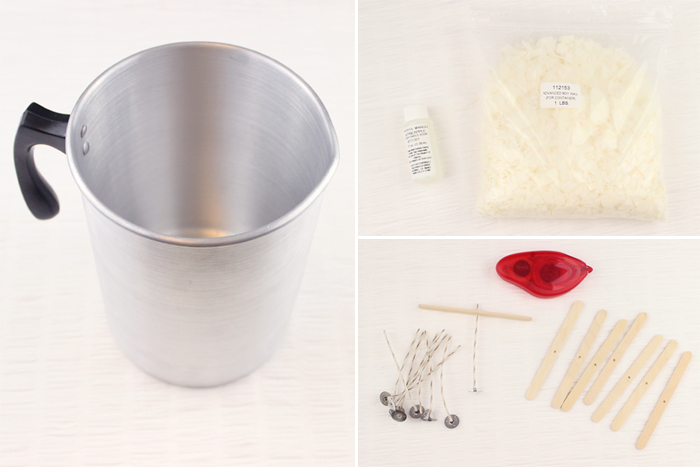
Here’s everything I used:
♥ Pitcher – I found this at Michael’s for $16.99 and used a 50% off coupon!
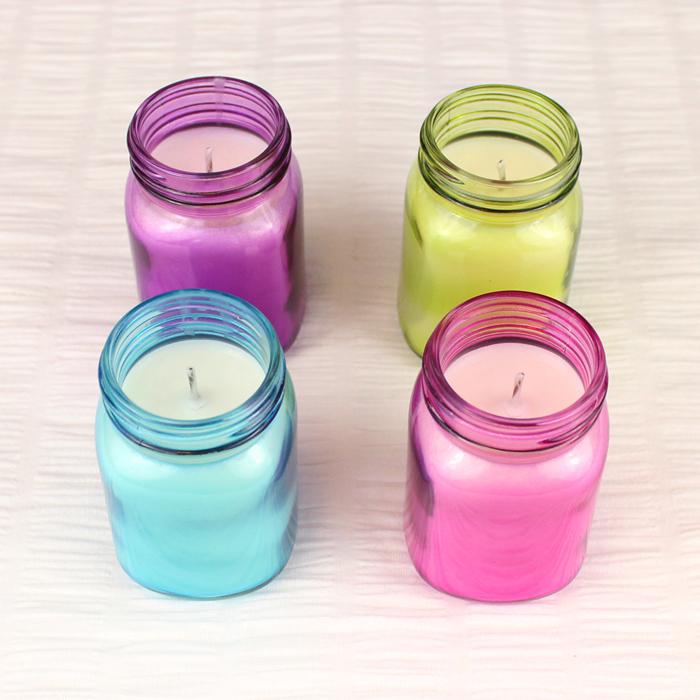
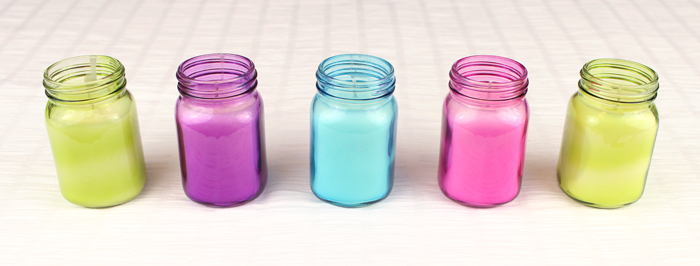
♥ Jars – Also from Michael’s. They were regularly $9.99 for a 4 pack (one of each color) but were on sale for 60% off when I got them (yeeeess!!). They also have ones with handles that look like mason jar glasses and also come in clear. I forgot to buy dye so I like that the jars give them some color! And I think they go well with the tropical scent!
♥ I purchased the Soy Wax, Wicks & Scent (papaya/mango/pineapple! YUMMY!) all from Darby Smart. I later realized that Michael’s sells a 4 pound bag of wax for $21. With a 50% off coupon, that would be a great deal!
♥ Double sided tape to attach the wicks to the bottom of the jars.
♥ Popsicle sticks – I drilled holes in them so that they could hold the wicks because I wanted to make sure they were centered.
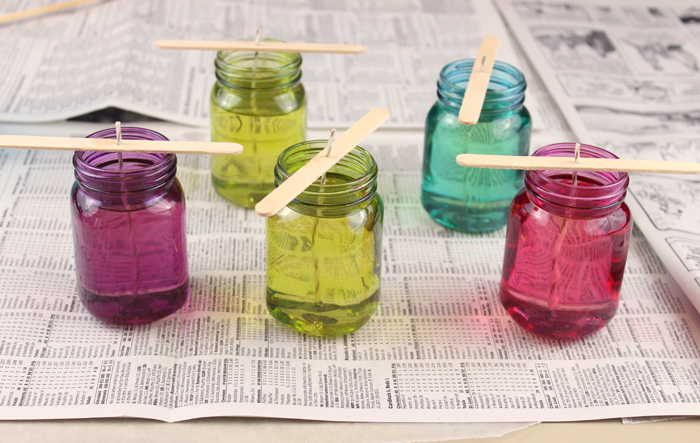
I used the double boiler method to melt the wax per some suggestions on Facebook. It’s really easy. If you’re not familiar, basically you just fill your pitcher with the wax flakes then you stick the pitcher in a pot of boiling water. It helps keep the wax from burning. The only thing I found weird was that the pitcher floats so you have to hold onto it (can you tell that I like to put things on the stove and then walk away? :P). But you need to be there anyway to stir as the wax melts, which actually happens pretty fast!

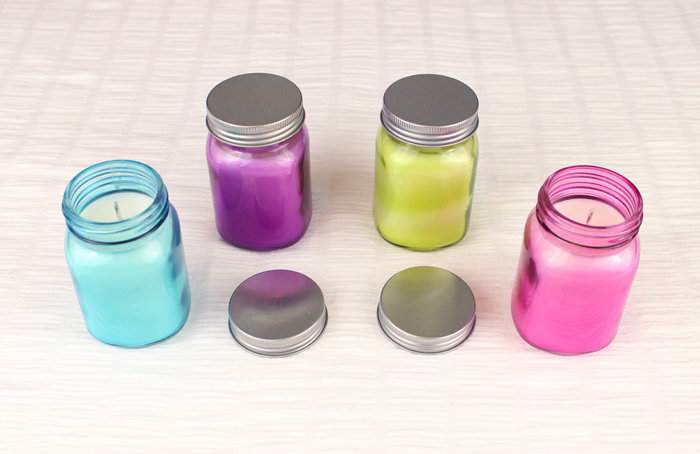
I used one pound of wax and it only filled five of my jars (they’re about 4 ounces I think). Actually, one of the green ones isn’t quite full. So I’m kinda bummed at how few candles it made.
But I figure my total cost, not including the jars and pitcher, was only about $12. So five 4 ounce candles for $12 is really not a bad price at all! The jars and pitcher were probably close to $20 with tax but I’m not really considering those since they’ll be reused.
One thing that I forgot to buy was a thermometer. I read that the scent needs to be added when the wax is a certain temperature or it will just burn off. I let my wax sit for a few minutes after removing it from the stove and then added my scent, just hoping for the best! Now that I’ve burned one of the candles, the scent does seem a little weak so I’m definitely gonna invest in a thermometer before making another batch.
If you’re considering trying candle making, I hope you found this info helpful! Let me know if you have any questions! :)
And if you’re into candle making, I’d love to hear any advice you may have. I’m definitely interested in finding the best deals on wax, if you have any suggestions.
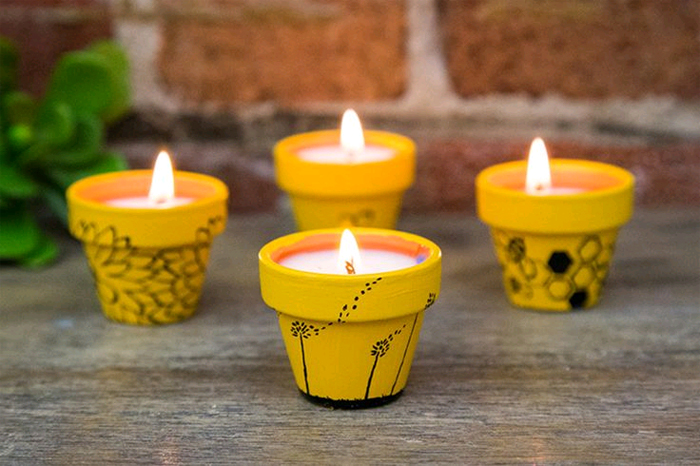
I also want to share the project that inspired me to fiiiinally give candle making a try! These cute terracotta pot candles are actually a kit you can buy on Darby Smart. I loved these and was going to buy the kit but I wanted larger pots so I went to Michael’s and that’s when I ended up finding the jars I used. I definitely want to use pots in the future though!
Disclosure: This post contains affiliate links. If you click and make a purchase, I get a small commission. This helps to ensure that I’m able to continue posting patterns, tutorials & other fun stuff! :)

I loved the way your candles came out. They’re cute. These would make a wonderful Mother’s Day DIY gift. (Poor 3 sad empty jars)
Thanks! I can’t wait to make more! :)