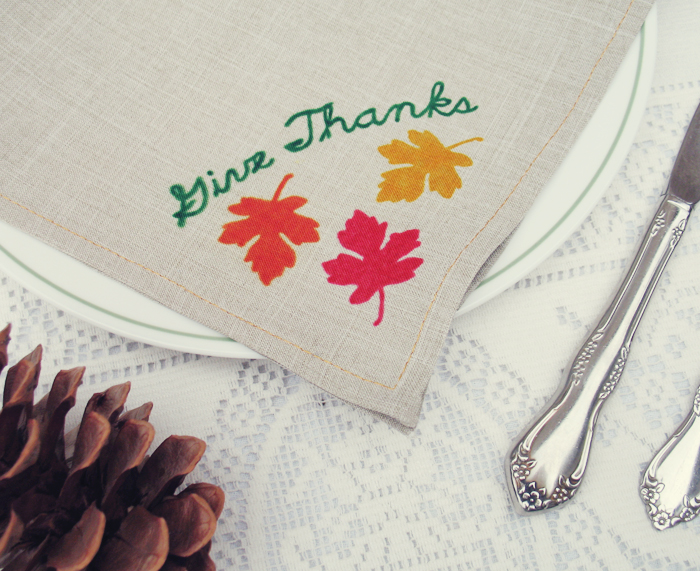
DIY Printed Thanksgiving Napkins Tutorial
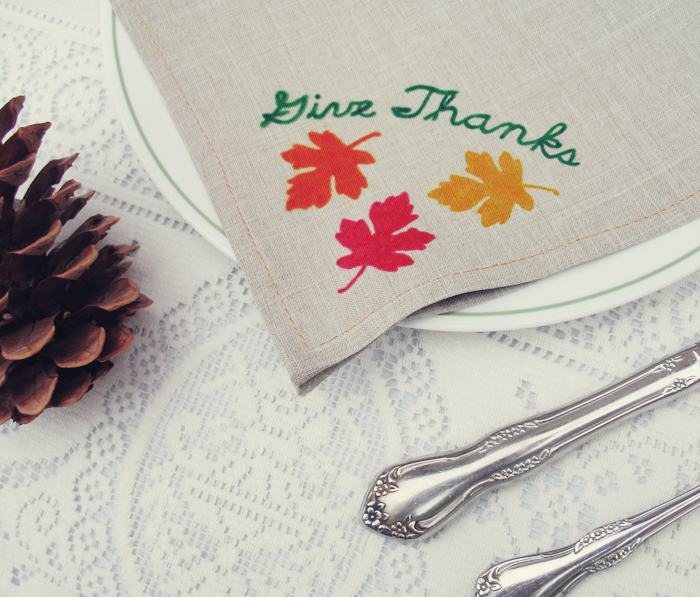
As I mentioned in my Halloween pillow tutorials, I’m participating in the Jo-Ann Celebrate the Season campaign, and this is my Thanksgiving project! The Thanksgiving theme is #turkeytablescapes, and the goal was to create something to decorate your Thanksgiving table with. I decided to make custom printed napkins!
This is a really easy project using DecoArt Ink Effects paint! Have you tried this stuff? It’s pretty cool, you can paint anything and iron it onto fabric!
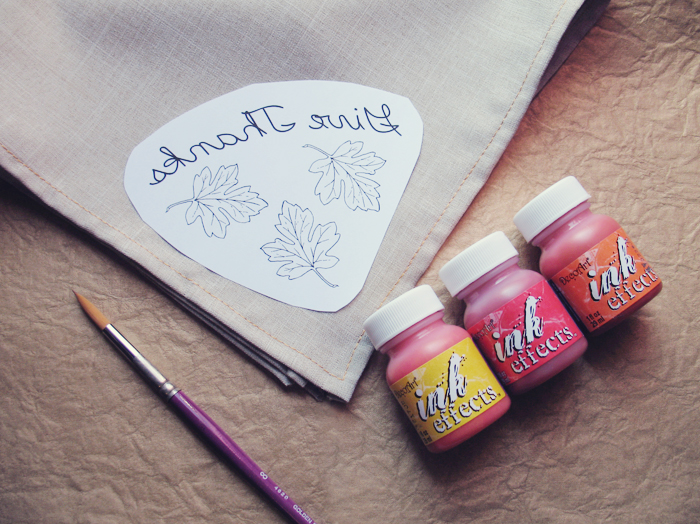
Here’s what you’ll need:
♥ DecoArt Ink Effects paint (If you’re using cotton fabric, you’ll also need this basecoat)
♥ Paint Brush
♥ Cloth Napkins (I sewed my own, here’s a tutorial I found)
♥ Iron
♥ The design you want to use. You can download mine here or design your own, just be sure that any text is flipped!
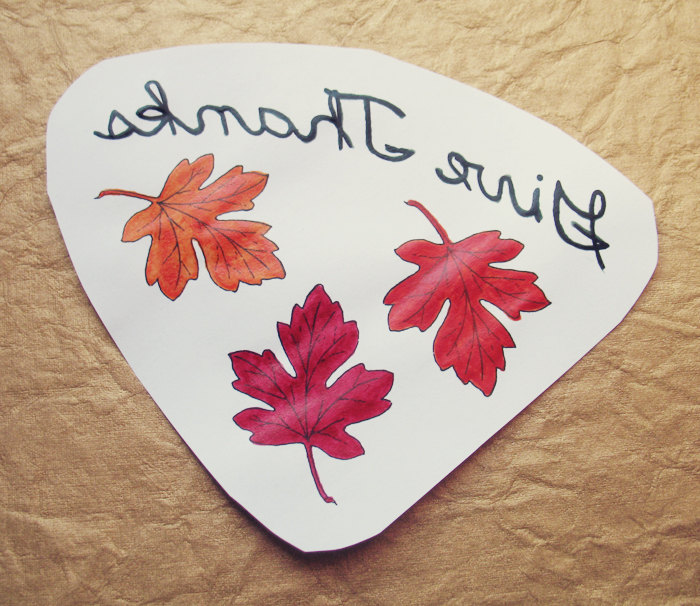
Step 1: Paint your design. Depending on how many napkins you’re making, you will need to paint multiples of the design. You can use each one at least 2-3 times without losing quality. After that, the color will look dull (which is cool if you ever want a vintage look!).
Step 2: After your designs have had time to dry (the instructions say to allow 45 minutes), you can start ironing them onto your napkins. Place painted side down on the napkin, put a larger blank piece of paper over that to protect the fabric, and iron for about 2-3 minutes. I recommend doing a test before so you’ll get an idea of exactly how long you need to iron. It varies depending on the fabric you’re using.
Disclosure: This is a sponsored post. These supplies were provided to me free of charge by Jo-Ann, however, I designed the project myself and all opinions here are my own.
These are so cute, Julie! I was wondering how those Ink Effects paints work – they turned out great!