Halloween Silhouette Applique Pillows DIY Sewing Tutorial
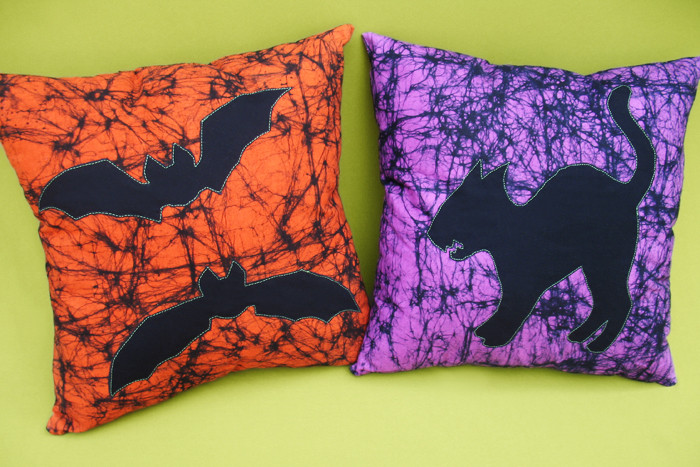
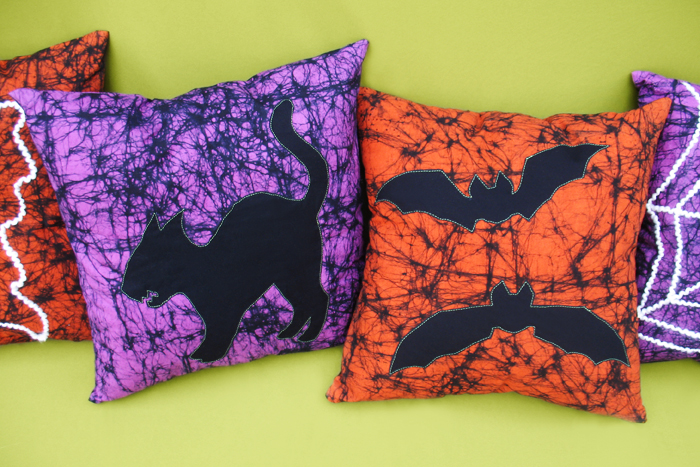
I feel incredibly lucky to have been invited by Jo-Ann’s to participate in their Celebrate the Season campaign (this means you can expect Thanksgiving & Christmas tutorials from me too)! For Halloween I was given the theme Spooky Spaces, so I chose to create this set of pillows that you could use on your couch, bed, etc to spookify any space!
Since this is kind of a two part project, I have two separate tutorials for you! In this post, I’m going to show you how to make the fabric applique pillows (in the first pic). In the next post, I’ll show you how to make the yarn ones.
Supplies:
♥ 16 inch pillow form
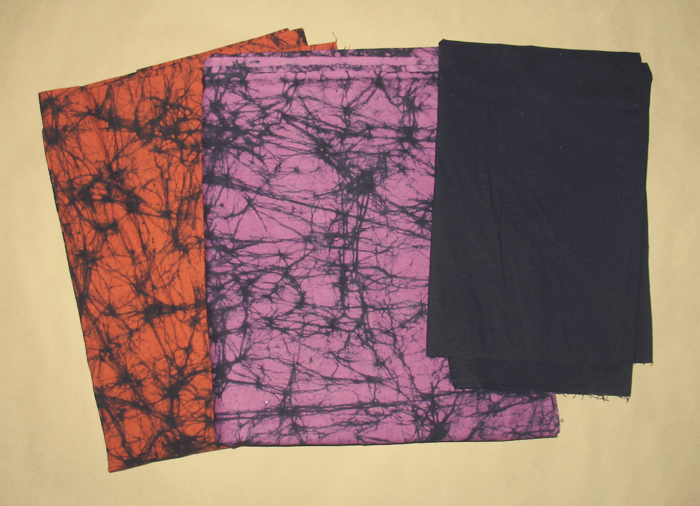
♥ 1/2 yard of fabric for each pillow
♥ Small piece of black fabric
♥ Chalk
♥ Sewing machine and basic sewing supplies
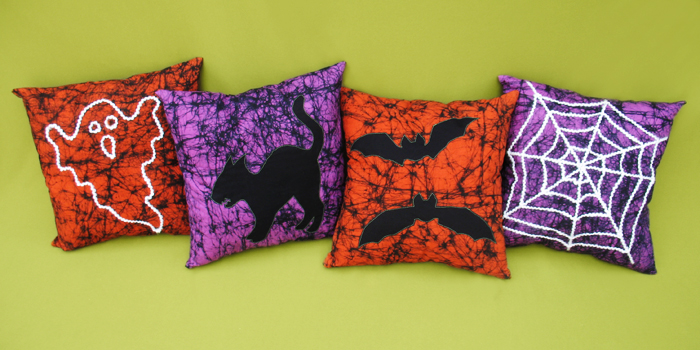
♥ Designs of your choice for the appliques – if you need ideas, try Googling “Halloween silhouette”
Sewing these pillowcases will require basic sewing knowledge, sewing on the appliques however, is a little tricky and probably better for someone with a little more experience. If you’re looking for an easier alternative, I would recommend using iron-on or spray-on fabric adhesive to attach the appliques rather than sewing.
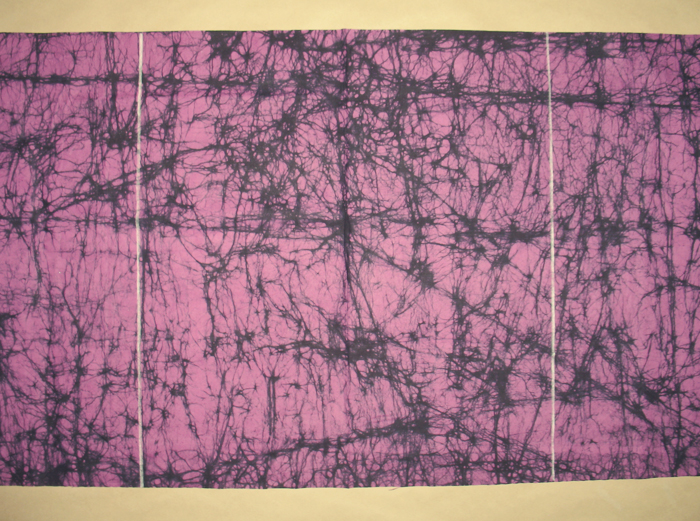
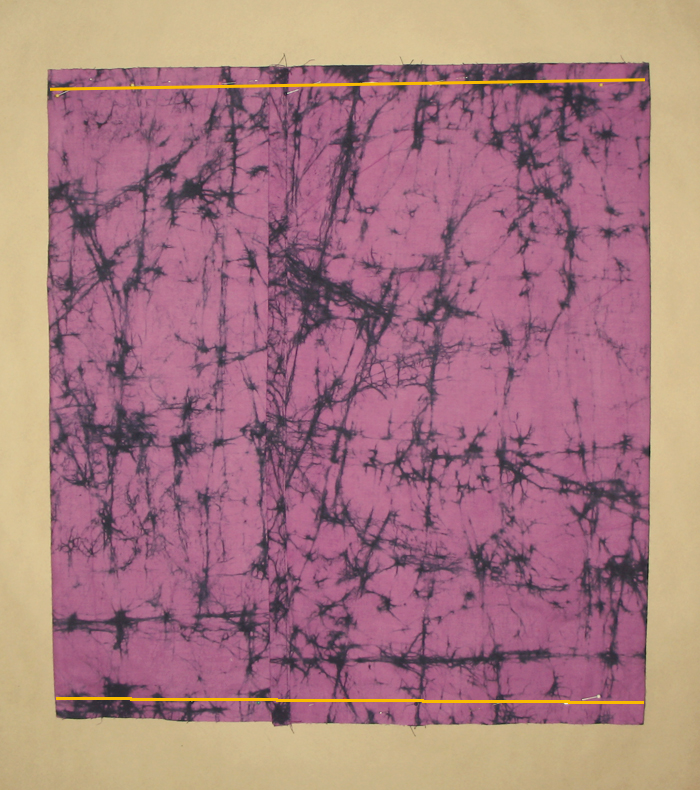
Step 1: Cut a piece of fabric that is 17 inches tall x 38 inches wide.
Step 2: Find the center 16 inches of the piece and make marks with chalk (this will help you place your appliques later). The easiest way to find the center is to fold it in half and then make a line 8 inches from the fold on each side.
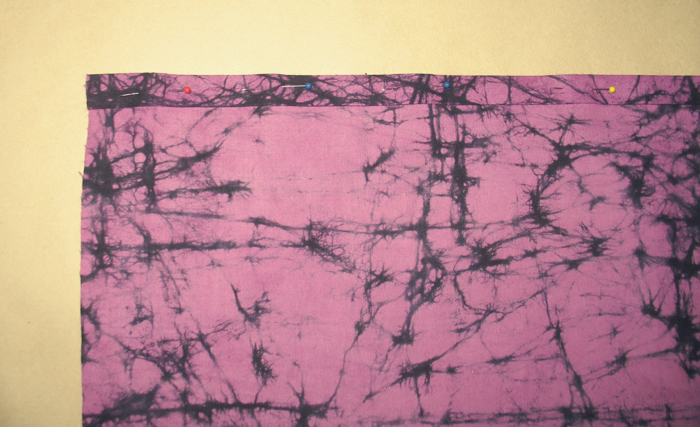
Step 3: On the (17 inch) ends of the fabric, fold the edge over 1/2″ and press with an iron. Fold over another 1/2″ and pin in place. Do this on both (17 inch) ends of the fabric. Sew along those edges using a 1/2″ seam allowance.
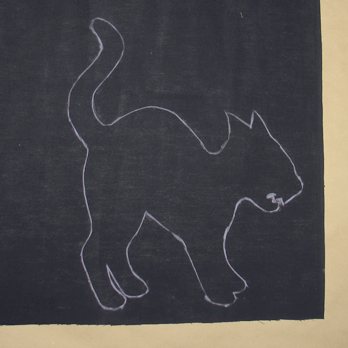

Step 4: Use chalk to transfer your design onto the black fabric. You can draw freehand or (what I did) print a shape, cut it out and then trace around it.
Step 5: Cut out your design and pin it in place on the center of the fabric (between those two lines you drew in step 2).
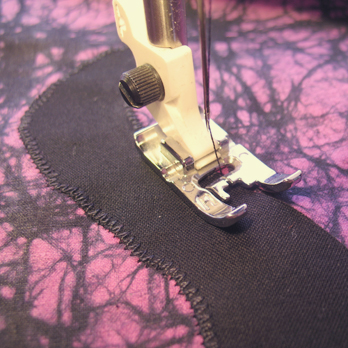
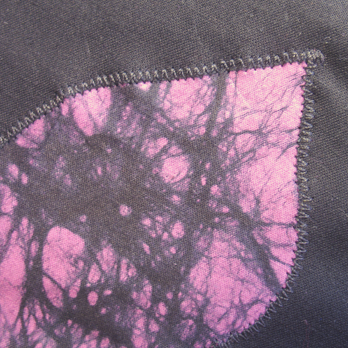
Step 6: Zig zag stitch around the edge of the entire design.
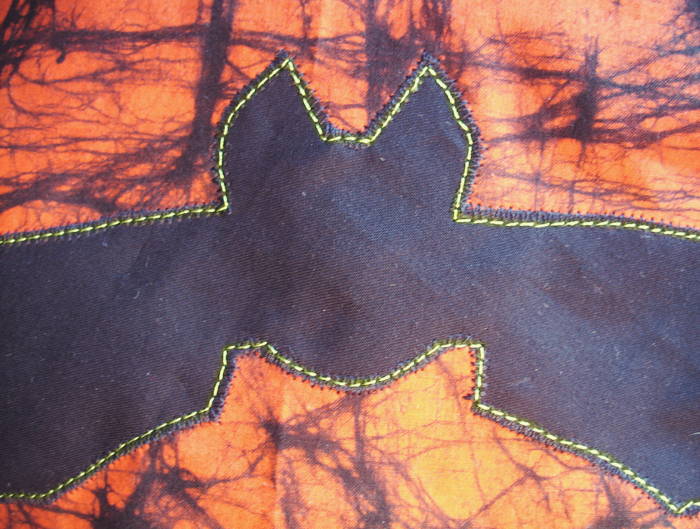
Step 7: In a contrasting thread color, straight stitch along the edge, over the zig zag you just did.
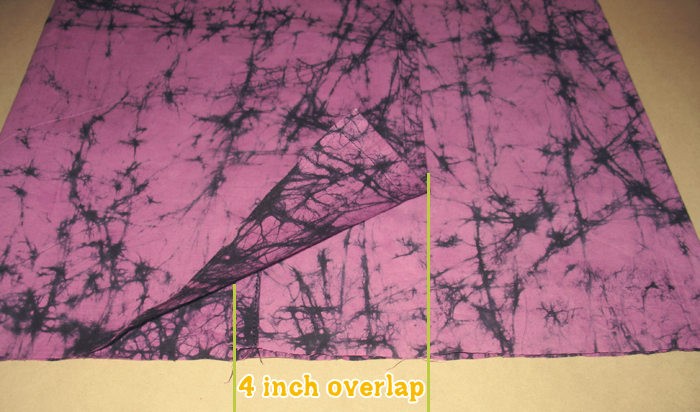
Step 8: Fold the fabric (right sides together) along those chalk lines. You should get a 4 inch overlap in the center.
Step 9: Pin along the edges a sew using a 1/2″ seam allowance. Flip it right side out and put your pillow form in!
If you still have any chalk marks on your pillow, you can use a wet towel to wipe it off.
Disclosure: This is a sponsored post. These supplies were provided to me free of charge by Jo-Ann’s, however, I designed the project myself and all opinions here are my own.
If you’re interested in seeing what other bloggers participating in Jo-Ann’s Celebrate the Season campaign have created, search for #spookyspaces on Pinterest or Instagram. And if you want even more inspiration, be sure to check out the Jo-Ann’s Creativity Made Simple website, which is filled with project ideas!

These are so awesome! Thanks for sharing. I am definitely going to make the bat version :)
these are really cute, great crafting idea! I love the colors & fabric you used, they look really nice.