DIY Faux Beaded Leather Cuff Bracelet Tutorial
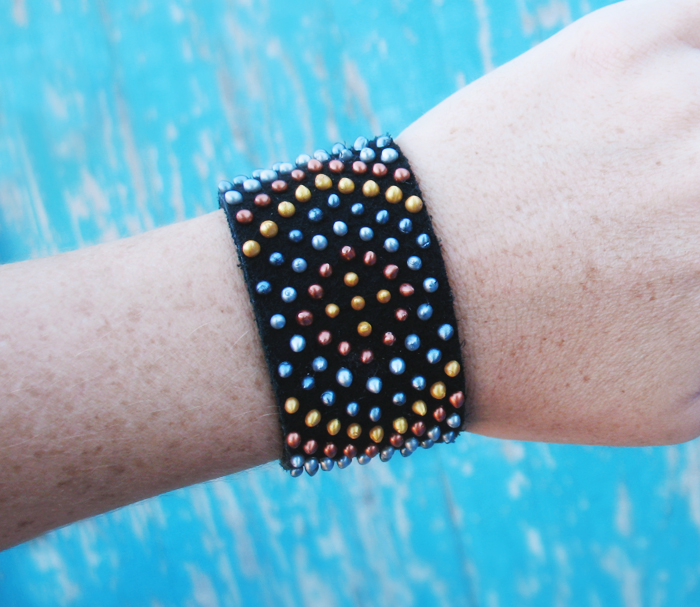
This bracelet started out as an experiment when Joann’s sent me this Beads in a Bottle paint by Tulip to try. I was intrigued (love the metal colors!) and wanted to test it out! My first bracelet came out kinda so-so. So I decided to make a second one, knowing that I could do better this time, and I made a tutorial for you to follow!
Before we get started, here’s a few tips for using this paint (so you can learn from my mistakes):
– The beads shrink when they dry so in order to get them to look their best, you need to put them really close together. This is kinda scary because you’ll probably think they might blob together.
– If they do look like they’re going to touch as the paint is settling (it goes from being pointy on top to being round and looking like an actual bead), you can gently use the tip of the paint bottle to nudge it in another direction.
– Go slow! And practice on something before you actually attempt a project :)
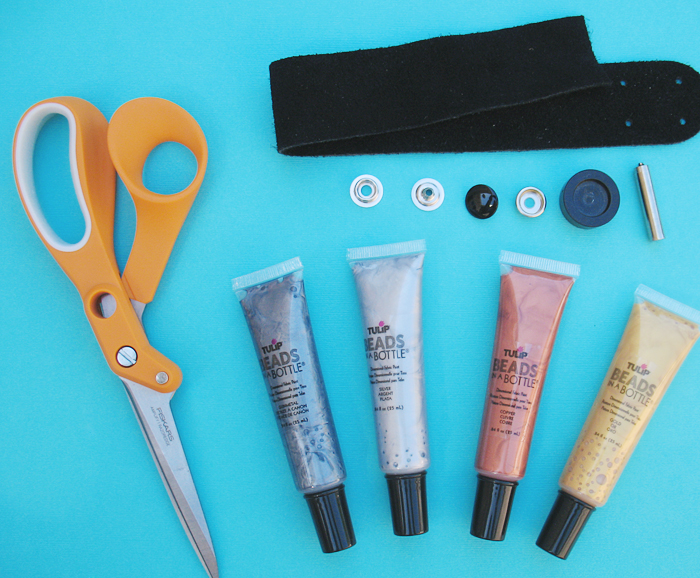
Supplies:
♥ Leather scrap – I bought this bag o scraps! (an old belt would work too!)
♥ Scissors (these are awesome for cutting leather!)
♥ Snap kit & a hammer – I used this & this (a button + button hole would work also!)
♥ Tulip Beads in a Bottle paint
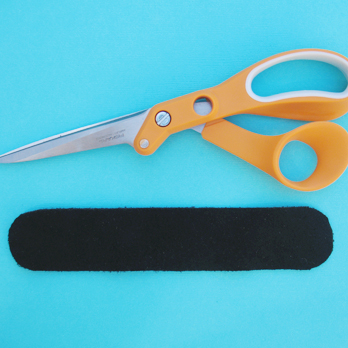
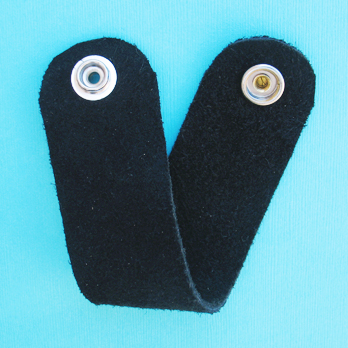
Step 1: Wrap the leather around your wrist and cut it to a length that overlaps by about 1 inch. I also cut the ends so that they’re rounded (personal preference!)
Step 2: Poke holes in the ends and use your snap kit to attach the snap pieces to both ends.
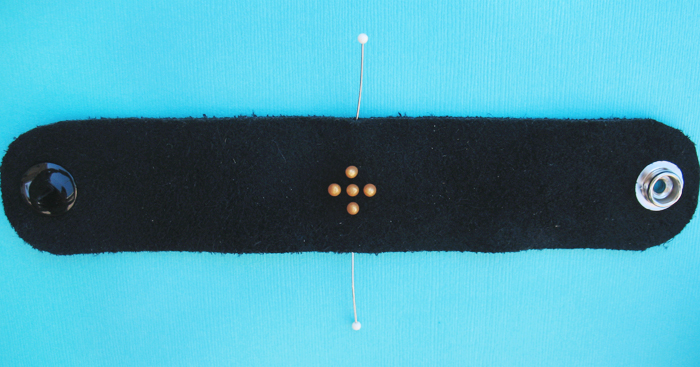
Step 3: Fold the bracelet in half so that you can find the center and mark it by sticking pins in the edges.
Step 4: Start off your design as shown in the picture above.
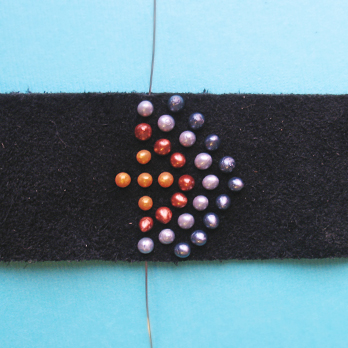

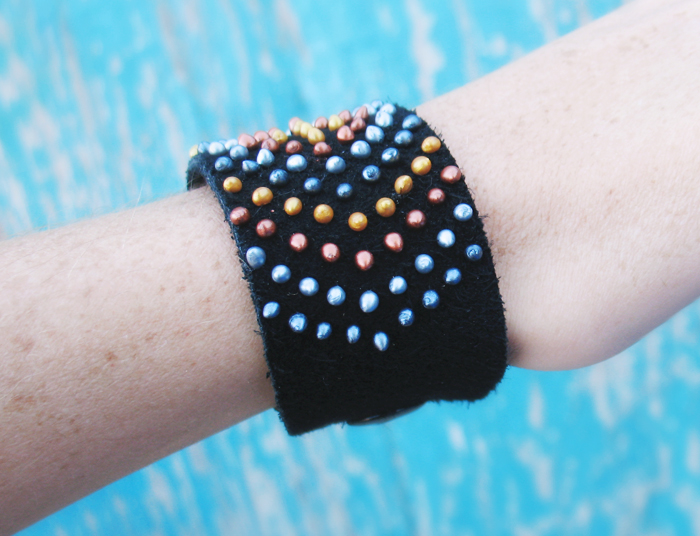
Step 5: Follow the photos above to complete the first half of the design and then repeat on the other side as shown below.

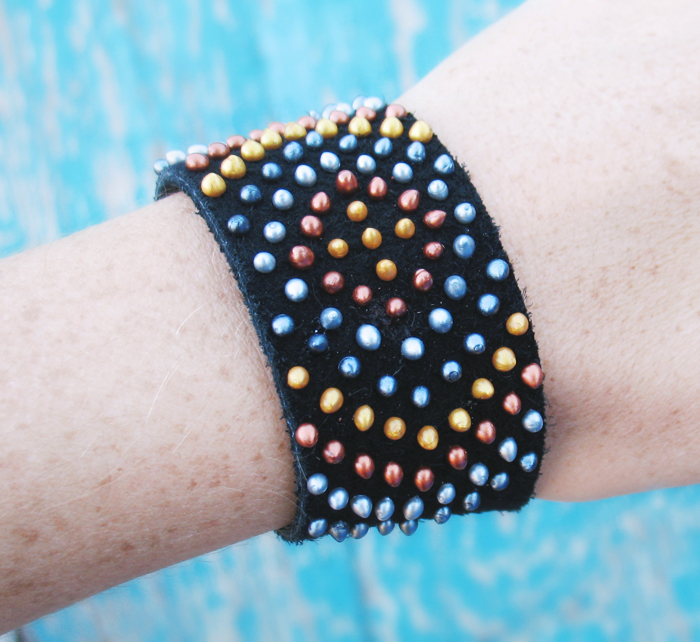
The photo above shows the paint when it was dry, to give you an idea of how much the beads shrink when they dry, compare it to the photos above where the beads nearly touch!
Disclosure: Joann’s sent me this paint and these scissors for free, to try, with no obligation to post about them. I enjoyed them so I wanted to share. Everything else used here was purchased on my own. All opinions here are genuine and my own. I wouldn’t post about something I didn’t like or find worthwhile.
P.S. Not to sound like an advertisement, but these Fiskar’s Amplify RazorEdge scissors are truly badass for cutting leather! If you often cut heavy fabrics, I recommend checking them out!
i like it. great job dear.. http://www.psdaimaandsons.com
How will this last with wear?