DIY Snowflake Luminaries – Mini Tutorial
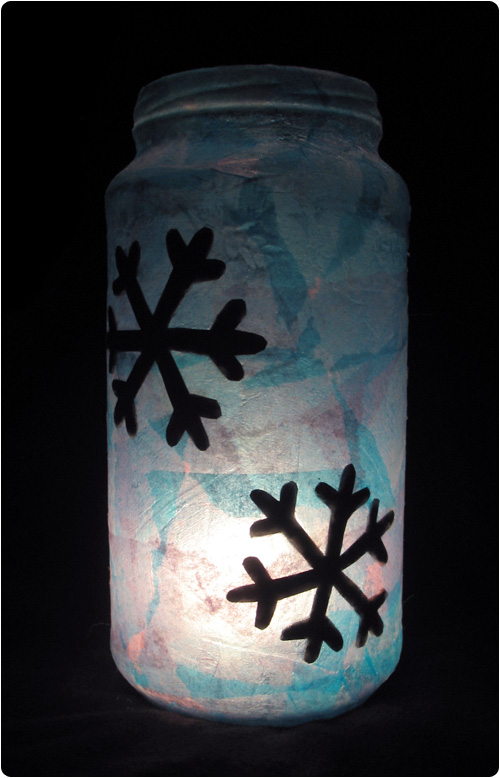
I really loved my Halloween luminaries and was kinda sad about putting them away, so I made a wintery one! It’s made pretty much just like the Halloween ones, except for one small detail, which I’ll show you below.
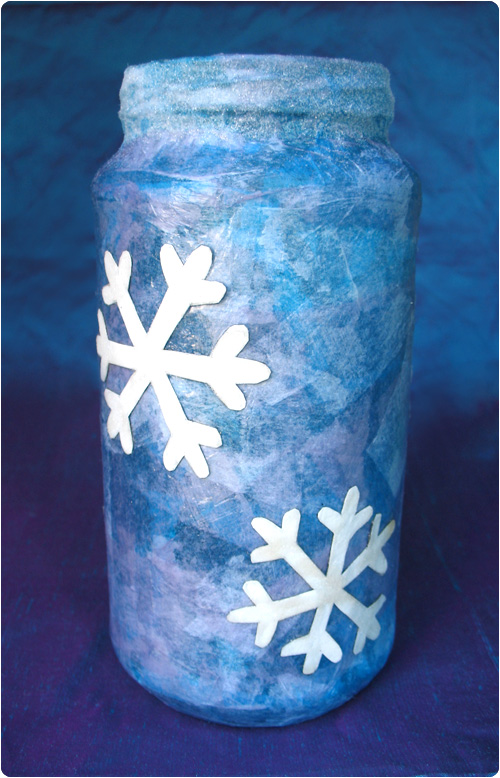
First, you can follow steps 1-3 of the Halloween tutorial. I made this one with blue, white, and lavender tissue paper rather than one solid color. I wanted it to have kind of an icy look. And I used white glitter around the rim.
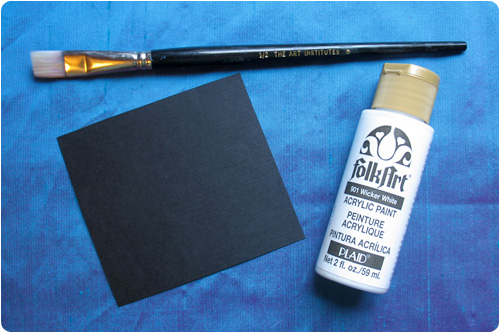
I didn’t want to use white construction paper for the snowflakes because I thought that even if I found thick paper, some light might still show through. So I used the same black paper that I used for the Halloween luminaries and painted it white.
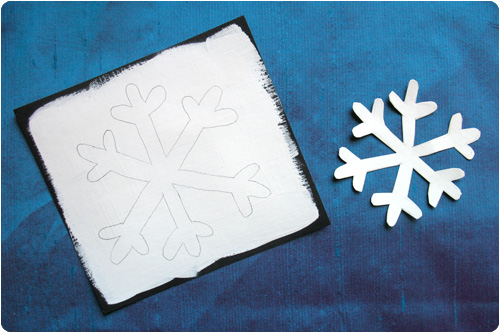
After the paint dries, you can draw your snowflakes and cut them out. Then proceed with step 5 of the Halloween tutorial. I used white glitter on these.
I’m still not over making luminaries! I’ve been collecting jars for months now and plan on making dozens of multicolored ones just because I think it would look so pretty to see them all lit up together! :)
LOVE the wintry look!
I absolutely LOVE these! How do you get the different colors to look blended together like that? Mine are not turning out so well! :( And I really want to make a tie-dye one but have no clue on where to start….