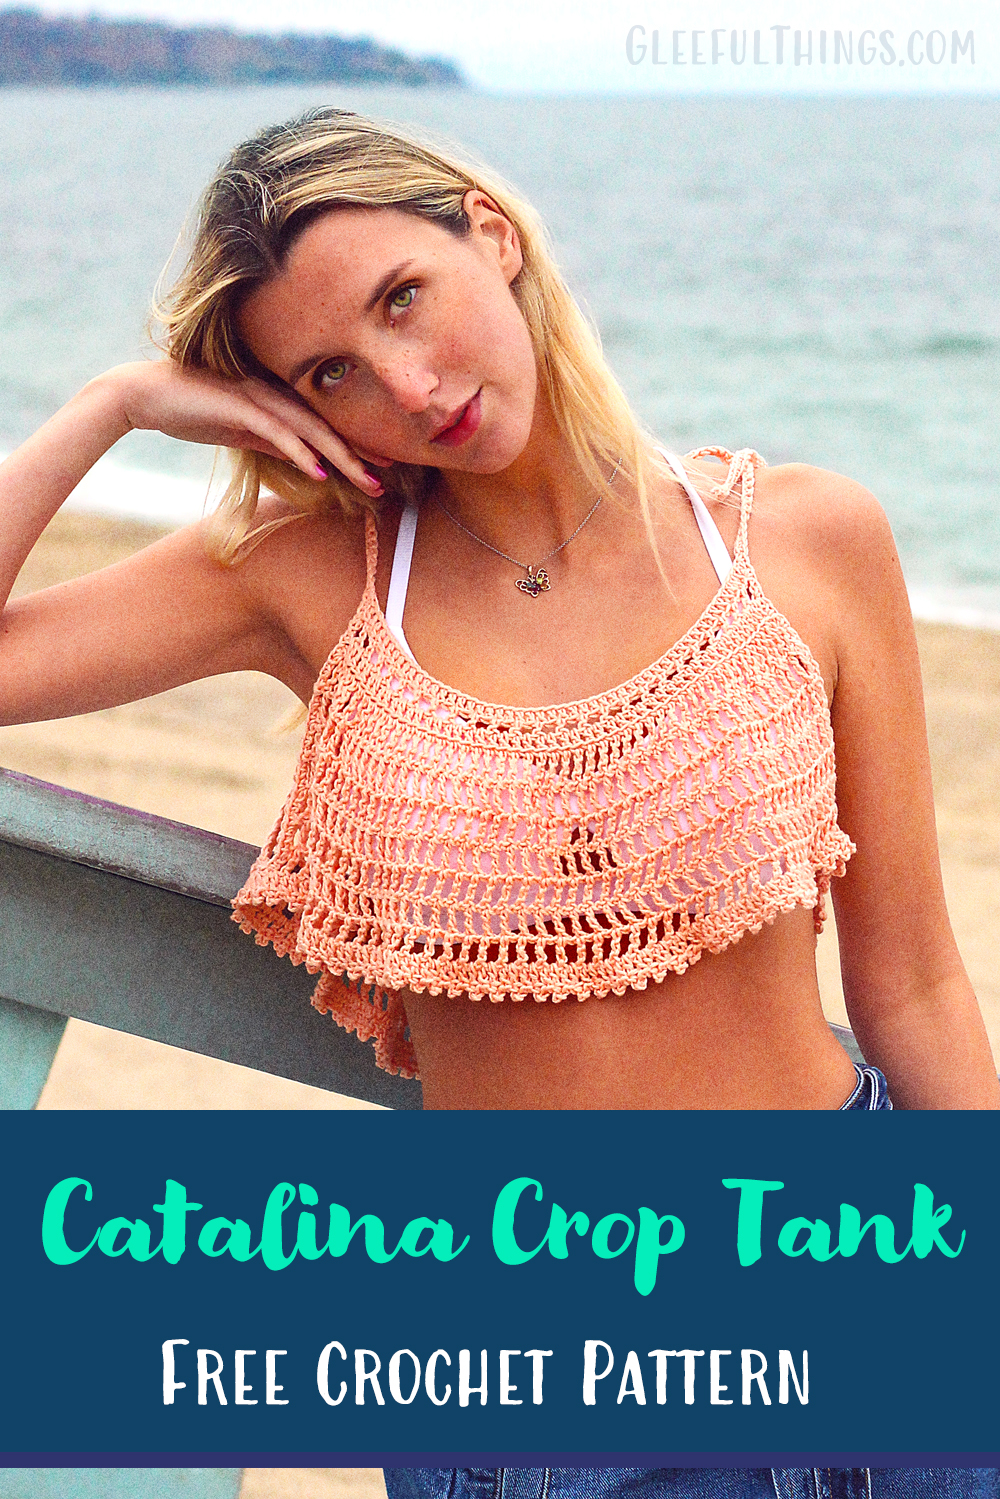
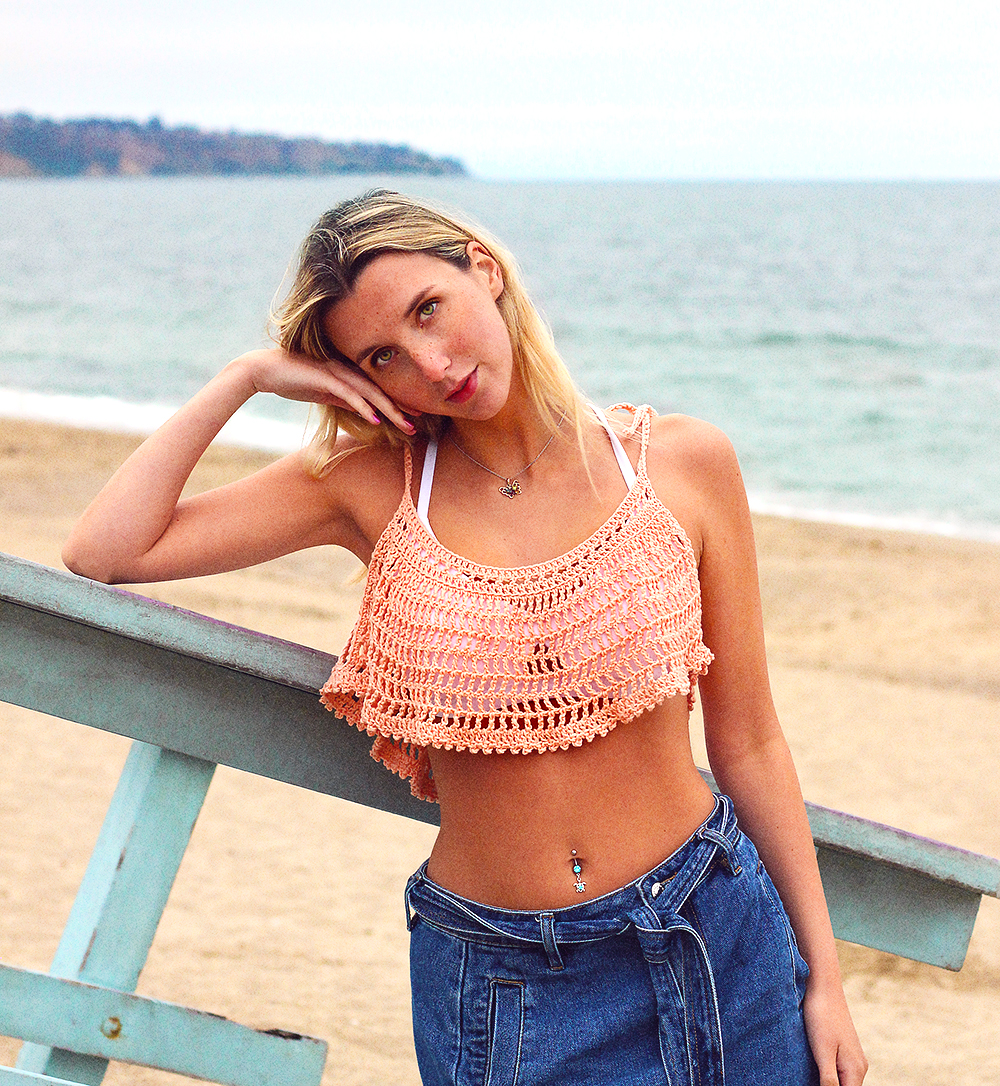
Catalina Crop Tank Free Crochet Pattern
I can’t even tell you how happy I am to be sharing this pattern with you! I’ve been wanting to crochet a tank top for years now! And finally, here we have it! The first of many, I hope! :)
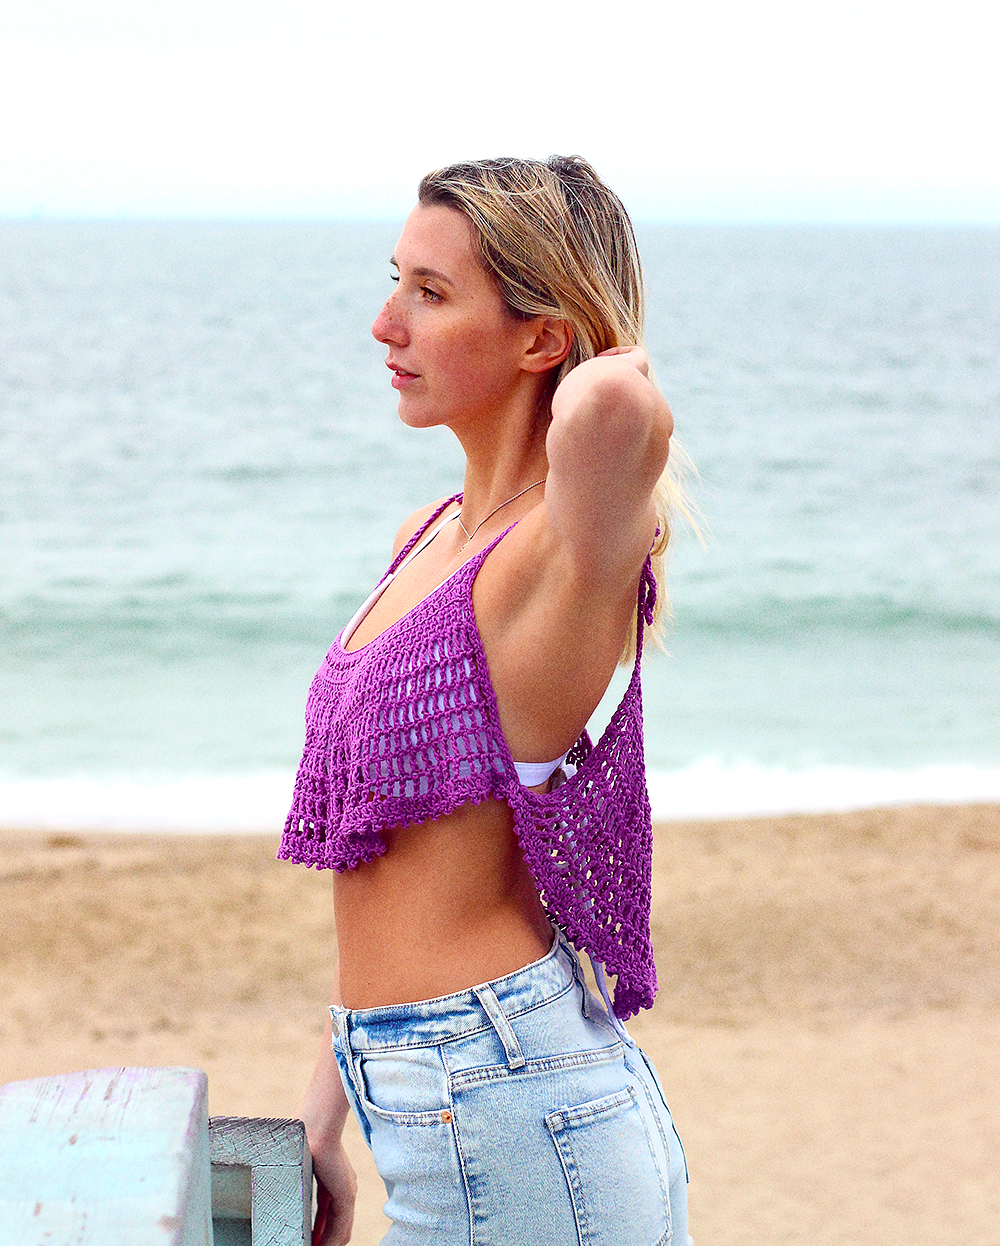
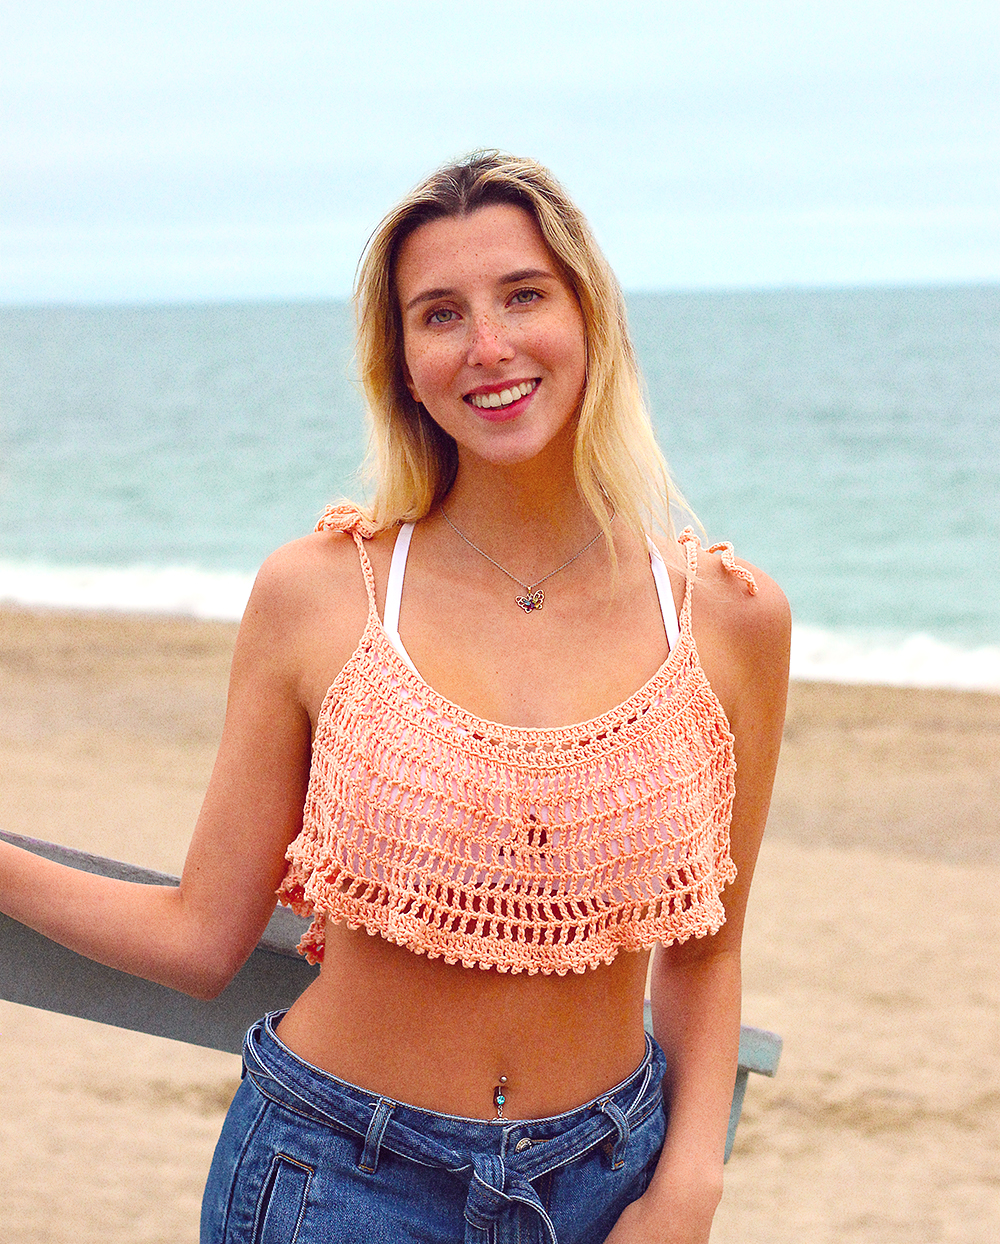
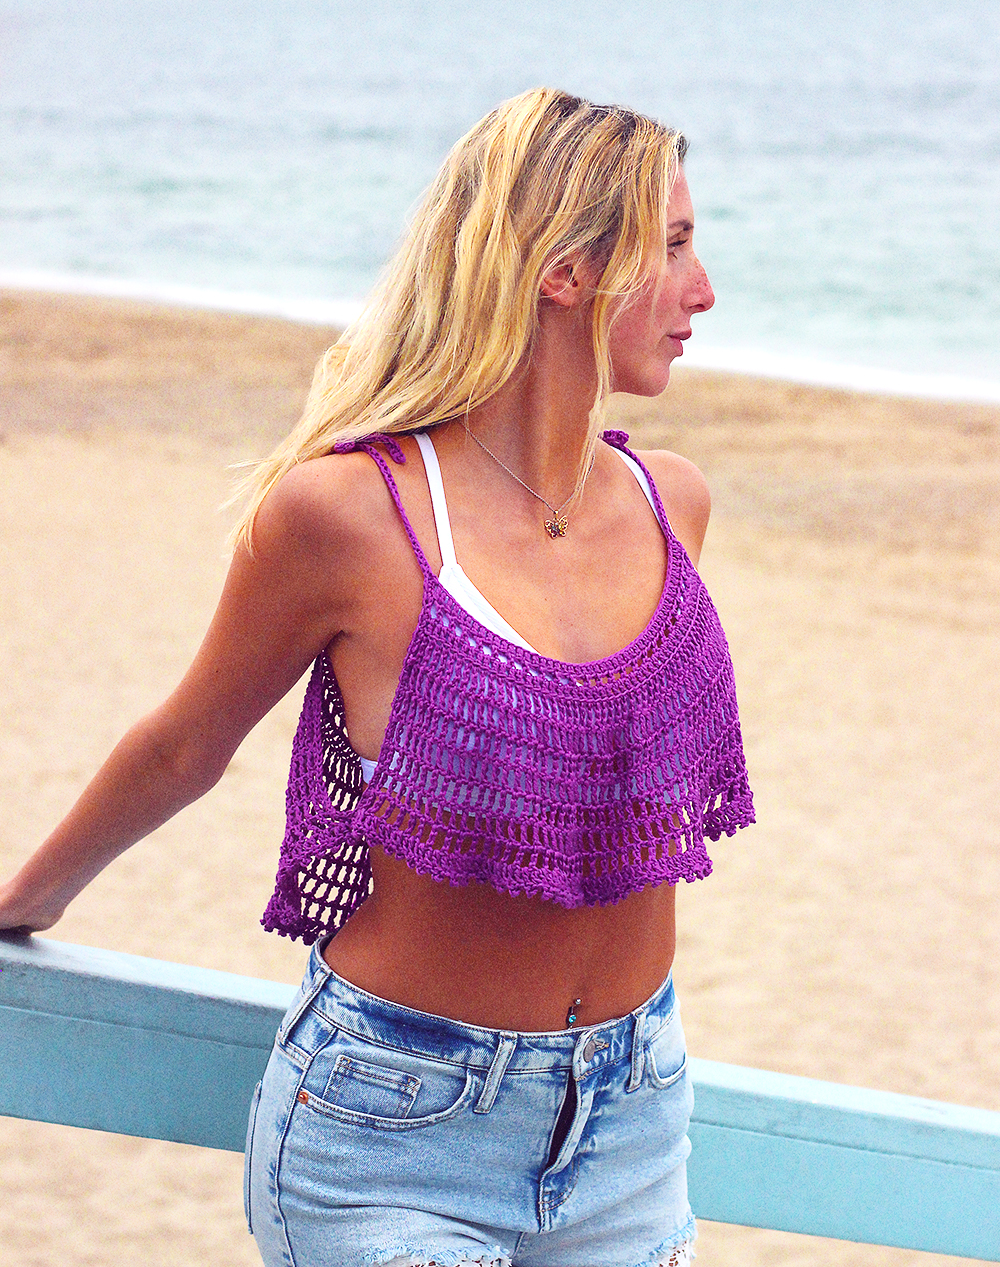
A while back, I got ahold of some Fair Isle Harbor for the first time. It’s a #2 sport weight yarn, so naturally, I started dreaming up all of the summery projects I could make with this lightweight cotton/bamboo blend! It has a really nice drape to it, so I came up with this loose, flowy crop tank.
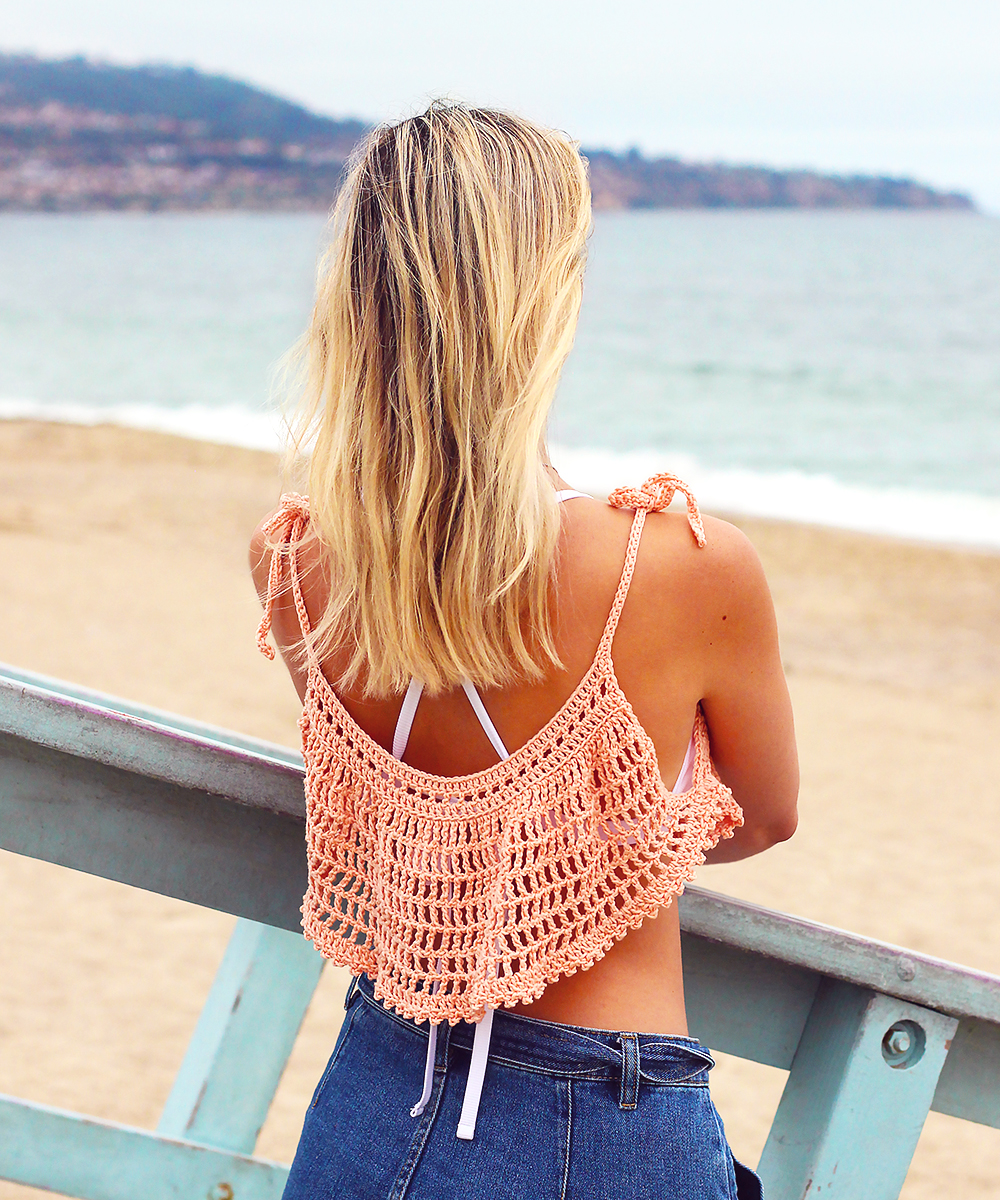
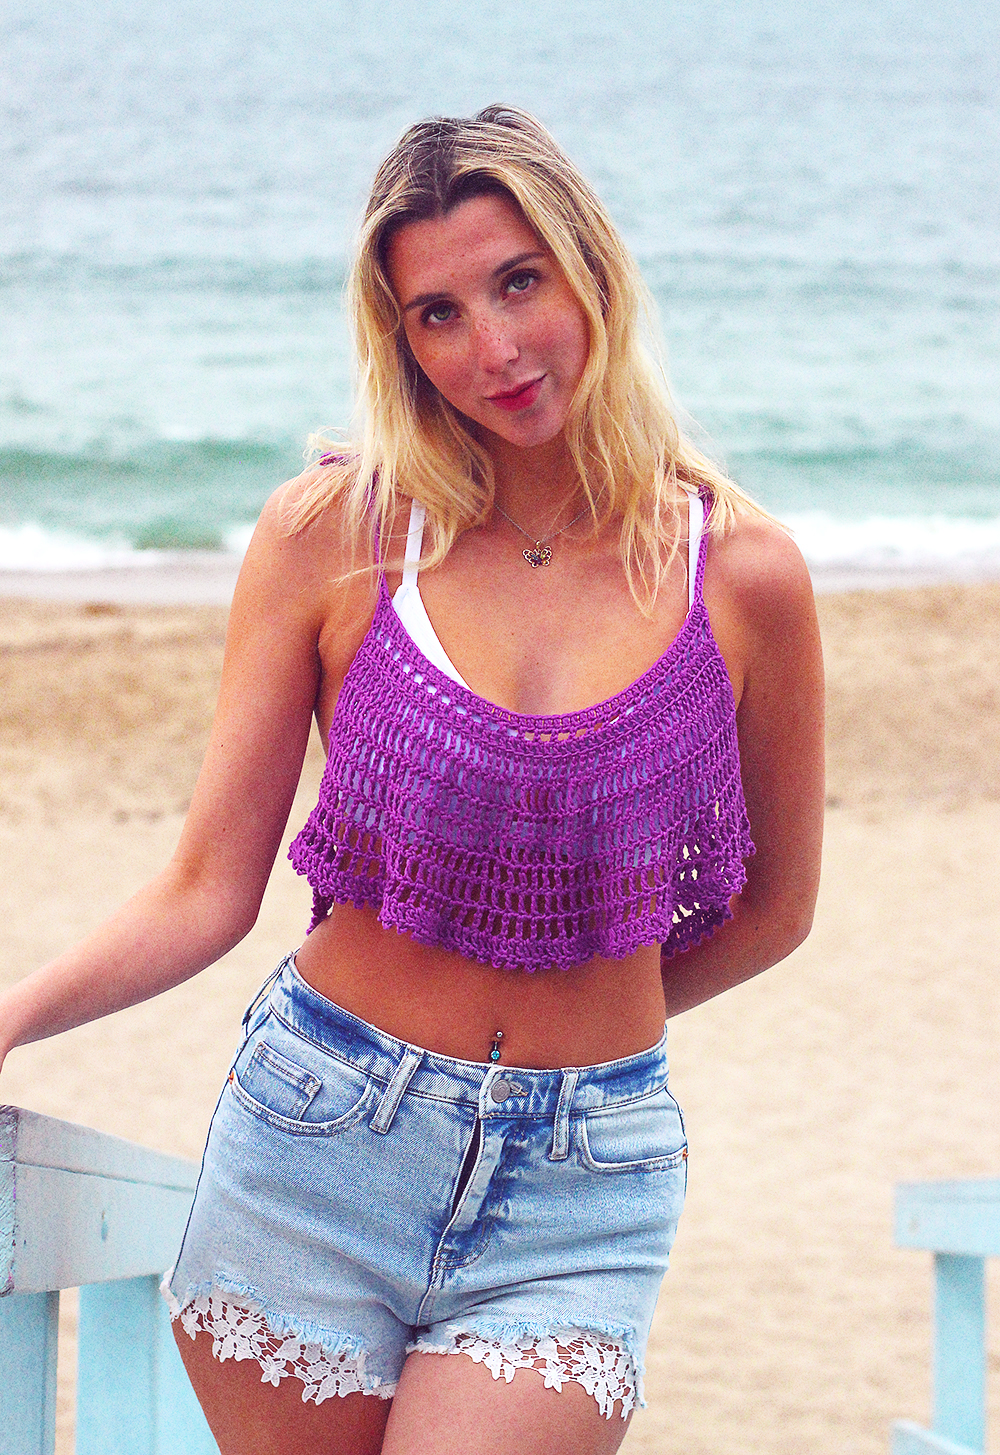
It’s perfect for layering over a bikini top when you need a little cover up on the way to the beach! You can also layer over clothing for a more everyday summer piece. Just a basic cami, perhaps? Personally, I love the look of it layered over a tank dress or worn under a flannel along with some denim shorts & flip flops!
The pattern uses a very minimal amount of yarn and you can actually make all the way up to a size large with just one skein of Fair Isle Harbor or Premier Cotton Fair! Both are great, affordable options for this top. Seriously, how awesome is it when a project only costs 6 bucks?!
Download the Pattern
You can find the FREE pattern by scrolling down. A print friendly, ad free PDF of this pattern is also available to download for a small fee. If you enjoy my patterns, please consider purchasing the PDF – your support will help me keep the new patterns coming! :)
>> CLICK HERE TO GET THE PDF ON ETSY <<
>> CLICK HERE TO GET THE PDF ON RAVELRY <<
Yarn
#2 Sport weight yarn: Approximately XS: 230 yards, S: 260 yards, M: 290 yards, L: 320 yards, XL: 350 yards, XXL: 380 yards.
Yarn suggestions: Fair Isle Harbor (purple example is made in Amethyst), Premier Cotton Fair (peach example is made in Coral), Cascade Ultra Pima Fine, Knit Picks Shine Sport
Materials
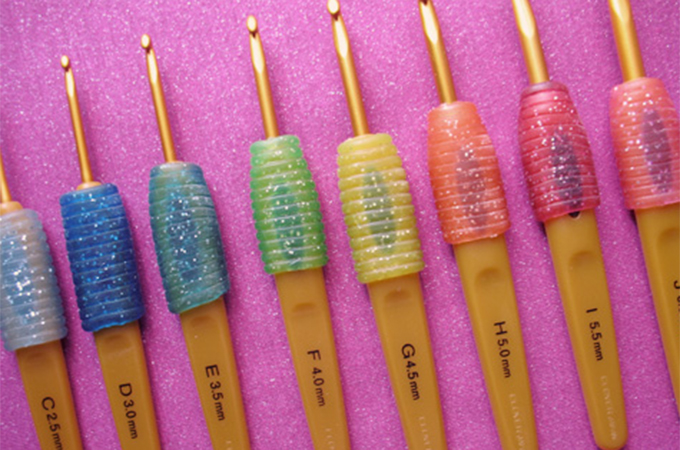
US Size G/6 (4mm) crochet hook or size needed to obtain gauge, yarn needle, scissors
Disclosure: This post contains affiliate links. If you click & make a purchase, I will receive a small commission at no extra cost to you. This helps to ensure that I’m able to continue posting free patterns and tutorials! Thank you for your support! :)
Difficulty
Easy
Sizes
Ideal for these measurements:
XS (28-30” bust), S (32-34” bust), M (36-38” bust), L (40-42” bust), XL (44-46” bust), XXL (48-50” bust)
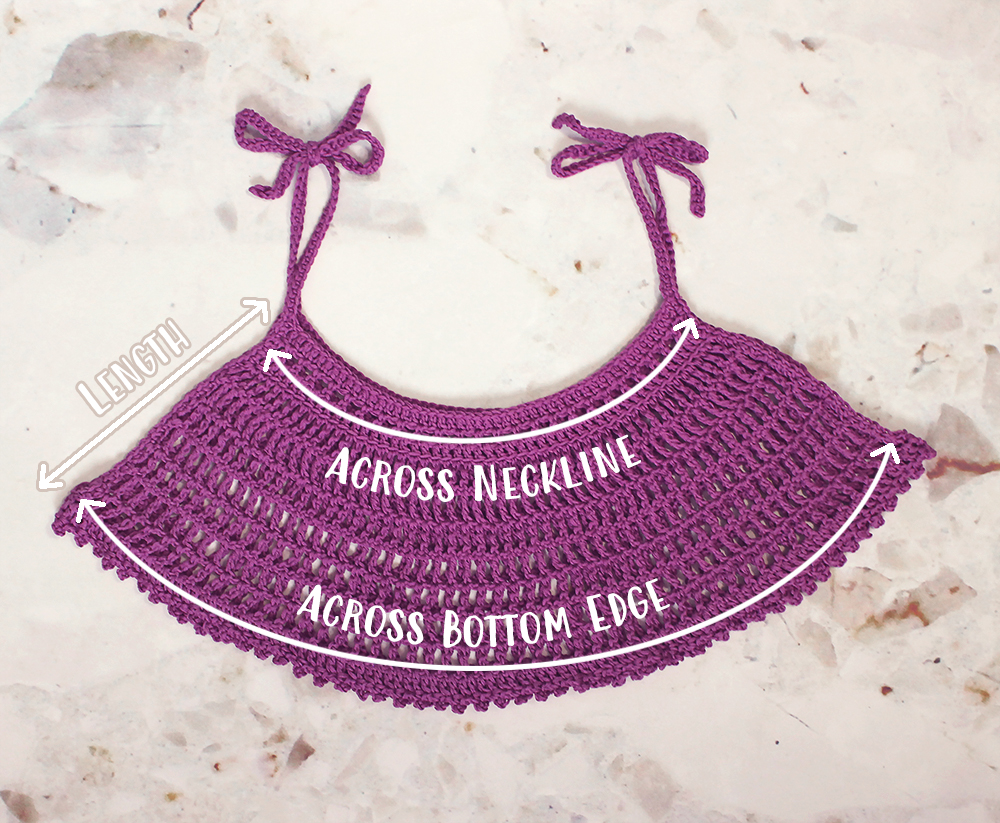
Finished Measurements
Across bottom edge: XS: 23.5”, S: 25.5”, M: 27.5”, L: 29.5”, XL: 31.5”, XXL: 33.5”
Across neckline: XS: 9”, S: 11”, M: 13”, L: 15”, XL: 17”, XXL: 19”
Length: XS: 6”, S: 7”, M: 8”, L: 9”, XL: 10”, XXL: 11”
Gauge
[1 tr, ch 1] 9 times and 5 rows = 4”
Abbreviations
ch(s) – chain(s), sc – single crochet, dc – double crochet, tr – treble crochet, st(s) – stitch(es), sl st – slip stitch, FLO – front loop only, RS – right side, p – picot
Special Stitches
Picot (p) – Ch 3, 1 sc in dc at base of ch 3.
Notes
1. Top is made from two sides that are the same, worked separately, and then joined together at the bottom by working two rounds that go around both sides.
2. Each side is worked from the top down.
3. Straps are added last and are adjustable by tying them at the top of the shoulder. See Photo C, D, E for an overview on how the straps are made & attached.
4. Top is meant to be loose fitting and slightly oversized.
5. Work row 1 into back humps of ch to create a nicer edge. This will be the top edge/neckline of your top.
6. When working into the ch at the beginning and end of each strap, work sts into into back humps of ch to create a nicer edge.
7. When joining the two sides together, be aware of the right side (RS) of the top (see Photo A) and make sure that the RS is facing the same direction (face up or face down – see Photo B) so that your top ends up RS out on both sides.
Size Extra Small Instructions
Side 1:
Row 1 (RS): Ch 47 (final 3 ch count as 1 dc), 1 dc in 4th ch from hook and in each ch across – 45 dc.
Row 2: Ch 4 (counts as 1 dc + 1 ch) & turn, skip 1 st, 1 dc in next st, *ch 1, skip 1 st, 1 dc in next st; repeat from * across – 23 dc + 22 ch 1 spaces.
Row 3: Ch 3 (counts as 1 dc) & turn, *1 dc in next ch space, 1 dc in next st; repeat from * across – 45 dc.
Row 4: Ch 5 (counts as 1 tr + 1 ch) & turn, 1 FLO tr in next st, *ch 1, 1 FLO tr in next st; repeat from * across – 45 FLO tr + 44 ch 1 spaces.
Row 5-8: Ch 5 (counts as 1 tr + 1 ch) & turn, skip ch space, 1 tr in next st, *ch 1, skip ch space, 1 tr in next st; repeat from * across – 45 tr + 44 ch 1 spaces.
Fasten off after final row.
Side 2:
Repeat instructions for side 1 but do not fasten off after final row. Continue from there and work the following rounds to join the two sides. See Photo B for an explanation of how the two sides should be laid out when joining.
Round 9: Ch 5 (counts as 1 tr + 1 ch) & turn, skip ch space, 1 tr in next st, *ch 1, skip ch space, 1 tr in next st; repeat from * across, ch 1, (you will now work into the final row of side 1, joining the two sides together) 1 tr in 1st st, **ch 1, skip ch space, 1 tr in next st; repeat from ** across, ch 1, sl st to join to 4th ch at beginning of round (on side 2) – 90 tr + 90 ch 1 spaces.
Round 10: Ch 3 (counts as 1 dc), 1 dc in next ch space, p, *1 dc in next st, 1 dc in next ch space, p; repeat from * around, invisible join to 3rd ch and fasten off – 180 dc + 90 p.
Straps:
Leave a small tail at beginning of strap to make it easier to fasten off.
Ch 49, 1 sc in 2nd ch from hook and in each remaining ch, (with RS of top facing out) join to top by making 1 sc in 1st st of row 1 (see Photo C), sc evenly in edge until you reach the bottom of that side, continue to sc evenly in edge of opposite side until you reach row 1 (see Photo D), ch 49, 1 sc in 2nd ch from hook and in each remaining ch, fasten off.
Repeat for other strap. Tie each strap in a bow.
Size Small Instructions
Side 1:
Row 1 (RS): Ch 53 (final 3 ch count as 1 dc), 1 dc in 4th ch from hook and in each ch across – 51 dc.
Row 2: Ch 4 (counts as 1 dc + 1 ch) & turn, skip 1 st, 1 dc in next st, *ch 1, skip 1 st, 1 dc in next st; repeat from * across – 26 dc + 25 ch 1 spaces.
Row 3: Ch 3 (counts as 1 dc) & turn, *1 dc in next ch space, 1 dc in next st; repeat from * across – 51 dc.
Row 4: Ch 5 (counts as 1 tr + 1 ch) & turn, 1 FLO tr in next st, *ch 1, 1 FLO tr in next st; repeat from * across – 51 FLO tr + 50 ch 1 spaces.
Row 5-9: Ch 5 (counts as 1 tr + 1 ch) & turn, skip ch space, 1 tr in next st, *ch 1, skip ch space, 1 tr in next st; repeat from * across – 51 tr + 50 ch 1 spaces.
Fasten off after final row.
Side 2:
Repeat instructions for side 1 but do not fasten off after final row. Continue from there and work the following rounds to join the two sides. See Photo B for an explanation of how the two sides should be laid out when joining.
Round 10: Ch 5 (counts as 1 tr + 1 ch) & turn, skip ch space, 1 tr in next st, *ch 1, skip ch space, 1 tr in next st; repeat from * across, ch 1, (you will now work into the final row of side 1, joining the two sides together) 1 tr in 1st st, **ch 1, skip ch space, 1 tr in next st; repeat from ** across, ch 1, sl st to join to 4th ch at beginning of round (on side 2) – 102 tr + 102 ch 1 spaces.
Round 11: Ch 3 (counts as 1 dc) & turn, 1 dc in next ch space, p, *1 dc in next st, 1 dc in next ch space, p; repeat from * around, invisible join to 3rd ch and fasten off – 204 dc + 102 p.
Straps:
Leave a small tail at beginning of strap to make it easier to fasten off.
Ch 55, 1 sc in 2nd ch from hook and in each remaining ch, (with RS of top facing out) join to top by making 1 sc in 1st st of row 1 (see Photo C), sc evenly in edge until you reach the bottom of that side, continue to sc evenly in edge of opposite side until you reach row 1 (see Photo D), ch 55, 1 sc in 2nd ch from hook and in each remaining ch, fasten off.
Repeat for other strap. Tie each strap in a bow.
Size Medium Instructions
Side 1:
Row 1 (RS): Ch 57 (final 3 ch count as 1 dc), 1 dc in 4th ch from hook and in each ch across – 55 dc.
Row 2: Ch 4 (counts as 1 dc + 1 ch) & turn, skip 1 st, 1 dc in next st, *ch 1, skip 1 st, 1 dc in next st; repeat from * across – 28 dc + 27 ch 1 spaces.
Row 3: Ch 3 (counts as 1 dc) & turn, *1 dc in next ch space, 1 dc in next st; repeat from * across – 55 dc.
Row 4: Ch 5 (counts as 1 tr + 1 ch) & turn, 1 FLO tr in next st, *ch 1, 1 FLO tr in next st; repeat from * across – 55 FLO tr + 54 ch 1 spaces.
Row 5-10: Ch 5 (counts as 1 tr + 1 ch) & turn, skip ch space, 1 tr in next st, *ch 1, skip ch space, 1 tr in next st; repeat from * across – 55 tr + 54 ch 1 spaces.
Fasten off after final row.
Side 2:
Repeat instructions for side 1 but do not fasten off after final row. Continue from there and work the following rounds to join the two sides. See Photo B for an explanation of how the two sides should be laid out when joining.
Round 11: Ch 5 (counts as 1 tr + 1 ch) & turn, skip ch space, 1 tr in next st, *ch 1, skip ch space, 1 tr in next st; repeat from * across, ch 1, (you will now work into the final row of side 1, joining the two sides together) 1 tr in 1st st, **ch 1, skip ch space, 1 tr in next st; repeat from ** across, ch 1, sl st to join to 4th ch at beginning of round (on side 2) – 110 tr + 110 ch 1 spaces.
Round 12: Ch 3 (counts as 1 dc), 1 dc in next ch space, p, *1 dc in next st, 1 dc in next ch space, p; repeat from * around, invisible join to 3rd ch and fasten off – 220 dc + 110 p.
Straps:
Leave a small tail at beginning of strap to make it easier to fasten off.
Ch 61, 1 sc in 2nd ch from hook and in each remaining ch, (with RS of top facing out) join to top by making 1 sc in 1st st of row 1 (see Photo C), sc evenly in edge until you reach the bottom of that side, continue to sc evenly in edge of opposite side until you reach row 1 (see Photo D), ch 61, 1 sc in 2nd ch from hook and in each remaining ch, fasten off.
Repeat for other strap. Tie each strap in a bow.
Size Large Instructions
Side 1:
Row 1 (RS): Ch 63 (final 3 ch count as 1 dc), 1 dc in 4th ch from hook and in each ch across – 61 dc.
Row 2: Ch 4 (counts as 1 dc + 1 ch) & turn, skip 1 st, 1 dc in next st, *ch 1, skip 1 st, 1 dc in next st; repeat from * across – 31 dc + 30 ch 1 spaces.
Row 3: Ch 3 (counts as 1 dc) & turn, *1 dc in next ch space, 1 dc in next st; repeat from * across – 61 dc.
Row 4: Ch 5 (counts as 1 tr + 1 ch) & turn, 1 FLO tr in next st, *ch 1, 1 FLO tr in next st; repeat from * across – 61 FLO tr + 60 ch 1 spaces.
Row 5-11: Ch 5 (counts as 1 tr + 1 ch) & turn, skip ch space, 1 tr in next st, *ch 1, skip ch space, 1 tr in next st; repeat from * across – 61 tr + 60 ch 1 spaces.
Fasten off after final row.
Side 2:
Repeat instructions for side 1 but do not fasten off after final row. Continue from there and work the following rounds to join the two sides. See Photo B for an explanation of how the two sides should be laid out when joining.
Round 12: Ch 5 (counts as 1 tr + 1 ch) & turn, skip ch space, 1 tr in next st, *ch 1, skip ch space, 1 tr in next st; repeat from * across, ch 1, (you will now work into the final row of side 1, joining the two sides together) 1 tr in 1st st, **ch 1, skip ch space, 1 tr in next st; repeat from ** across, ch 1, sl st to join to 4th ch at beginning of round (on side 2) – 122 tr + 122 ch 1 spaces.
Round 13: Ch 3 (counts as 1 dc) & turn, 1 dc in next ch space, p, *1 dc in next st, 1 dc in next ch space, p; repeat from * around, invisible join to 3rd ch and fasten off – 244 dc + 122 p.
Straps:
Leave a small tail at beginning of strap to make it easier to fasten off.
Ch 67, 1 sc in 2nd ch from hook and in each remaining ch, (with RS of top facing out) join to top by making 1 sc in 1st st of row 1 (see Photo C), sc evenly in edge until you reach the bottom of that side, continue to sc evenly in edge of opposite side until you reach row 1 (see Photo D), ch 67, 1 sc in 2nd ch from hook and in each remaining ch, fasten off.
Repeat for other strap. Tie each strap in a bow.
Size Extra Large Instructions
Side 1:
Row 1 (RS): Ch 67 (final 3 ch count as 1 dc), 1 dc in 4th ch from hook and in each ch across – 65 dc.
Row 2: Ch 4 (counts as 1 dc + 1 ch) & turn, skip 1 st, 1 dc in next st, *ch 1, skip 1 st, 1 dc in next st; repeat from * across – 33 dc + 32 ch 1 spaces.
Row 3: Ch 3 (counts as 1 dc) & turn, *1 dc in next ch space, 1 dc in next st; repeat from * across – 65 dc.
Row 4: Ch 5 (counts as 1 tr + 1 ch) & turn, 1 FLO tr in next st, *ch 1, 1 FLO tr in next st; repeat from * across – 65 FLO tr + 64 ch 1 spaces.
Row 5-12: Ch 5 (counts as 1 tr + 1 ch) & turn, skip ch space, 1 tr in next st, *ch 1, skip ch space, 1 tr in next st; repeat from * across – 65 tr + 64 ch 1 spaces.
Fasten off after final row.
Side 2:
Repeat instructions for side 1 but do not fasten off after final row. Continue from there and work the following rounds to join the two sides. See Photo B for an explanation of how the two sides should be laid out when joining.
Round 13: Ch 5 (counts as 1 tr + 1 ch) & turn, skip ch space, 1 tr in next st, *ch 1, skip ch space, 1 tr in next st; repeat from * across, ch 1, (you will now work into the final row of side 1, joining the two sides together) 1 tr in 1st st, **ch 1, skip ch space, 1 tr in next st; repeat from ** across, ch 1, sl st to join to 4th ch at beginning of round (on side 2) – 130 tr + 130 ch 1 spaces.
Round 14: Ch 3 (counts as 1 dc), 1 dc in next ch space, p, *1 dc in next st, 1 dc in next ch space, p; repeat from * around, invisible join to 3rd ch and fasten off – 260 dc + 130 p.
Straps:
Leave a small tail at beginning of strap to make it easier to fasten off.
Ch 73, 1 sc in 2nd ch from hook and in each remaining ch, (with RS of top facing out) join to top by making 1 sc in 1st st of row 1 (see Photo C), sc evenly in edge until you reach the bottom of that side, continue to sc evenly in edge of opposite side until you reach row 1 (see Photo D), ch 73, 1 sc in 2nd ch from hook and in each remaining ch, fasten off.
Repeat for other strap. Tie each strap in a bow.
Size Extra Extra Large Instructions
Side 1:
Row 1 (RS): Ch 73 (final 3 ch count as 1 dc), 1 dc in 4th ch from hook and in each ch across – 71 dc.
Row 2: Ch 4 (counts as 1 dc + 1 ch) & turn, skip 1 st, 1 dc in next st, *ch 1, skip 1 st, 1 dc in next st; repeat from * across – 36 dc + 35 ch 1 spaces.
Row 3: Ch 3 (counts as 1 dc) & turn, *1 dc in next ch space, 1 dc in next st; repeat from * across – 71 dc.
Row 4: Ch 5 (counts as 1 tr + 1 ch) & turn, 1 FLO tr in next st, *ch 1, 1 FLO tr in next st; repeat from * across – 71 FLO tr + 70 ch 1 spaces.
Row 5-13: Ch 5 (counts as 1 tr + 1 ch) & turn, skip ch space, 1 tr in next st, *ch 1, skip ch space, 1 tr in next st; repeat from * across – 71 tr + 70 ch 1 spaces.
Fasten off after final row.
Side 2:
Repeat instructions for side 1 but do not fasten off after final row. Continue from there and work the following rounds to join the two sides. See Photo B for an explanation of how the two sides should be laid out when joining.
Round 14: Ch 5 (counts as 1 tr + 1 ch) & turn, skip ch space, 1 tr in next st, *ch 1, skip ch space, 1 tr in next st; repeat from * across, ch 1, (you will now work into the final row of side 1, joining the two sides together) 1 tr in 1st st, **ch 1, skip ch space, 1 tr in next st; repeat from ** across, ch 1, sl st to join to 4th ch at beginning of round (on side 2) – 142 tr + 142 ch 1 spaces.
Round 15: Ch 3 (counts as 1 dc) & turn, 1 dc in next ch space, p, *1 dc in next st, 1 dc in next ch space, p; repeat from * around, invisible join to 3rd ch and fasten off – 284 dc + 142 p.
Straps:
Leave a small tail at beginning of strap to make it easier to fasten off.
Ch 79, 1 sc in 2nd ch from hook and in each remaining ch, (with RS of top facing out) join to top by making 1 sc in 1st st of row 1 (see Photo C), sc evenly in edge until you reach the bottom of that side, continue to sc evenly in edge of opposite side until you reach row 1 (see Photo D), ch 79, 1 sc in 2nd ch from hook and in each remaining ch, fasten off.
Repeat for other strap. Tie each strap in a bow.
Terms of Use:
You are welcome and encouraged to sell any items you make using this pattern! All I ask in return is that when selling online, please credit Julie King / Gleeful Things & provide a link to www.gleefulthings.com.
You may NOT sell the pattern, distribute it in any form, repost it online, or alter it to claim it as your own. Copyright © 2019 Julie King / Gleeful Things. All Rights Reserved.
Helpful Photos
For reference, all photos shown here are of a size small top being made.
Photo A: This photo shows the right side (RS) of the top. Look for the ridge created by the front loops in row 3.
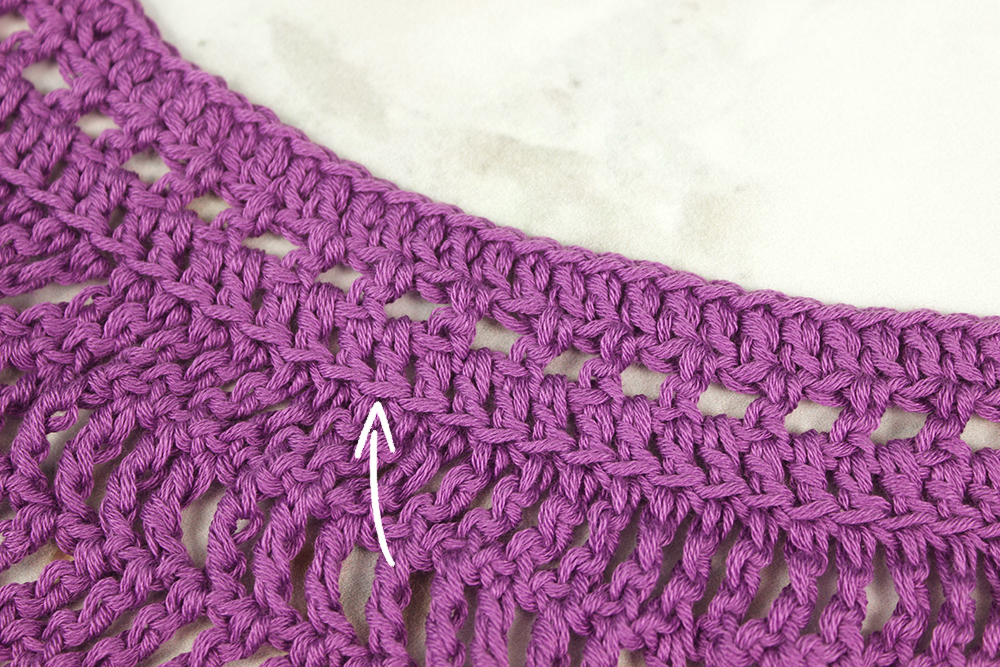
Photo B: When joining the two sides together, be aware of the right side (RS) of the top (see Photo A) and make sure that the RS is facing the same direction (face up or face down) so that your top ends up RS out on both sides. As you see below, the RS is facing down on both sides. On sizes S, L, XXL, the RS will be face down when you join the two sides and on sizes XS, M, XL, the RS will be face up.
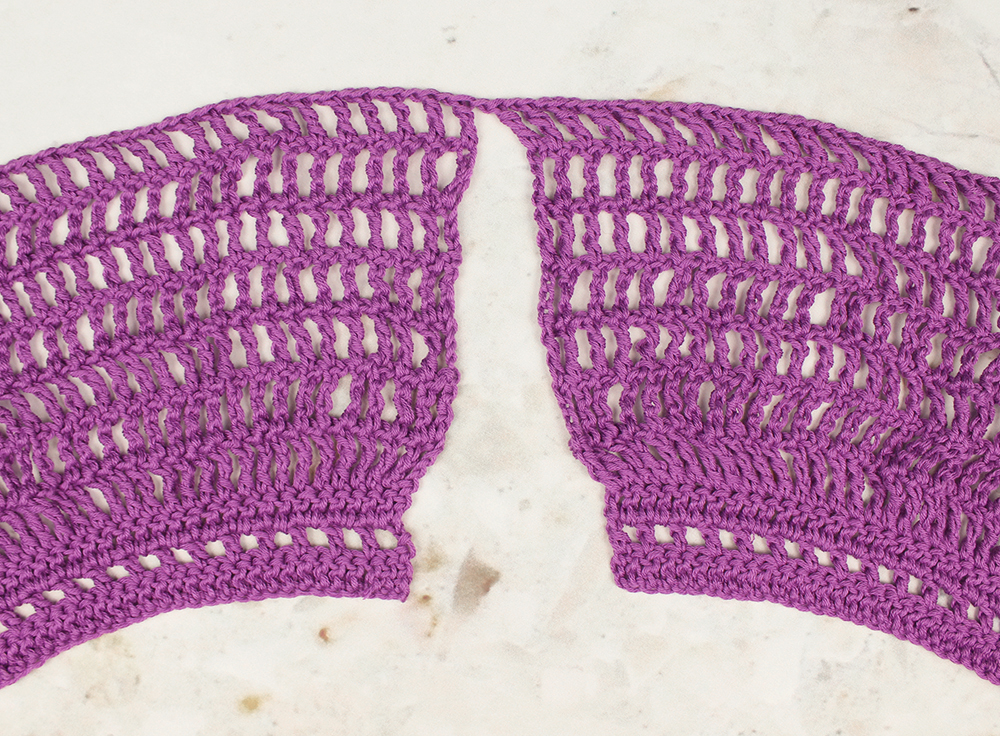
Photo C: To start the strap, you will make a ch and then single crochet into it. Then you will join the strap to the top by making a sc into row 1, as shown below. Use the tail that you left in the beginning of the strap to attach it to the top and fasten off securely.
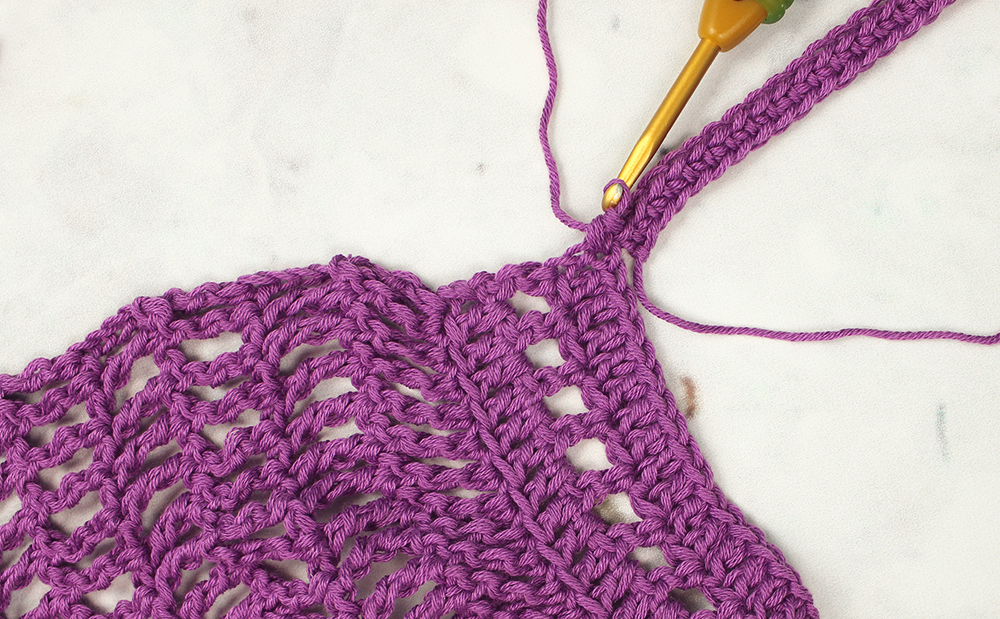
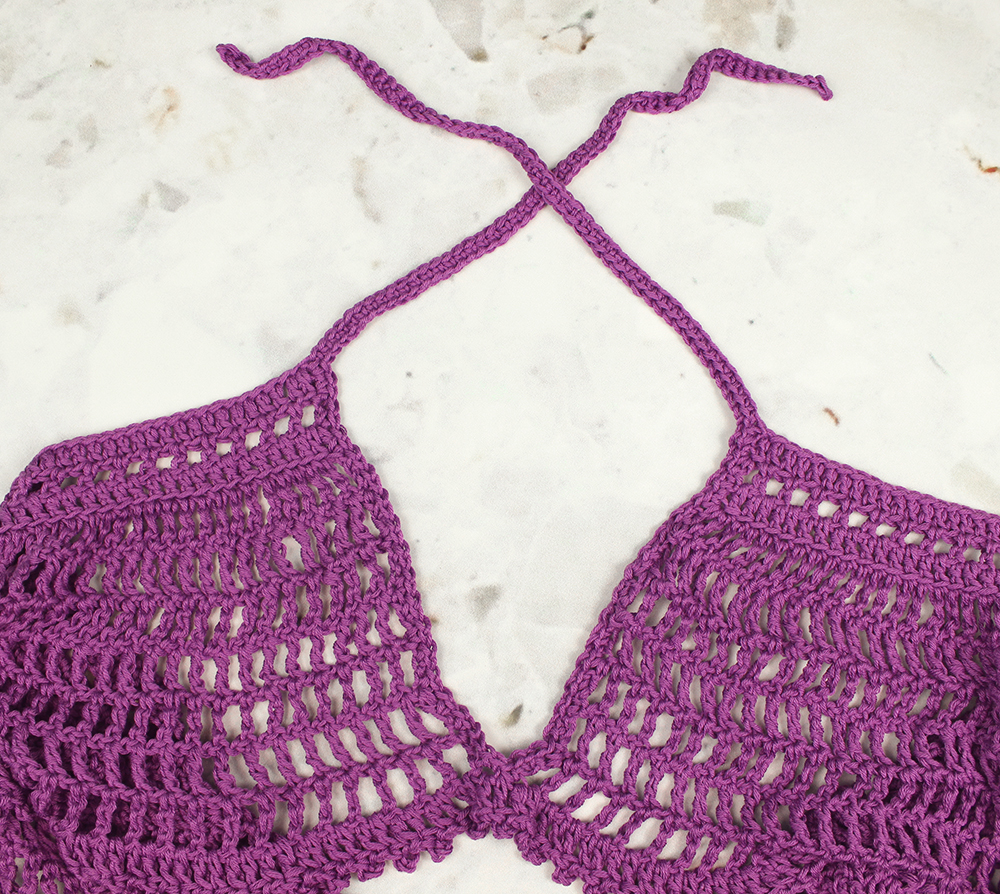
Photo D: After joining the strap to the top, you will single crochet evenly along the edge to the bottom of that side, and then continue up single crocheting evenly along the edge of the other side.

Photo E: Starting where you left off in the previous photo, you’ll make another ch and single crochet into it. When you get back to the beginning of the ch, you’ll fasten off. The photo below shows what your completed strap should look like.
Pin it to save for later!